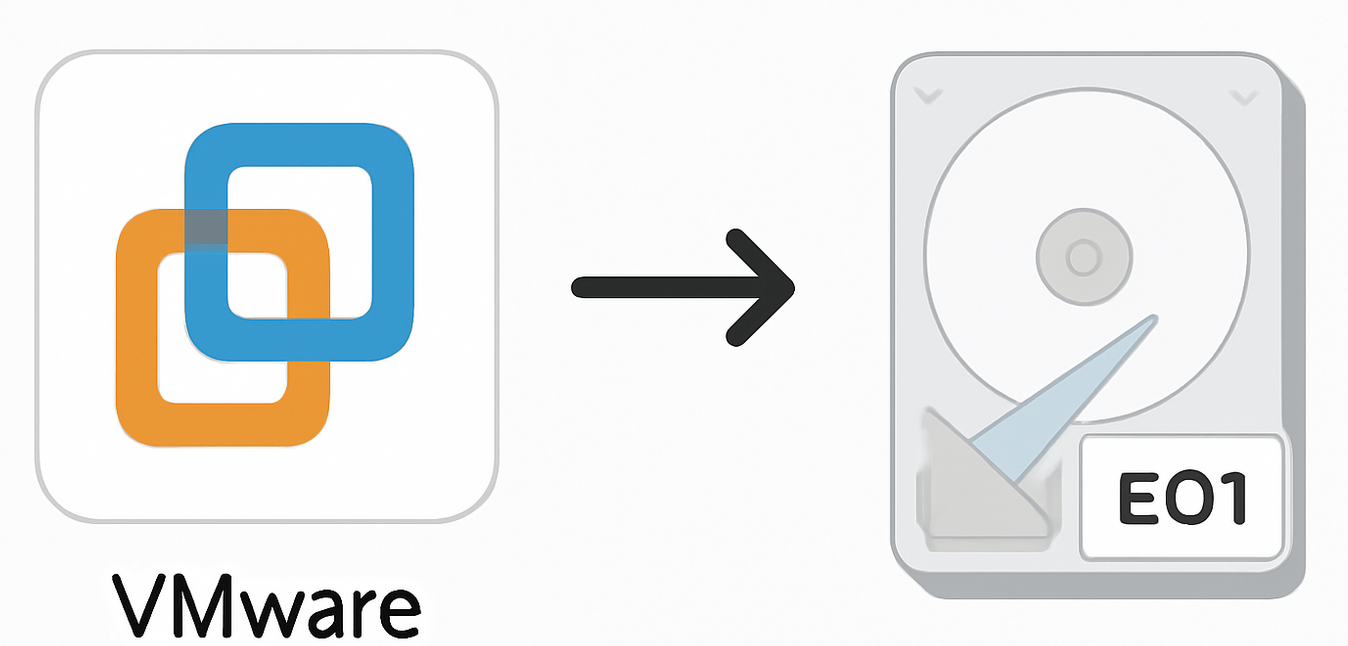
Export VMware virtual machine disk into a E01 disk image
Aug 20, 2025 by Alexandre Croix | 4064 views
https://cylab.be/blog/433/export-vmware-virtual-machine-disk-into-a-e01-disk-image
Forensics is a very interesting area, but exercising is sometimes difficult. Preparing a machine to analyze is challenging. Two main ways to do it :
-
Use a physical machine, install your OS and perform some actions on it. It is, of course, the more realistic method, but also very time-consuming. If, by mistake, you make some errors, you have to reinstall your machine completely.
-
You can also use a virtual machine as a method. The primary advantage of this approach is the ability to create snapshots of the machine. This feature enables us to save the state of a machine and revert back to that state if needed, resulting in significant time savings.
It seems way better to use a Virtual Machine instead of a physical machine. Yes but VMs come with another difficulty: how can I export a virtual disk to a compatible disk image I can analyse with forensics tools (RegRipper, for example)? A prevalent format used in forensics is E01 (Encase Evidence File). It contains a comprehensive header with case details like investigator, case name, and evidence description. The format supports compression to reduce file size and can store an image in multiple segment files, with each file containing a header, sections for volume and data, and a footer with a hash value for integrity verification.
The conversion of a virtual disk to an E01 disk image is not straightforward. Here, we will see how to do this manipulation for a VM on VMware. We will also explain how to dump the memory (RAM) of the same VM to analyse it with Volatility, for example.
Convert disk
When you create a VM on VMware, you’ll have a new folder vmware/YouVMName. Inside this folder, a bunch of files (hard drive, memory, settings,…).
With VMware, a virtual disk is a .vmdk file. Or, most of the time, several .vmdk files. Usually, virtual disks are split into several files for easier management. Our goal is to convert these .vmdk files into one (or several E0 files).
We need some tools on your part to perform the conversion: qemu-utils and libewf-tools. Install them using these commands
$ sudo apt update
$ sudo apt install qemu-utils libewf-tools
We will attach our virtual disk to a Network Block Device (NBD) and then convert it to E01 format.
First, we load the nbd kernel module and specify the maximum number of partitions for an NBD
$ sudo modprobe nbd max_part=16
Then, we attach the .vmdk file to an nbd
$ sudo qemu-nbd -r -c /dev/nbd0 /path/to/your-vm/disk.vmdk
- -r is for read-only
- -c /dev/nbd0 connects the VMDK to /dev/nbd0
If your VM has a disk split into several .vmdk files, use the first one, the descriptor. It is the smallest (usually several hundred bytes only).
Check if your disk is correctly connected/exposed:
$ sudo fdisk -l /dev/nbd0
If everything goes well, you should see something similar to:
Disk /dev/nbd0: 30 GiB, 32212254720 bytes, 62914560 sectors
Units: sectors of 1 * 512 = 512 bytes
Sector size (logical/physical): 512 bytes / 512 bytes
I/O size (minimum/optimal): 512 bytes / 512 bytes
Disklabel type: dos
Disk identifier: 0xbaf57dc5

Device      Boot Start      End  Sectors Size Id Type
/dev/nbd0p1 *     2048 62912511 62910464  30G  7 HPFS/NTFS/exFAT
One last step: convert to disk to E01 format :
sudo ewfacquire /dev/nbd0
ewfacquire will prompt you with some questions:
- Path to save your image
- Case number, investigator name,…
- Media type (fixed, removable, optical, memory), for a disk image, use fixed
- Media characteristics (physical or logical): use physical
- EWF file format a lot of possible format: use ftk format
- Compression: use default setting
- Compression level: empty-blocks
- Start to acquire at offset: select the value you want. For a full disk, use offset 0
- The number of bytes to acquire: again, select based on your need. If you want the whole disk, keep the default value
- Evidence segment file size: the size of the different E0 files. Between 1MB and 1,9GB.
- The number of byte by sector: select the value provided with the command fdisk -l /dev/nbd0. Probably the default one and often this value is 512.
- The last few questions can use the default value.
At the end, ewfacquire will show a summary of you parameters:
The following acquiry parameters were provided:
Image path and filename:		/home/disk.E01
Case number:
Description:
Evidence number:
Examiner name:
Notes:
Media type:				fixed disk
Is physical:				yes
EWF file format:			FTK Imager (.E01)
Compression method:			deflate
Compression level:			empty-block
Acquiry start offset:			0
Number of bytes to acquire:		30 GiB (32212254720 bytes)
Evidence segment file size:		1.4 GiB (1572864000 bytes)
Bytes per sector:			512
Block size:				64 sectors
Error granularity:			64 sectors
Retries on read error:			2
Zero sectors on read error:		no
After validation, the conversion begins. The speed depends on the size of the disk, the compression level, the number of bytes to acquire,…
Your virtual disk is now properly converted into E0 files. You can mount, manipulate and explore it using RegRipper or your favourite forensics tool!
Export virtual memory to a volatility compatible format
During a forensics investigation, we analyse the disk, but also a dump of the RAM (if available). How can I export and investigate the RAM of a VMware virtual machine? By chance, this manipulation is easier than for the disk.
Only one step: pause the virtual machine. It is not a shutdown, but a pause!

Then, copy the .vmem file from your vmware/YourVMName on your investigation machine.
That’s it! You have a memory dump of your virtual machine ready for Volatility investigation!
This blog post is licensed under
CC BY-SA 4.0


