Run a development environment for Laravel with docker-compose
Jan 5, 2022 by Thibault Debatty | 13521 views
https://cylab.be/blog/190/run-a-development-environment-for-laravel-with-docker-compose
Developing and testing a Laravel project requires to install a substantial number of tools, with the correct version of each: PHP, composer, MySQL database, NPM etc. Moreover, for a substantial project, you will also have to run and test a queue worker and a scheduler. This can become quite complex and long to setup. In this blog post we show how to use docker-compose to run all of these in a single command line…
Updated May 2022: the cylab/laravel-dev image now uses docker-compose-wait to wait for MySQL to be up…
May 2024: an updated version of this post is available at https://cylab.be/blog/336/use-docker-compose-to-create-a-dev-environment-for-laravel-6-7-and-8
Installation
There is only one prerequisite for this setup: you must have Docker and docker-compose correctly installed. So you can even start developing and testing your Laravel project without installing PHP…
The main point to run a Laravel development environment is to create the appropriate docker-compose.yaml file, like in the example below:
#
# docker-compose.yaml
# https://cylab.be/blog/190/run-a-development-environment-for-laravel-with-docker-compose
#
# This docker-compose can be used to run a complete development environment for Laravel projects
#

version: "3"
services:
  web:
    image: cylab/laravel-dev
    depends_on:
      - redis
      - mysql
    ports:
      - 8080:80
    volumes:
      - .:/var/www/html
    env_file: .env
    environment:
      WAIT_HOSTS: mysql:3306

  queue:
    image: cylab/laravel-dev
    depends_on:
      - web
    volumes:
      - .:/var/www/html
    command: ["php", "artisan", "queue:work", "--verbose", "--tries=3", "--timeout=60"]
    restart: unless-stopped
    env_file: .env
    environment:
      WAIT_HOSTS: web:80

  scheduler:
    image: cylab/laravel-dev
    depends_on:
      - cyrange
    volumes:
      - .:/var/www/html
    command: ["/scheduler.sh"]
    env_file: .env
    environment:
      WAIT_HOSTS: web:80

  node:
    image: node:10-alpine
    working_dir: /app
    volumes:
      - .:/app
    entrypoint: /bin/sh -c "npm install && npm run watch-poll"
    depends_on:
      - web

  redis:
    image: redis:4-alpine
    volumes:
      - ./volumes/redis:/data

  mysql:
    image: mysql:5.7
    volumes:
      - ./volumes/mysql:/var/lib/mysql
    environment:
      MYSQL_ROOT_PASSWORD: root
      MYSQL_DATABASE: laravel
This docker-compose runs 6 containers:
- one running a web server for the Laravel app itself;
- one for the Laravel queue worker;
- one for the Laravel scheduler;
- one for a MySQL database;
- one for a redis cache server;
- one container running node in the background, to compile our CSS and JS resources.
The main point is that we use a custom Docker image cylab/laraveldev to run our application. This image has been configured specifically to run Laravel applications. Moreover, when the container starts, it will download composer dependencies, and run database migrations…
The docker-compose description also instructs the 3 laravel-dev containers to use a custom env file called env.dev, like the one below:
#
# env.dev
# https://cylab.be/blog/190/run-a-development-environment-for-laravel-with-docker-compose
#
# Environment file used to run a development environment with docker-compose
#
#

APP_NAME=Laravel
APP_ENV=dev
APP_KEY=base64:ezEe4jH/6EUM2fMWLnco3kuMz1OMStq/XfV456ZwMhc=
APP_DEBUG=true
APP_URL=http://localhost:8080

LOG_CHANNEL=stack

DB_CONNECTION=mysql
DB_HOST=mysql
DB_PORT=3306
DB_DATABASE=laravel
DB_USERNAME=root
DB_PASSWORD=root

BROADCAST_DRIVER=log
CACHE_DRIVER=redis
QUEUE_CONNECTION=redis
SESSION_DRIVER=redis
SESSION_LIFETIME=120

REDIS_HOST=redis
REDIS_PASSWORD=null
REDIS_PORT=6379

MAIL_DRIVER=log
#MAIL_DRIVER=smtp
#MAIL_HOST=smtp.mailtrap.io
#MAIL_PORT=2525
#MAIL_USERNAME=null
#MAIL_PASSWORD=null
#MAIL_ENCRYPTION=null
Starting
You can start your containers with the usual docker-compose command:
docker-compose up

After a few seconds, your Laravel application will be available at http://127.0.0.1:8080
In the background, there is actually a lot that will take place:
- download and install composer libraries;
- start the different servers: MySQL, redis, queue worker, scheduler;
- run migrations to create database tables;
- download and install npm libraries;
- compile CSS and JS source code.
Working on PHP code
Your PHP code is exported as a volume inside the web container (like a shared folder). Hence each time you modify your code on the host machine, the result is immediately visible in your browser (after a refresh of the page)…
Tests
You can also use the web container to run your tests:
docker-compose exec -u www-data web vendor/bin/phpunit --coverage-text
Remark: after running the test, you may have to recreate the DB structure with artisan:
docker-compose exec -u www-data web php artisan migrate:fresh
Using composer
If you need additional composer packages, the composer command must be executed inside the web container:
docker-compose exec web composer require <package>
Working on CSS and JS code
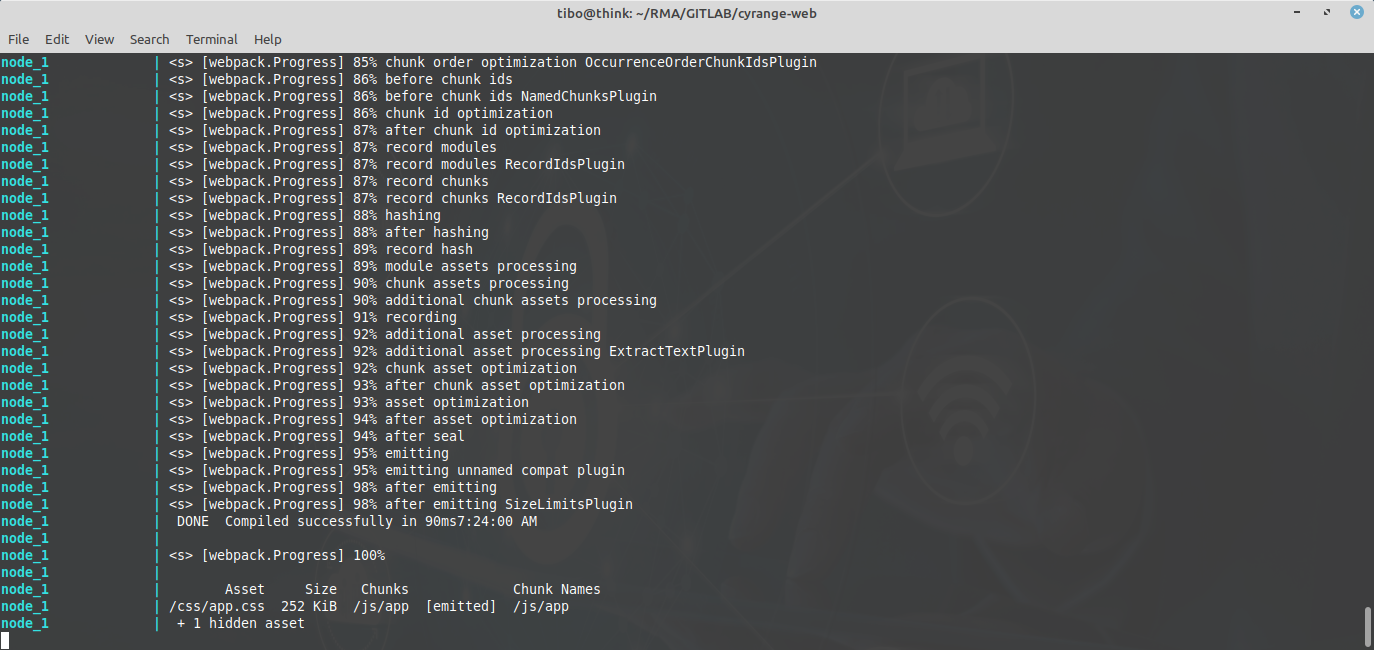
The node container constantly watches your CSS and JS code for modifications. Each time you modify your CSS or JS code on the host machine, the node container will immediately recompile the new assets. Hence the new version is also immediately visible in your browser (after a refresh of the page)…
Using NPM
If you need to install additional npm packages, the npm command must be executed inside the node container:
docker-compose exec node npm install <package>
Using the queue worker
If your project uses queues, the jobs will be executed by a separate queue container. This container is a long lived process. Hence the modifications to PHP code will only be ‘visible’ after restarting the process:
docker-compose restart queue
Volumes and .gitignore
All the data created by the MySQL and redis containers will be stored in local volumes, under the volumes directory. This directory should not be commited to your GIT server. Hence you should add the following to your .gitignore:
/volumes
This blog post is licensed under
CC BY-SA 4.0


