How to analyse HTTPS traffic with mitmproxy transparent mode
Oct 18, 2023 by Arnaud Stoz | 16293 views
https://cylab.be/blog/295/how-to-analyse-https-traffic-with-mitmproxy-transparent-mode
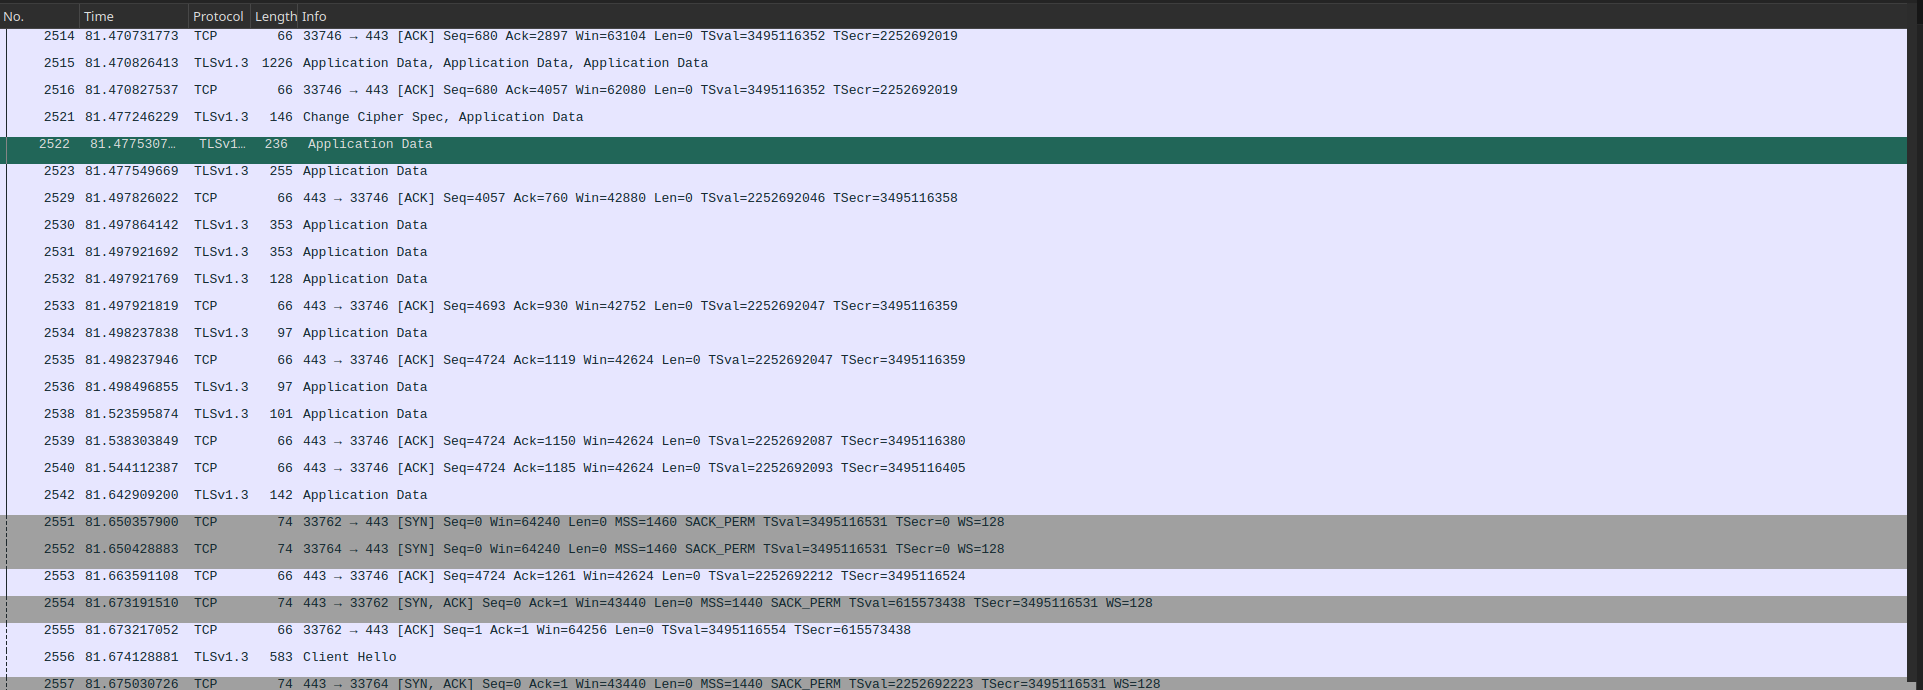
Did you already want to analyze traffic of a specific application, but this traffic is encrypted using TLS? You start wireshark and then stumble upon this very annoying display where you only see encrypted TLS traffic.
You searched for a solution and you already found a few but none of them were working for your case:
SSLKEYLOGFILEenvironment variable solution. Unfortunately for you, you don’t want to analyze HTTPS traffic generated by your browser but by an application.- Using a proxy (burp, mitmproxy,…) to redirect all your traffic to that proxy and be able to analyze it. This solution works well and is not too difficult to set up, but sometimes it can break the application you are trying to analyze because of the presence of the proxy. Sometimes, also, the application bypasses the system HTTP proxy settings. A common example is Android application
Then this post is the right place for you, it will explain how to set up mitmproxy in transparent mode to intercept all your traffic and be able to see all HTTPS traffic in clear.
Disclaimer
This blog post aims at analyzing your own traffic, use it only on your own traffic.
We will only focus on the setup where mitmproxy run on the same machine as the traffic you want to analyze.
This post will explain how to achieve our goal on Linux and more specifically on the Manjaro distribution. Some steps/commands might slightly change if you are on another Linux distribution and will definitely be different if you are using another OS. In case you are using another OS, please refer to the official documentation.
Transparent Proxy
As it is really well explained in the mitmproxy documentation, the real difference between a ‘regular’ proxy and a transparent proxy is: with a ‘regular’ proxy the client is well aware of the presence of the proxy, while in the transparent case, the client does not know the proxy is there, all redirections to the proxy happen in the network layer.
Getting Started
First, you will need to install mitmproxy. You can either find the binary on the official website or some distribution might have it in its package repository.
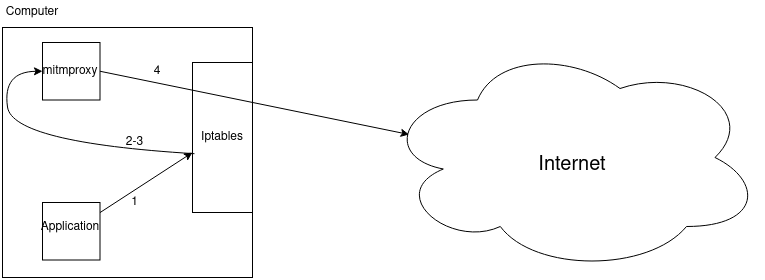
What we are trying to achieve can be seen in the following picture. It’s basically a four-step process:
- The application sends the packet
- The packet is just about to be sent, but it’s intercepted by iptables.
- The packet is redirected by iptables to mitmproxy
- The packet is finally out of the computer after going through mitmproxy.
So there are two steps to prepare this setup:
- Configure iptables to redirect output traffic to mitmproxy
- Configure the computer to trust the mitmproxy certificate.
Configure iptables
The goal of this post is not to explain how iptables works and what is possible to do with it. We will only explain how to do the configuration to redirect traffic to the mitmproxy.
At first sight, we could be tempted to do a very simple rule which could be resumed as follows: Redirect every traffic originated from this computer to the mitmproxy. If you go with this approach, you will quickly notice the issue: you have created an infinite loop !
Indeed, if you create such a rule, there is no way for iptables to distinguish traffic that is already coming from mitmproxy. So traffic coming from mitmproxy will be redirected to mitmproxy !!
To solve this issue you have two possibilities:
- You know the process id of the application: in that case you can use the
-m owner --pid-owner $VALUEwhen defining the rule to only redirect traffic originating from this process to mitmproxy. - You create a new user, run mitmproxy as this new user and redirect all traffic except traffic from this user to mitmproxy.
To create a new user use the following command
sudo useradd --create-home mitmproxyuser
the
--create-homeoption is important as mitmproxy try to create a folder in the/home/$USERdirectory.
Once this new user is created, you can create the iptables rule.
sudo iptables -t nat -A OUTPUT -o $INTERFACE -p tcp -j REDIRECT --to-ports 8080 -m owner ! --uid-owner mitmproxyuser
Here is a quick explanation of the different flags we used :
-A OUTPUT: specify that all packets locally created and just about to be sent will match this rule-o $INTERFACE: the output interface you want to monitor-j REDIRECT --to-ports 8080: the action to take (in this case redirect to port 8080)-m owner ! --uid-owner mitmproxyuser: match all packets that are not originating from mitmproxyuser. Used to break the infinite loop.
If you want to have more details about the options used or even create more specific rule, please have a look at the man page
Once you have set up this rule, you will not have access to internet until you start mitmproxy. In case you need to revert your change, you can run
sudo iptables -F -t nat. This will remove every rule that is in the nat table.
Setup Mitmproxy
Before launching, make sure you have enabled ip forwarding to be sure your OS does not discard the redirected packets. And also the ICMP redirects.
sysctl -w net.ipv4.ip_forward=1
sysctl -w net.ipv6.conf.all.forwarding=1
sysctl -w net.ipv4.conf.all.send_redirects=0
Once you have enabled IP forwarding and disable ICMP redirects, you can launch the mitmproxy as mitmproxyuser
su -c "mitmproxy --mode transparent" mitmproxyuser
The first time mitmproxy is launched it will generate certificates in the ~/.mitmproxy/ folder.
So now exit the mitmproxy process and add the mitmproxy certificates to the trusted one with the following commands:
> sudo cp /home/mitmproxyuser/.mitmproxy/mitmproxy-ca-cert.pem /etc/ca-certificates/trust-source/anchors/mitmproxy-mitmproxyuser-ca-cert.pem
> sudo update-ca-trust extract
You can now launch again your mitmproxy and you should be able to see HTTPS in clear from either your browser, the CLI, application,…. For more explanation about the mitmproxy interface, please refer to the documentation.
Congratulation, you are now able to analyse HTTPS traffic generated by anything on your computer!
This blog post is licensed under
CC BY-SA 4.0


