Compile and install the Linux kernel
May 29, 2024 by Thibault Debatty | 6206 views
https://cylab.be/blog/343/compile-and-install-the-linux-kernel
In this blog post I will show how to configure, compile and install a custom Linux kernel.
But before we start, a warning : an incorrectly configured kernel can make your system unusable (won’t boot) or even destroy your data. So I strongly advice you test this in a dedicated VM.
Also, compiling the kernel requires quite a lot of CPU and memory, so you should assign sufficient resources to the VM. For the examples below I will use a VM with 8 cores, 8GB RAM and Ubuntu server 22.04.
Requirements
sudo apt install -y build-essential libncurses-dev flex bison libelf-dev libssl-dev
Kernel sources
At the time of writing, the latest stable release of the Linux kernel is version 6.9.2, so I will use this one for the example.
wget https://cdn.kernel.org/pub/linux/kernel/v6.x/linux-6.9.2.tar.xz
Extract the source:
tar xf linux-6.9.2.tar.xz
cd linux-6.9.2
Before we start, it’s a good habit to make sure that the directory structure is clean, and remove any previous config or remaining compilation artifact:
make mrproper
Initial kernel configuration
The configuration of the kernel to be compiled is stored in the file .config which we just removed with make mrproper. So we must create a new one. There are two main strategies for this:
- Use the default kernel configuration recommended by the kernel maintainers:
make defconfig
- Or copy the kernel configuration of the currently running kernel (or another kernel installed on your system). Note that this configuration may relate to a different kernel version (see below how to handle this case).
The configuration of the currently installed kernels can be found in different locations, depending on your distribution but is typically:
/lib/modules/$(uname -r)/.configor/boot/config-$(uname -r)
For the example below I will use the configuration of the currently running kernel:
cp /boot/config-$(uname -r) .config
In the example above, you can see that my initial kernel configuration is meant for Linux 5.15.0, while I’m about to compile kernel 6.9.2.
Kernel configuration
The next step is to modify the kernel configuration to fit your needs. There are 3 main possibilities, and I will apply all of them.
1. Update for a more recent kernel
If, like me, you started with a kernel configuration copied for an older kernel, you should update the configuration for the new kernel options. You can do this with
make oldconfig
This will show the new kernel options, with an explanation, and the default value (recommended by the kernel maintainers). Most of the time you can safely hit <enter> to accept the default value. Don’t be surprised, there may be a lot of them!
2. Disable unused modules
To reduce the size of your kernel (and the compilation time), you can disable all modules that are not currently used by your system. Hence building a kernel tailored to your hardware:
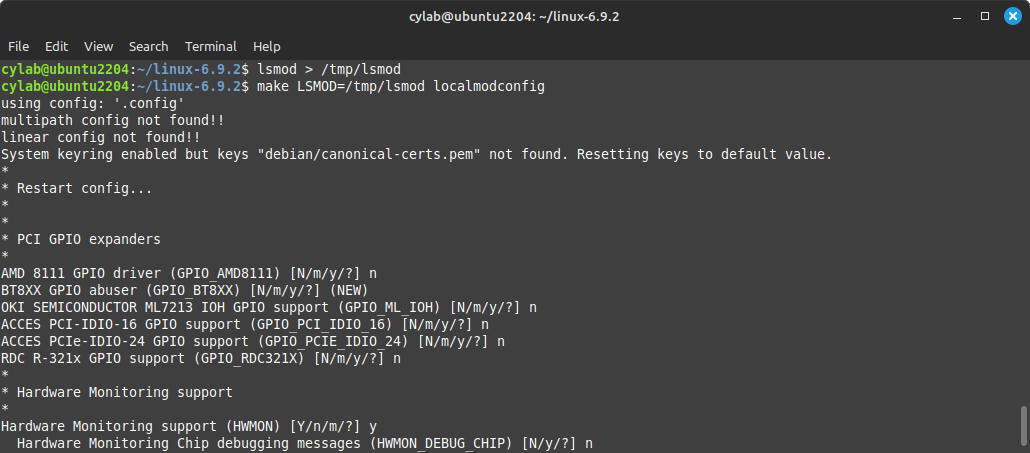
lsmod > /tmp/lsmod
make LSMOD=/tmp/lsmod localmodconfig
Hint: if you are using thinks like Docker, be aware that some modules are only loaded when you start containers. Hence make sure you first start at least one container before you run lsmod and make localmodconfig.
3. Manual config modification
Finally, you can manually modify the configuration with:
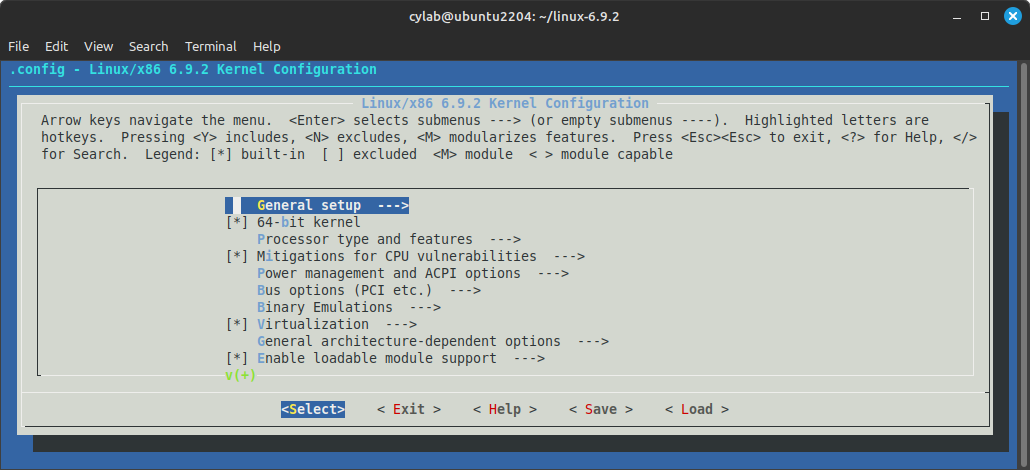
make menuconfig
For example, you can append a kernel version suffix in General setup > Local version
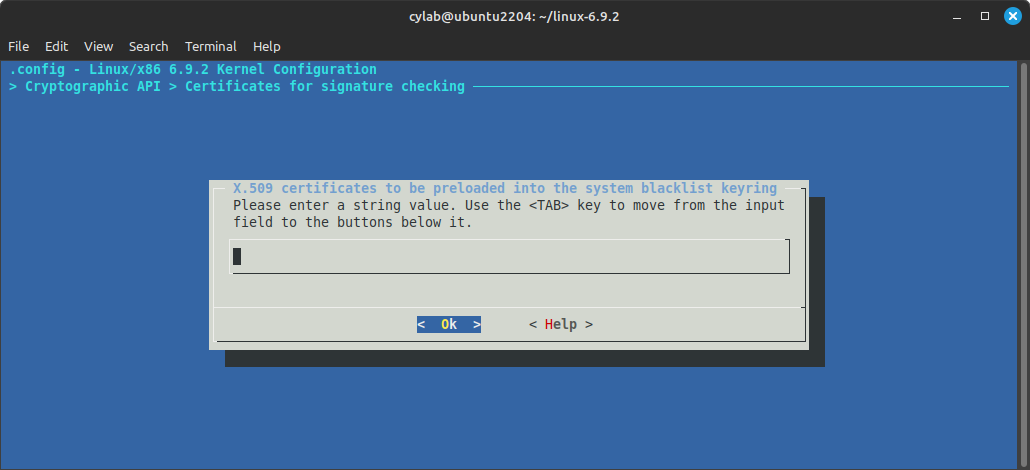
You should also empty the configuration option Cryptographic API > Certificates for signature checking > X.509 certificates to be preloaded into the system blacklist keyring. Otherwize you may get compilation errors.
Once done, you can save your configuration and exit the editor.
Build
You can now build the kernel and modules with:
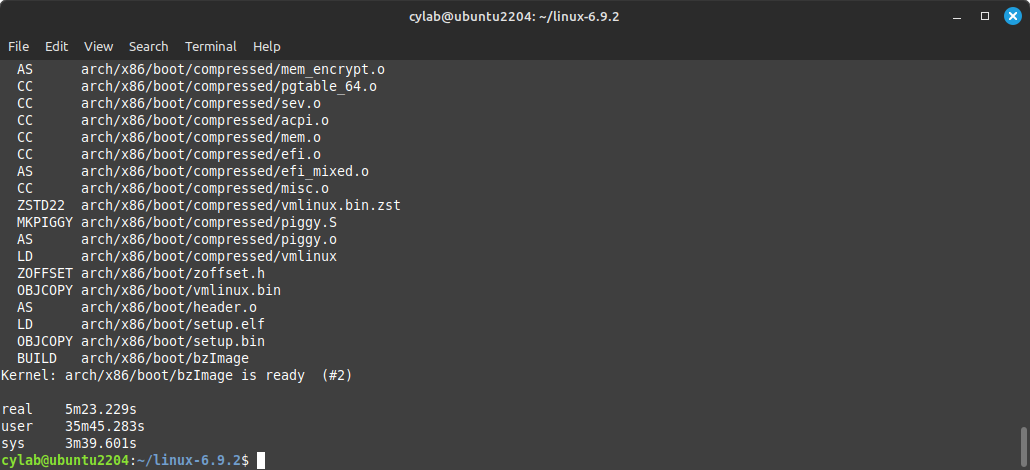
make -j8
-j8 tells make to run up to 8 jobs. So this is also the maximum parallelism of the build process.
As I mentioned above, compiling the kernel is very intensive, so I would recommend to use the number of threads available on your system, or less…
If all goes well, the compilation process should end with Kernel: arch/x86/boot/bzImage is ready. On my VM, this takes roughly 5 minutes.
If something goes wrong, check the previous (hidden) compilation messages…
Installation
There are 2 steps to install the kernel:
- sign the modules and copy them to
/lib/modules/$(uname -r)with:
sudo make modules_install
- install the kernel, initramfs and the GRUB bootloader with:
sudo make install
GRUB customization
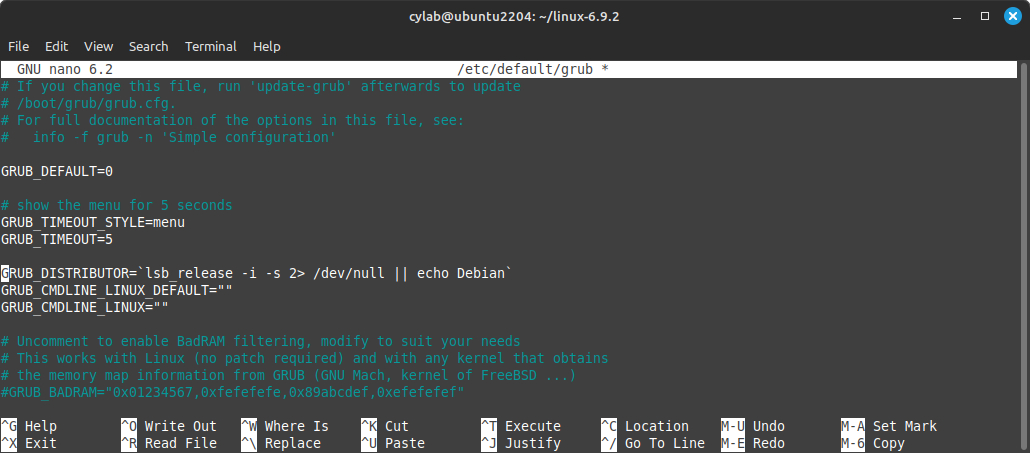
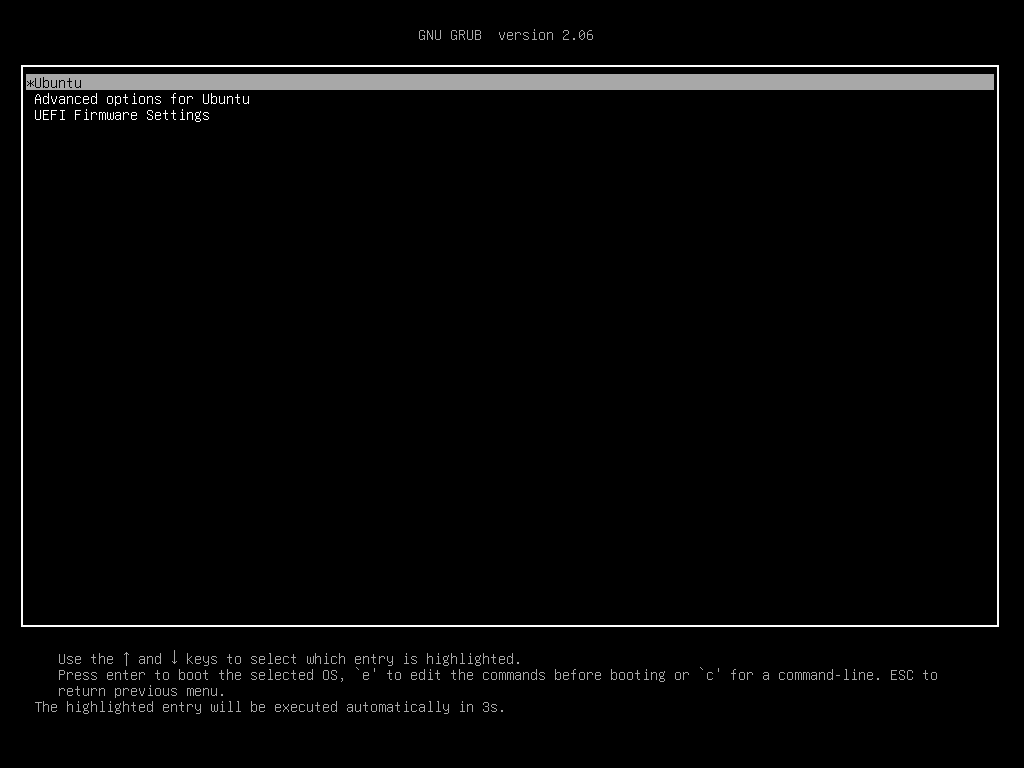
By default, the GRUB bootloader will directly boot the most recent installed kernel. It is a good idea to change the GRUB configuration to show the boot menu for a few seconds. For this purpose, modify /etc/default/grub
GRUB_TIMEOUT=5
GRUB_TIMEOUT_STYLE=menu
Then reinstall the GRUB bootloader:
sudo update-grub
Test
Your new kernel is installed. You can reboot to test your new kernel…
You can check the currently running kernel with
uname -r
This blog post is licensed under
CC BY-SA 4.0


