Virtual Machine Manager : the graphical interface for QEMU
Jun 30, 2024 by Thibault Debatty | 16610 views
https://cylab.be/blog/348/virtual-machine-manager-the-graphical-interface-for-qemu
When discussing desktop hypervisors, one usually think to the main commercial players: VMware Workstation, VMware Fusion (for Mac), Hyper-V (built-in Windows) and VirtualBox. Actually, on Linux QEMU/KVM is also a solution thanks to the Virtual Machine Manager.
Virtual Machine Manager (or virt-manager) is a graphical interface developed by Red Hat for managing virtual machines through the libvirt daemon. So the architecture is similar to something like Docker: the virtual machines are actually managed by a daemon running in the background (libvirtd), and the interface communicates with the daemon using a unix socket.
Installation and first steps
On Debian and derivatives, you can install virt-manager with:
sudo apt install virt-manager
Just to be sure, you can check that libvirt is correctly running in the background with:
sudo service libvirtd status
Also, to allow communication with the daemon, you must be part of the libvirt users group:
grep libvirt /etc/group
This also means that, after the installation, you must logout and login again…
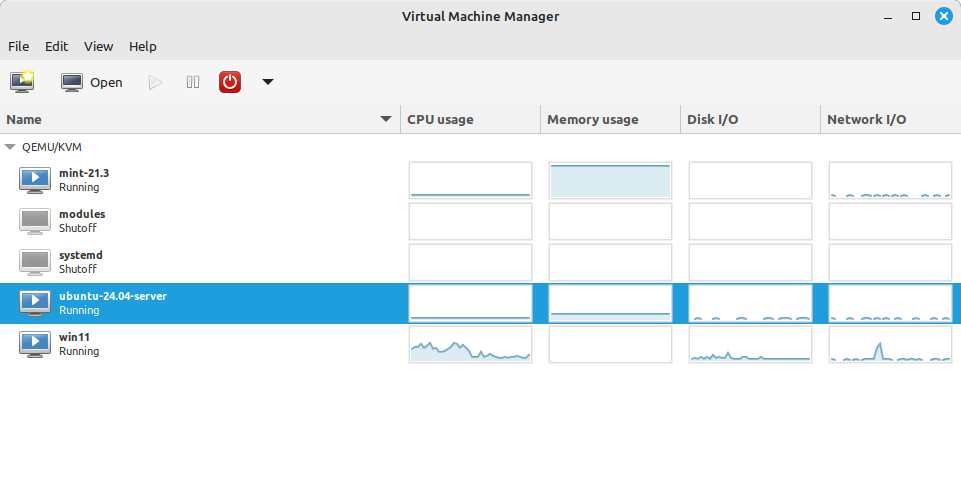
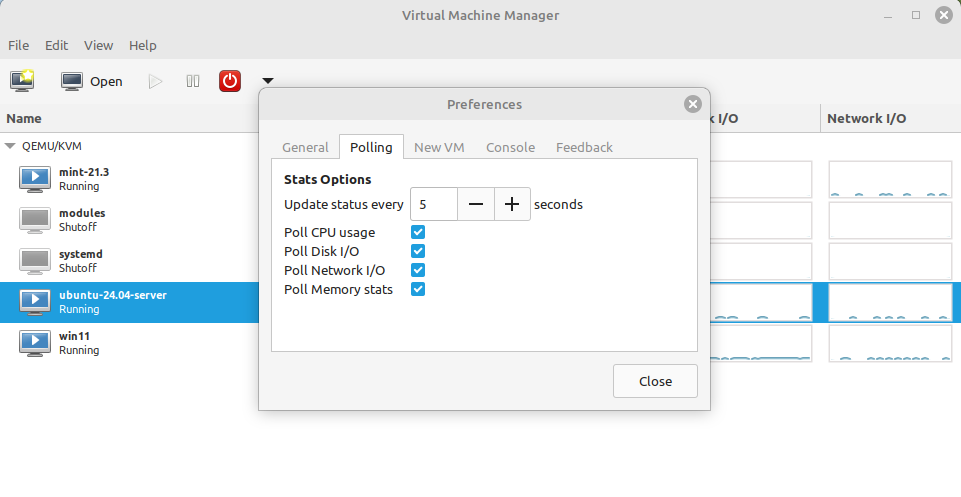
As you may see on the screenshot here-above, virt-manager can show in real time the CPU, memory, network and storage utilization of every guest machine. But this is not enabled by default. You can enable these by heading to Edit > Preferences > Polling
Guest OS Support
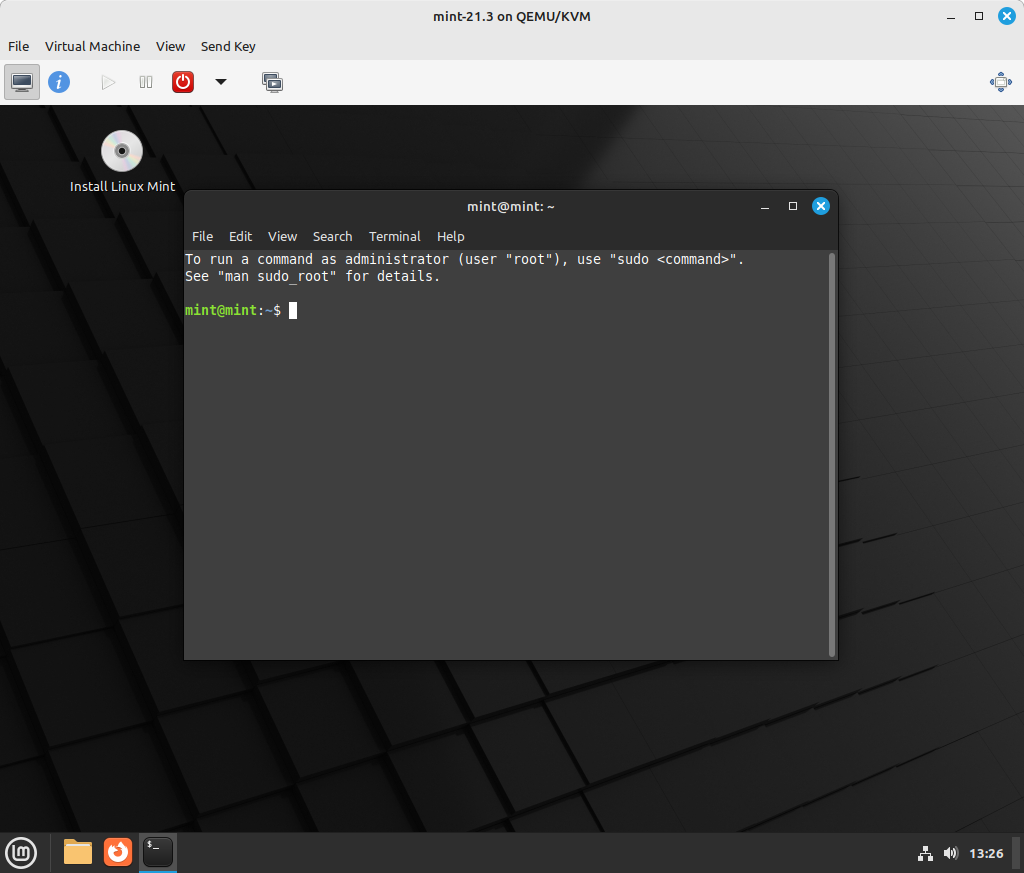
Until now, virt-manager supported every OS I could test, including Ubuntu Server, Linux Mint and Windows 11.

Guest configuration Interface
The guest configuration interface may look a little ‘rough on the edges’ compared to competitors like VirtualBox, but it actually offer more details and control.

For example, virt-manager allows to create a virtual disk using iSCSI, GlusterFS as a backend.

Storage pools
In virt-manager all storage media are organized in pools. This includes DVD ISO images that you use during installation. This means that, to use an ISO for installing a new VM, you must first create a pool for the folder containing your ISO images.
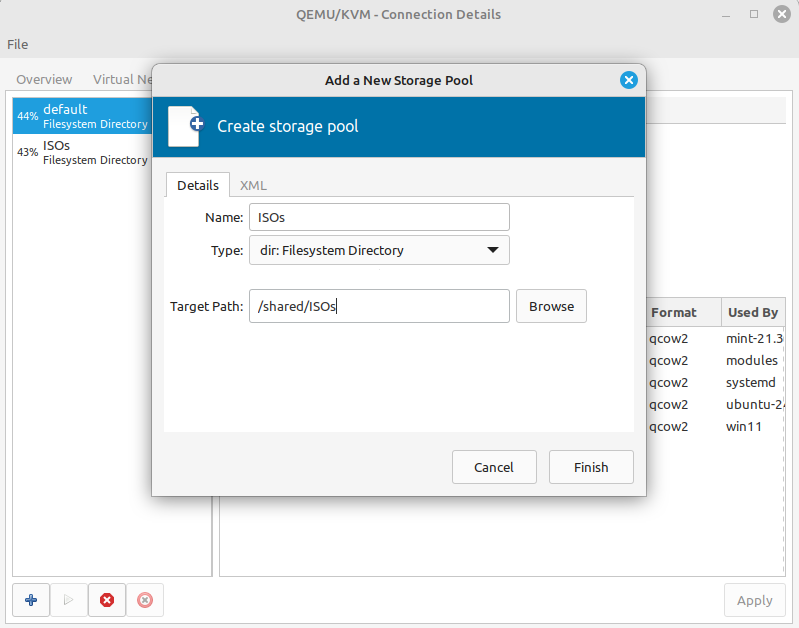
To do so, open the menu Edit > Connection Details (the connection represent the host computer). Then open the Storage tab. The left column lists all existing storage pools. At the first one, there should be only the default storage pool.

To add a storage pool for your ISO images, click on the + icon at the bottom left, type an appropriate name, for the Type select “Filesystem Directory”, and for the Target Path select the directory where your ISO images are saved…
You are now all set to create your first VM. The process is quite straightforward…
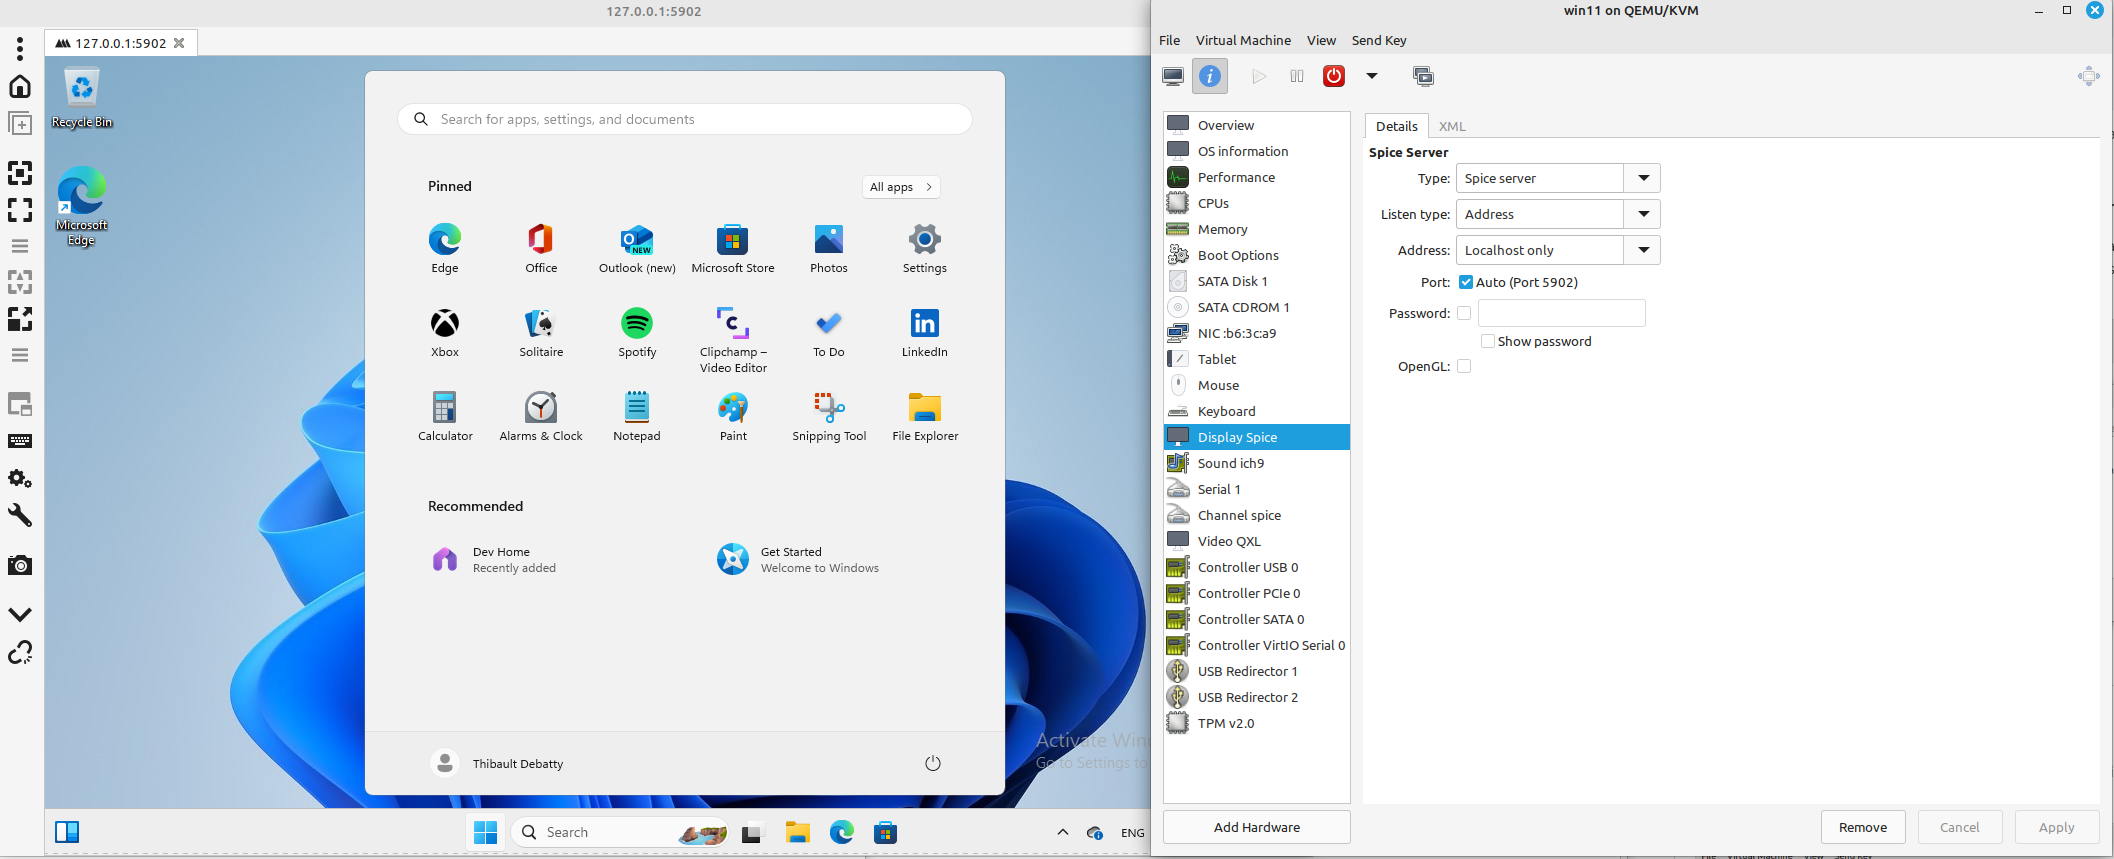
Remote desktop
By default, virt-manager will enable the SPICE (Simple Protocol for Independent Computing Environments) server for each VM, which means you can access the screen and keyboard of the VM using the built-in SPICE client, or any SPICE compatible client like remmina.
Shared clipboard and guest auto resize
Shared clipboard between the host and the guest and guest auto resize are also supported but, just like VirtualBox and others, you must install a helper on the VM.
Ubuntu / Debian VM
For Ubuntu, Debian and other derivatives, you can install the SPICE guest with:
sudo apt install spice-vdagent
Then reboot your VM and check that the spice-vdagent service is running:
sudo systemctl status spice-vdagent
Shared clipboard should now be working.
You can also enable guest auto resize in the menu: View > Scale Display > Auto resize VM
Windows
For Windows guests, you can download the latest version of the installer from
https://fedorapeople.org/groups/virt/virtio-win/direct-downloads/latest-virtio/

Pay attention, there are 2 installers to download and run : virtio-win-gt-x64.msi and virtio-win-guest-tools.exe. Then reboot the VM.
Shared clipboard should now be working. And you can now enable guest auto resize in the menu: View > Scale Display > Auto resize VM.
This blog post is licensed under
CC BY-SA 4.0


