Setting up Elasticsearch and Kibana with Docker and PHP
Apr 15, 2026 by Thibault Debatty | 1781 views
https://cylab.be/blog/500/setting-up-elasticsearch-and-kibana-with-docker-and-php
Elasticsearch is a powerful database for storing and querying textual logs or time series. In this tutorial, we will show you how to set up Elasticsearch and Kibana with Docker and PHP. We will use a Docker Compose file to define the services and environment variables, and a PHP script to configure the Elasticsearch API keys.

Prerequisites
- Docker installed on your system
- PHP installed on your system
- Composer installed on your system
Elasticsearch and Kibana
To setup your Elasticsearch and Kibana stack, create a docker-compose.yaml with the following content:
#
# https://cylab.be/blog/500/setting-up-elasticsearch-and-kibana-with-docker-and-php
#
services:
  elasticsearch:
    image: docker.elastic.co/elasticsearch/elasticsearch:${ES_VERSION}
    volumes:
      - elasticsearch:/usr/share/elasticsearch/data
    ports:
      - 127.0.0.1:9200:9200
    environment:
      - discovery.type=single-node
      - ELASTIC_PASSWORD=${ES_PASSWORD}
      - xpack.security.enabled=true
      - xpack.security.http.ssl.enabled=false
      - xpack.license.self_generated.type=basic
      - xpack.ml.use_auto_machine_memory_percent=true
    ulimits:
      memlock:
        soft: -1
        hard: -1
    healthcheck:
      test:
        [
          "CMD-SHELL",
          "curl --output /dev/null --silent --head --fail -u elastic:${ES_PASSWORD} http://elasticsearch:9200",
        ]
      interval: 10s
      timeout: 10s
      retries: 30

  kibana:
    image: docker.elastic.co/kibana/kibana:${ES_VERSION}
    depends_on:
      elasticsearch:
        condition: service_healthy
    volumes:
      - kibana:/usr/share/kibana/data
    ports:
      - 127.0.0.1:5601:5601
    environment:
      - SERVER_NAME=kibana
      - ELASTICSEARCH_HOSTS=http://elasticsearch:9200
      - ELASTICSEARCH_USERNAME=kibana_system
      - ELASTICSEARCH_PASSWORD=${KIBANA_PASSWORD}
      - XPACK_ENCRYPTEDSAVEDOBJECTS_ENCRYPTIONKEY=${KIBANA_ENCRYPTION_KEY}
      - ELASTICSEARCH_PUBLICBASEURL=http://localhost:9200
      - XPACK_SPACES_DEFAULTSOLUTION=es

volumes:
  elasticsearch:
  kibana:
As you could notice, this docker stack uses environment variables ES_VERSION, ES_PASSWORD, KIBANA_PASSWORD (the password that Kibana will use to save configuration into Elasticsearch) and KIBANA_ENCRYPTION_KEY.
So we also need a .env file to define these, and don’t forget to modify the passwords and encryption keys:
#
# https://cylab.be/blog/500/setting-up-elasticsearch-and-kibana-with-docker-and-php
#
ES_VERSION=9.2.3
ES_PASSWORD=PD6NTLSdavon5qi
ES_HOST="127.0.0.1:9200"
ES_API_KEY_NAME=key-for-my-php-application

# password used by Kibana to connect to ElasticSearch
KIBANA_PASSWORD=ldPCgF6jIyqqpNA
KIBANA_ENCRYPTION_KEY=oNHF46liPW2OECccx7BRfSZaDXfB3PvS
✨ KIBANA_ENCRYPTION_KEY must be at least 32 characters and is used to encrypt user session information and security-related cookies. Without a static, explicitly defined key, Kibana generates a random value at startup, which causes all user sessions to be invalidated upon restart.
https://www.elastic.co/docs/deploy-manage/security/using-kibana-with-security
You can now start the stack with:
docker compose up
After a few seconds Elasticsearch and Kibana should start without issue, but Kibana is not usable yet, as the password for user kibana_system (KIBANA_PASSWORD) is not configured in Elasticsearch. We’ll do this with our PHP code…
PHP code
1. Composer
For this PHP code we will need some composer libraries…
To read the .env file:
composer require vlucas/phpdotenv
To set the password of user kibana_system and create an API key:
composer require drimt/elastic-client
Optionally, to save data to Elasticsearch:
composer require elasticsearch/elasticsearch
2. PHP setup code
We can now add PHP code to setup the password of user kibana_system and create an API key. I like to keep this code in a dedicated file, for example setup.php
<?php
#
# https://cylab.be/blog/500/setting-up-elasticsearch-and-kibana-with-docker-and-php
#

require_once __DIR__ . '/vendor/autoload.php';

use Dotenv\Dotenv;
use Drimt\ElasticClient\ElasticClient;

// -----------------------------
// load environment variables from .env
$dotenv = Dotenv::createImmutable(__DIR__);
$dotenv->safeLoad();

$es_host = $_ENV['ES_HOST'];
$es_username = 'elastic';
$es_password = $_ENV['ES_PASSWORD'];
$es_api_key_name = $_ENV['ES_API_KEY_NAME'];

$kibana_password = $_ENV["KIBANA_PASSWORD"];


$client = new ElasticClient($es_host, $es_username, $es_password);

// -----------------------------
// set password for user kibana_system
$client->post("/_security/user/kibana_system/_password",
    ['password' => $kibana_password]);

// -----------------------------
// delete old API keys
foreach ($client->keys()->active() as $key) {
    if ($key->name === $es_api_key_name) {
        $key->delete();
    }
}

// -----------------------------
// create a new api key
$es_api_key = $client->keys()->create($es_api_key_name);
// $_ENV['ES_API_KEY'] = $es_apii_key;
3. Use the API key
With this setup code in place, we can use the key to save data to Elasticsearch:
<?php
use Elastic\Elasticsearch\Client;
use Elastic\Elasticsearch\ClientBuilder;
$client = ClientBuilder::create()
->setHosts([$es_host])
->setApiKey($es_api_key)
->build();
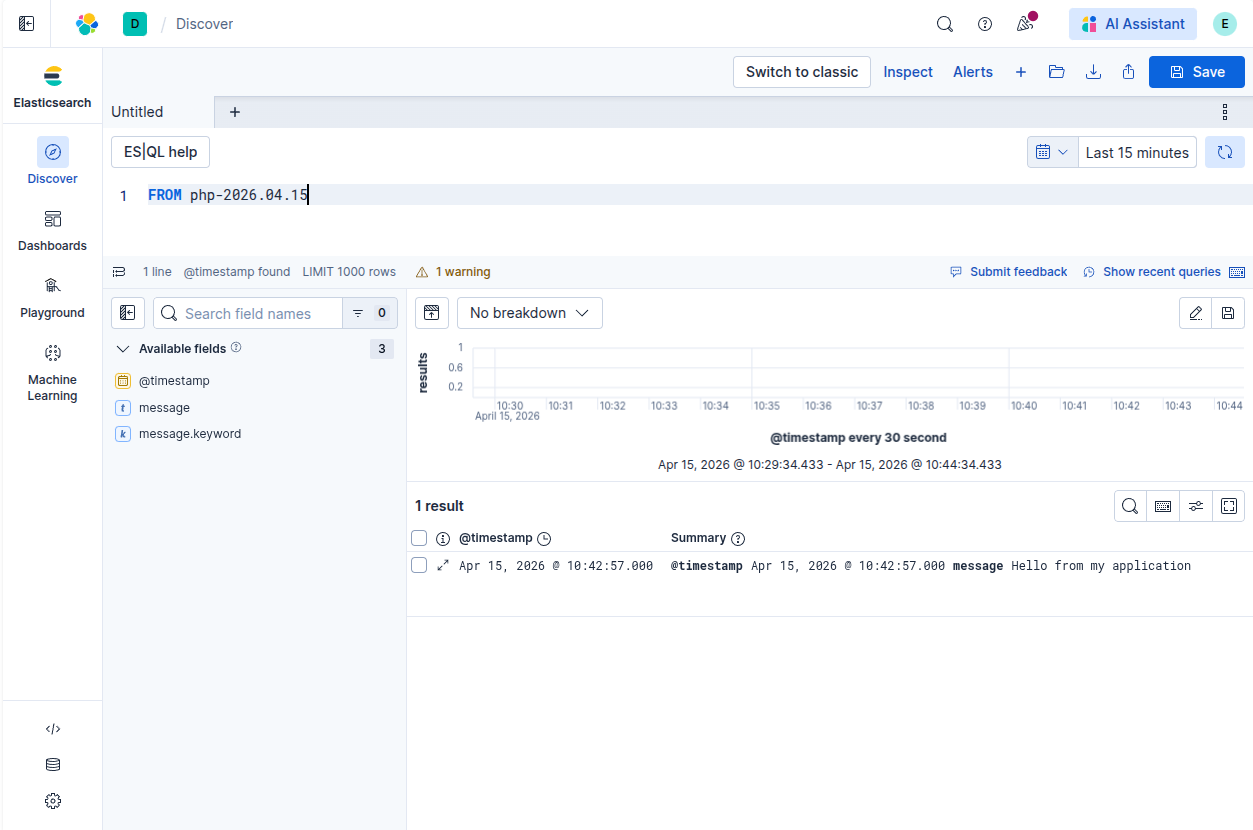
$index = "php";
$record = [
'@timestamp' => gmdate('c'),
'message' => "Hello from my application"];
try {
$client->index([
"index" => $index . "-" . date("Y.m.d"),
"body" => $record]);
} catch (\Throwable $e) {
fwrite(
STDERR,
"Elasticsearch error: " . $e->getMessage() . PHP_EOL,
);
}
Use Kibana
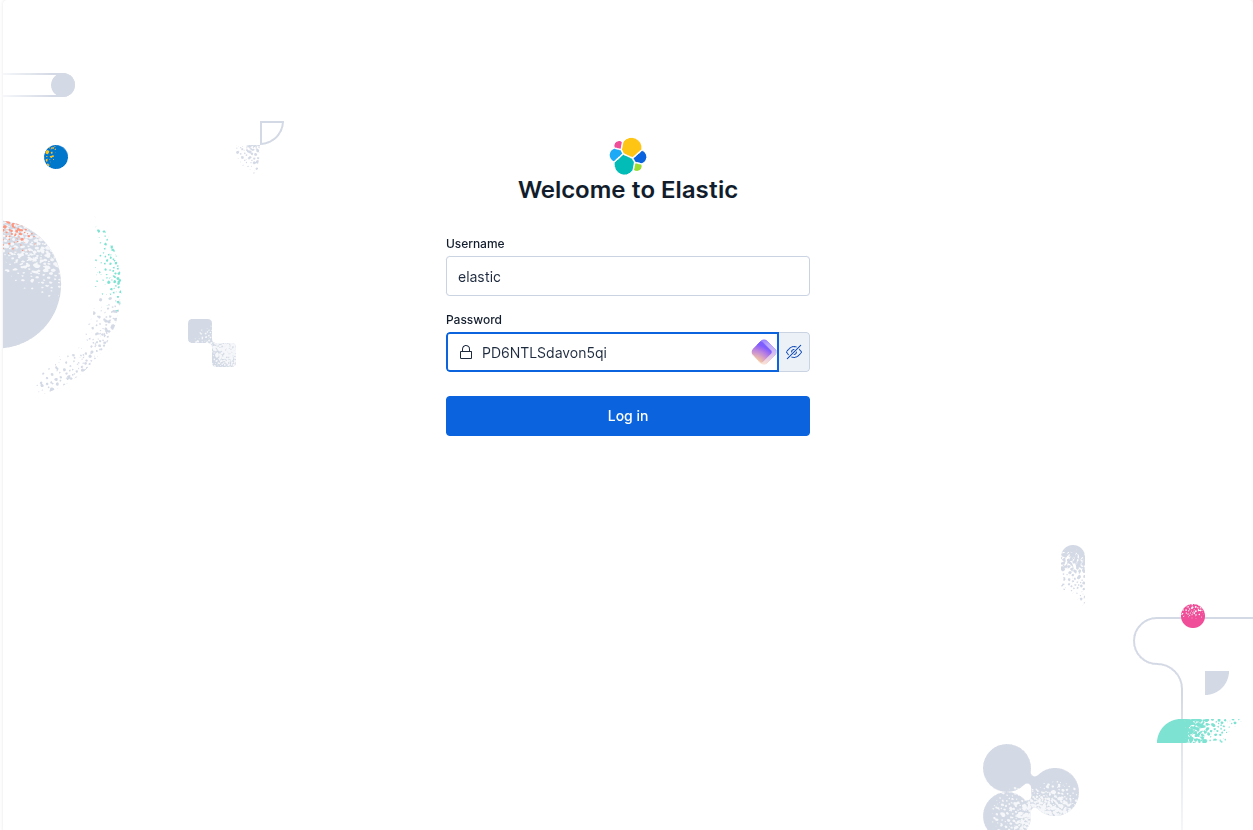
Kibana and your data will now be available at http://127.0.0.1:5601, using username elastic and the password you defined in your .env (ES_PASSWORD).
This blog post is licensed under
CC BY-SA 4.0


