Firewall Automation with OPNSense API and PHP
May 27, 2025 by Thibault Debatty | 14085 views
https://cylab.be/blog/421/firewall-automation-with-opnsense-api-and-php
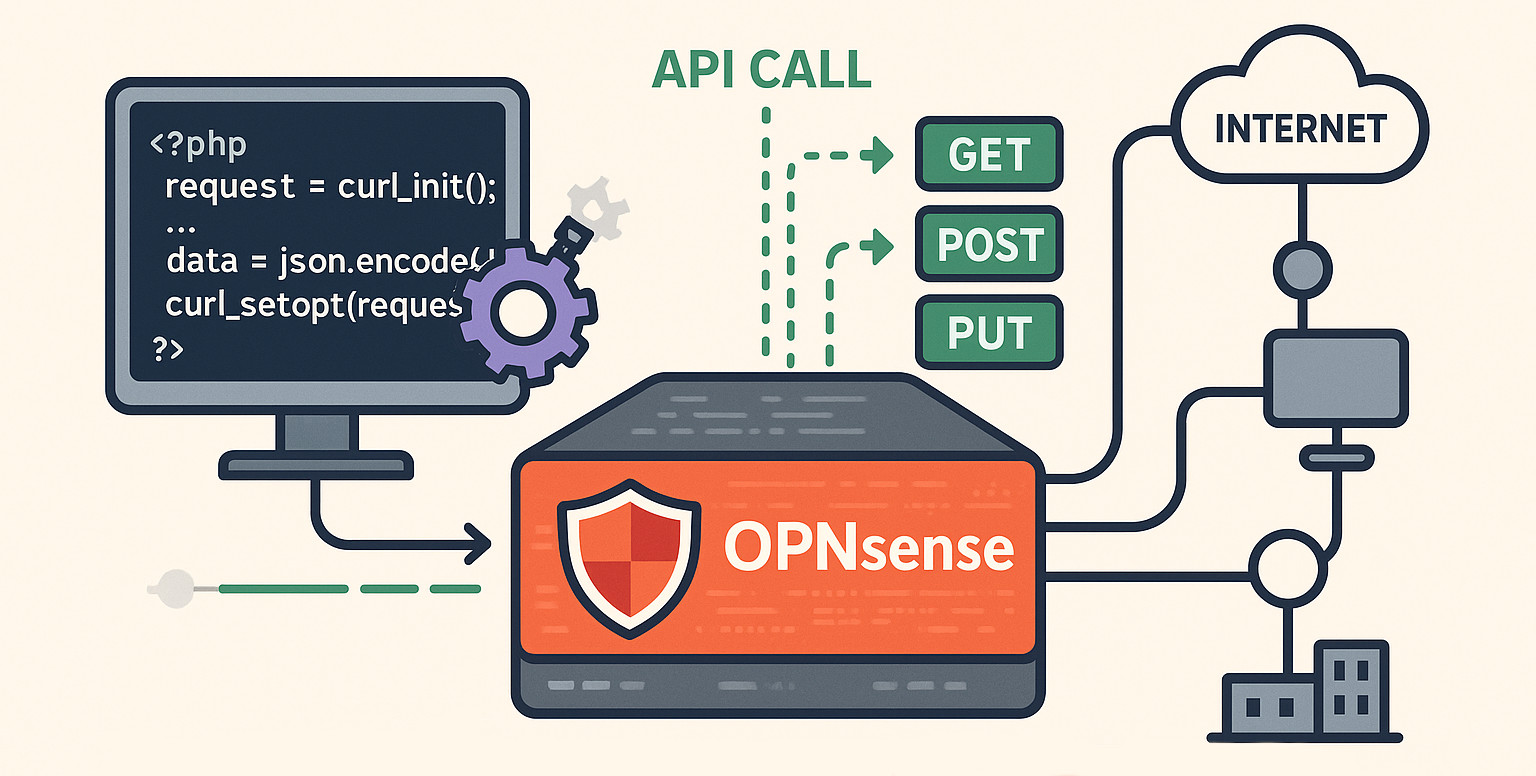
OPNsense is a powerful open-source firewall and network security platform that offers a wide range of features and tools for securing your network. One of the key benefits of OPNsense is its extensive API, which allows developers and administrators to automate and integrate various tasks and workflows into their existing infrastructure. In this blog post, we’ll explore how to interact with the OPNsense API using PHP and cURL, and demonstrate how to automate the creation, modification, and toggling of firewall rules using the API.
Credentials
First you’ll need an a pair of key and secret for your code to access the API.
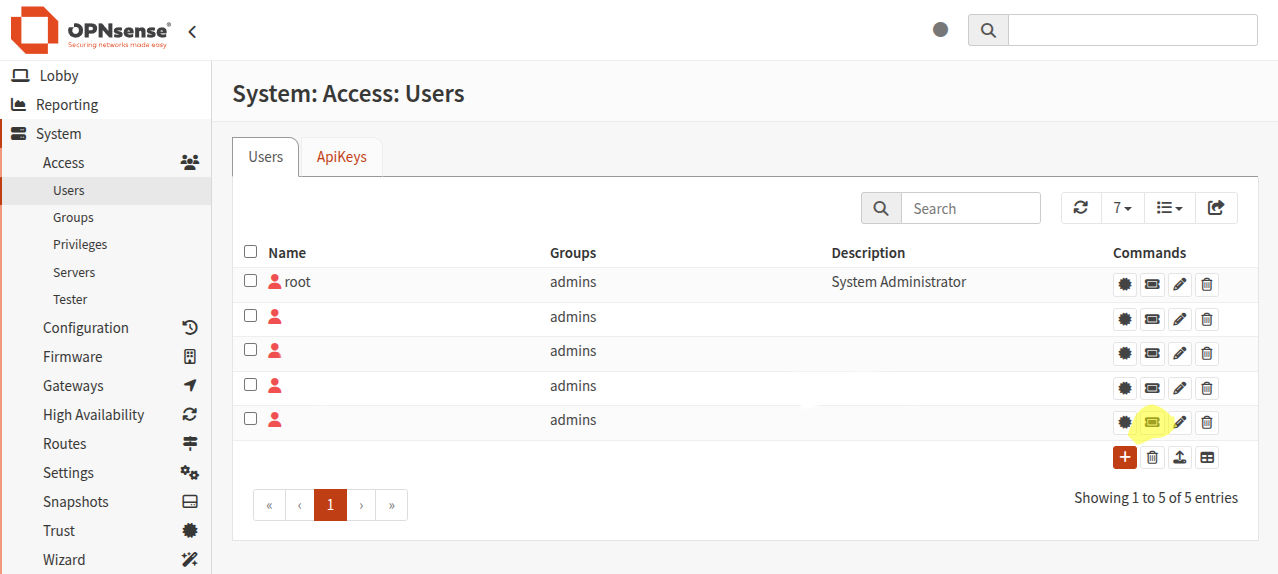
On the web interface of your OPNsense instance, head to System > Access > Users and create a new user (if required).
Then click on the small ticket icon next to the user This will create and download a key and secret for the user.
Perform GET requests
To list firewall rules we’ll perform GET requests to the API endpoint. So here is some basic cURL code to do so. Notice that I split the code in 2 functions:
curl()prepares a generic curl resource andget()performs the actual GET request
This way I can reuse the curl() function later to perform POST requests.
$key="your-key-goes-here";
$secret="your-secret-goes-here";
$root_url = "https://ip.or.address.of.opnsense/api/";


/**
 * Prepare a cURL request
 */
function curl(string $command)
{
    global $key, $secret, $root_url;
    $ch = curl_init($root_url . $command);

    //curl_setopt($ch, CURLOPT_VERBOSE, true);
    curl_setopt_array($ch, [
        CURLOPT_RETURNTRANSFER => true,
        CURLOPT_USERPWD => "$key:$secret",
        // Verify server certificate. Must be false if you use self-signed certificate
        CURLOPT_SSL_VERIFYPEER => false,
        // Verify that hostname and and certificate name match
        // must be false if you use the IP of OPNsense for example
        CURLOPT_SSL_VERIFYHOST=> false,
        CURLOPT_TIMEOUT => 5]);

    return $ch;
}


/**
 * Perform a GET request.
 */
function get(string $command)
{
    $ch = curl($command);
    $response = curl_exec($ch);
    curl_close($ch);
    return json_decode($response);
}
List firewall rules
We can now list firewall rules by performing a GET request to the endpoint firewall/filter/search_rule
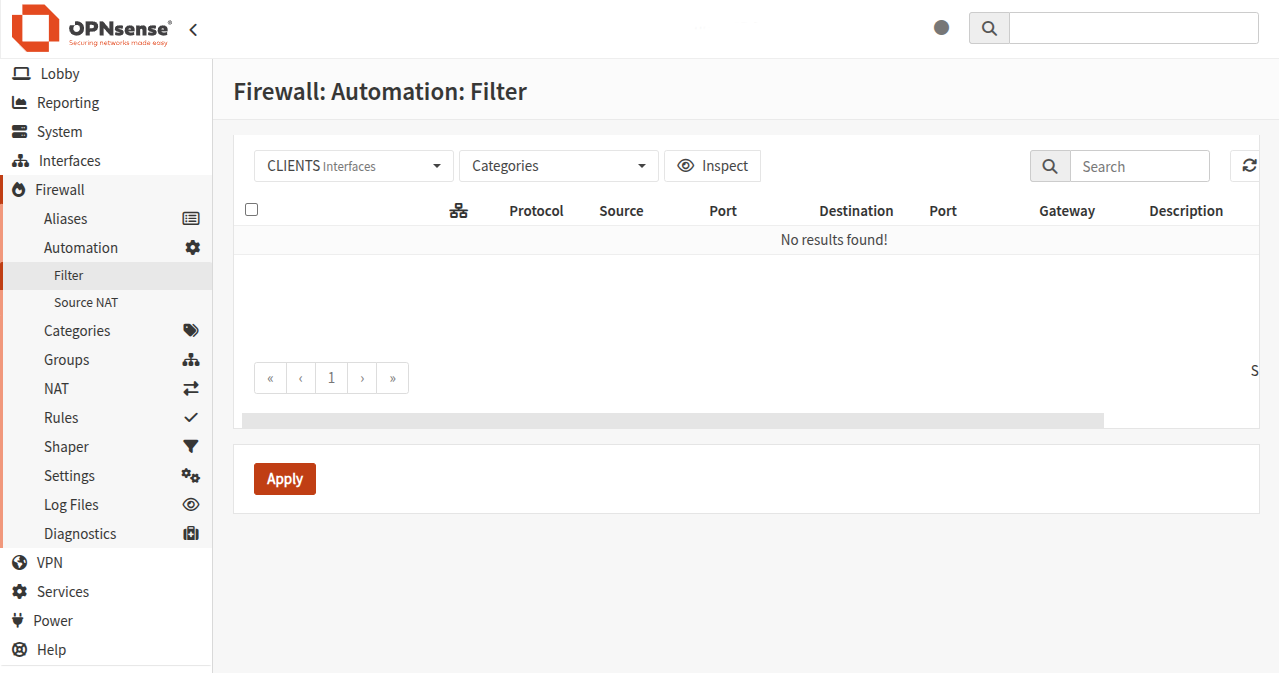
There is however one caveat here: by default the firewall API endpoints only show rules created under the Firewall > Automation > Filter page of the web interface. Rules created on the page Firewall > Rules are hidden, unless you add the parameter show_all.
Hence we can list firewall rules with a call like:
var_dump(get("firewall/filter/search_rule?interface=opt1&show_all=1"));
Which would result in something like:
object(stdClass)#41 (4) {
  ["total"]=> int(20)
  ["rowCount"]=> int(20)
  ["current"]=> int(1)
  ["rows"]=> array(20) {
    [0]=> object(stdClass)#78 (31) {
      ["@attributes"]=> object(stdClass)#77 (1) {
        ["uuid"]=> string(36) "ee5d02c1-0331-408d-9931-1640e24d6b3d"
      }
      ["interface"]=> string(7) "LAN"
      ["ipprotocol"]=> string(9) "IPv4+IPv6"
      ["statetype"]=> string(10) "keep state"
      ["direction"]=> string(2) "in"
      ["log"]=> string(1) "1"
      ["quick"]=> string(1) "1"
      ["source"]=> object(stdClass)#79 (1) {
        ["any"]=> string(1) "1"
      }
      ["destination"]=> object(stdClass)#80 (1) {
        ["any"]=> string(1) "1"
      }
      ["updated"]=> object(stdClass)#81 (3) {
        ["username"]=> string(15) "user@192.168.12.34"
        ["time"]=> string(15) "1748264207.0725"
        ["description"]=> string(37) "/firewall_rules_edit.php made changes"
      }
      ["created"]=> object(stdClass)#82 (3) {
        ["username"]=> string(18) "user@192.168.12.34"
        ["time"]=> string(15) "1705320013.2126"
        ["description"]=> string(37) "/firewall_rules_edit.php made changes"
      }
      ["seq"]=> int(16)
      ["#priority"]=> int(400000)
      ["enabled"]=> string(1) "1"
      ["action"]=> string(4) "Pass"
      ["replyto"]=> string(0) ""
      ["description"]=> string(38) "allow access to the INTERNET"
      ["source_net"]=> string(0) ""
      ["source_port"]=> string(0) ""
      ["destination_net"]=> string(0) ""
      ["destination_port"]=> string(0) ""
      ["ref"]=> string(37) "firewall_rules_edit.php?if=opt1&id=16"
      ["uuid"]=> string(32) "9ff2170e03513264d733fbe9a7c5d164"
      ["sort_order"]=> string(14) "400000.1000039"
      ["legacy"]=> bool(true)
      ["pf_rules"]=> int(2)
      ["evaluations"]=> int(0)
      ["packets"]=> int(0)
      ["bytes"]=> int(0)
      ["states"]=> int(0)
      ["category_colors"]=> array(0) {
      }
    }
  }
}
⚠ Note
In the API call, we must indicate the physical interface name (opt1), while the returned rule show the logical interface name (LAN ).
📑 Reference
The complete list of firewall endpoints is available at https://docs.opnsense.org/development/api/core/firewall.html
And the full API reference at https://docs.opnsense.org/development/api.html
Rule UUID
You may have noticed from the example above that rules have 2 different UUIDs. To modify or toggle a rule, you must use the @attributes UUID (ee5d02c1-0331-408d-9931-1640e24d6b3d in the example above). You can extract the UUID of a rule like this:
$result = get("firewall/filter/search_rule?interface=opt1&show_all=1");
$rule = $result->rows[19];

var_dump($rule->{'@attributes'}->uuid);
POST requests
To create or update rules, we will have to perform POST requests, so here is a simplified code that reuses the previous curl() function:
function post(string $command, array $payload = []) {
    $ch = curl($command);

    curl_setopt_array($ch, [
        CURLOPT_POST => true,
        CURLOPT_POSTFIELDS => json_encode($payload),
        CURLOPT_HTTPHEADER => ['Content-Type: application/json']
    ]);

    $response = curl_exec($ch);
    curl_close($ch);
    return json_decode($response);
}
Create firewall rules
You can now create a new firewall rule with a call like:
$rule = [
    "description" => "A test rule",
    "interface" => "opt1",
    "ipprotocol" => "inet",
    "source_net" => "192.168.0.0/24",
    "destination_net" => "10.0.0.0/24",
    "action" => "pass"];

var_dump(post("firewall/filter/add_rule", ["rule" => $rule]));

// apply modifications
var_dump(post("firewall/filter/apply"));
This will produce an output like:
object(stdClass)#41 (2) {
  ["result"]=>
  string(5) "saved"
  ["uuid"]=>
  string(36) "8575ada5-6733-4fdc-8ced-c00b819308e3"
}
object(stdClass)#41 (1) {
  ["status"]=>
  string(4) "OK

"
}
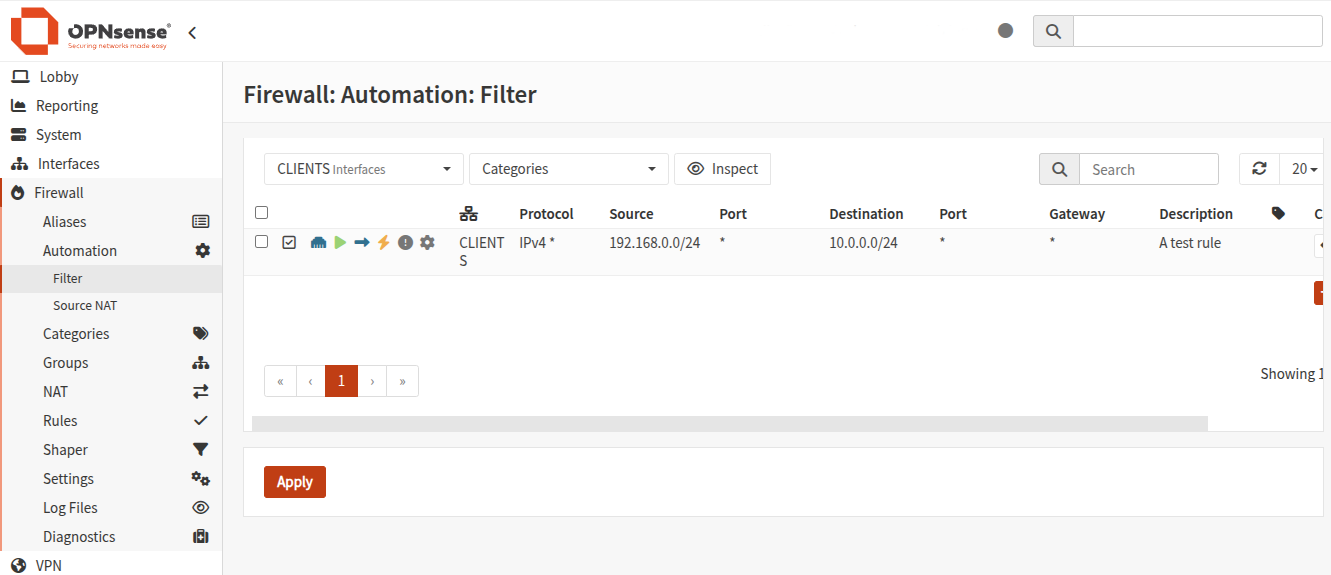
And the new rule will appear on the web interface on the Automation page.
Toggle firewall rule
You can also use the API to modify or toggle firewall rule, but only for Automation rules:
var_dump(post("firewall/filter/toggle_rule/8575ada5-6733-4fdc-8ced-c00b819308e3"));

// apply change
var_dump(post("firewall/filter/apply"));
Conclusion
In this blog post, we explored how to interact with the OPNsense API using PHP and cURL. By following the examples and explanations in this post, you should be able to successfully interact with the OPNsense API using PHP and cURL, to create complex security systems to leverage the power of OPNsense security applicances.
This blog post is licensed under
CC BY-SA 4.0


