Centralized Identity and Access Management (IAM) : First steps with Keycloak and OIDC
Jun 9, 2026 by Thibault Debatty | 1422 views
In today’s digital landscape, applications and web services tend to multiply. Securing access to your applications and managing user identities can quickly become a serious burden. Keycloak, a robust open-source Identity and Access Management (IAM) solution, allows to centrally manage authentication, authorization, and user management. In this blog post, we’ll walk you through the process of setting up Keycloak using Docker and Docker Compose, configuring realms, creating users, setting up clients, and testing the integration.
Installation
Create a dedicated directory:
mkdir keycloak
cd keycloak
Then create the docker-compose.yml for your keycloak application:
#
# Keycloak with PostreSQL database
# https://cylab.be/blog/509/centralized-identity-and-access-management-iam-first-steps-with-keycloak-and-oidc
#

services:
  postgres:
    image: postgres:17
    restart: unless-stopped
    environment:
      POSTGRES_DB: keycloak
      POSTGRES_USER: keycloak
      POSTGRES_PASSWORD: keycloak
    volumes:
      - postgres:/var/lib/postgresql/data

  keycloak:
    image: quay.io/keycloak/keycloak:26.6.3
    restart: unless-stopped
    depends_on:
      - postgres
    ports:
      - "8080:8080"
    environment:
      KC_BOOTSTRAP_ADMIN_USERNAME: admin
      KC_BOOTSTRAP_ADMIN_PASSWORD: admin

      KC_HTTP_ENABLED: true

      # in production, you MUST specify a valid hostname and use HTTPS
      #KC_HOSTNAME: https://keyckloak.mydomain.com
      KC_HOSTNAME: localhost

      KC_DB: postgres
      KC_DB_URL_HOST: postgres
      KC_DB_URL_DATABASE: keycloak
      KC_DB_USERNAME: keycloak
      KC_DB_PASSWORD: keycloak
    # in production, use
    #command: start
    command: start-dev

volumes:
  postgres:
In this configuration we use a PostreSQL database to store keycloak data. We also expose keycloak on port 8080 and without https, so in production you must enable https or add a reverse proxy with TLS termination!
https://www.keycloak.org/server/configuration-production
You can now start the stack:
docker compose up
After a few seconds keycloak will be available at http://127.0.0.1:8080

Realm
In Keycloak, a realm is the equivalent of a tenant, which allows to manage multiple independent organizations on a single Keycloak instance.
By default Keycloak comes with a single realm called master (or Keycloak) which should only be used to manage the Keycloak instance itself. So the first step should be to create a new realm. In the example below I called min cylab.

User
We can now create our users…
⚠ In the top-left corner, make sure you have selected the cylab realm.
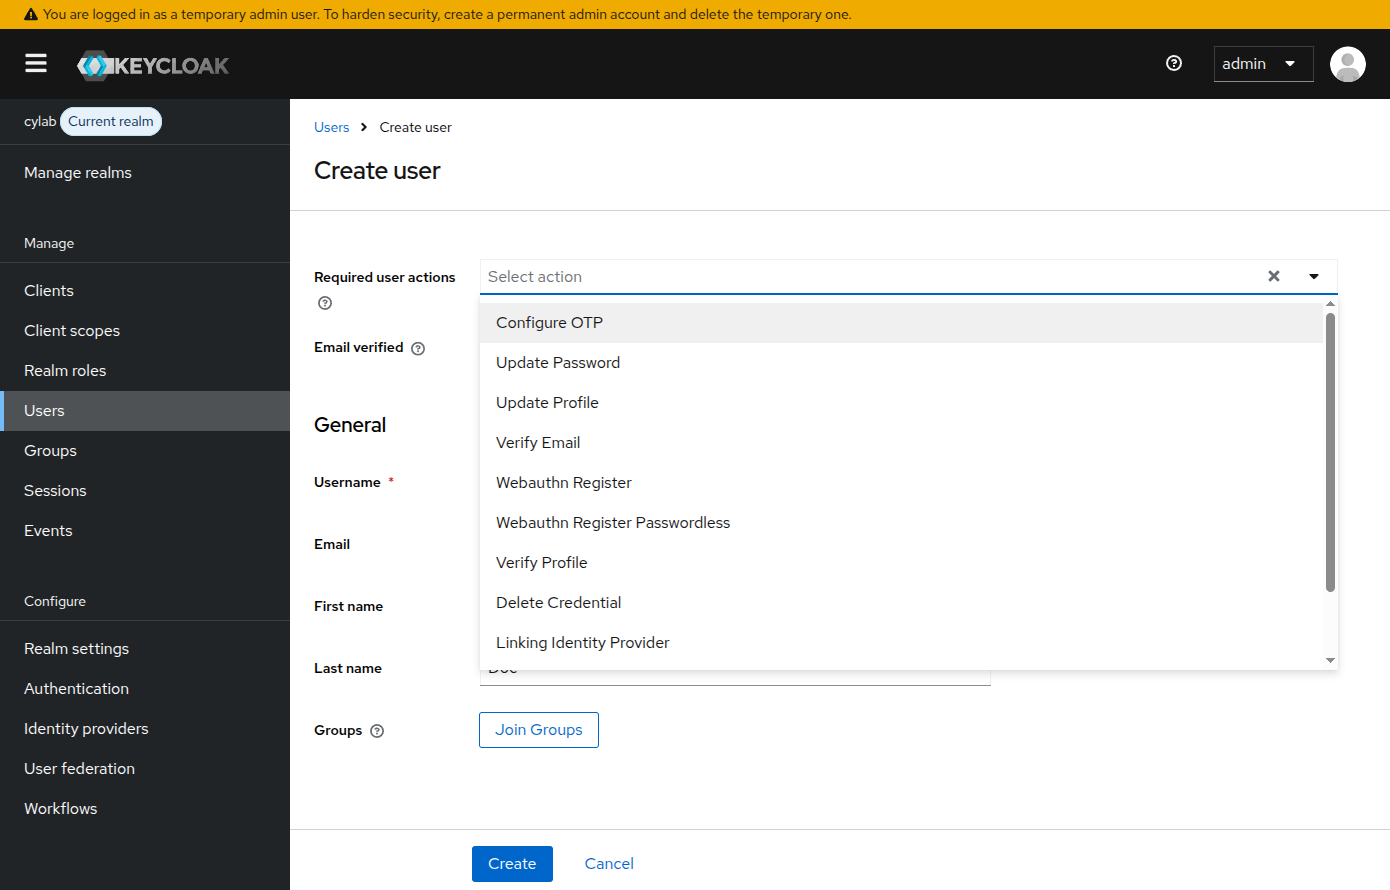
In the Users menu, create your first user. Most fields are self-explanatory.

The field Required user actions allows to force user to certain actions on first login, like configure OTP, update password, verify email etc.
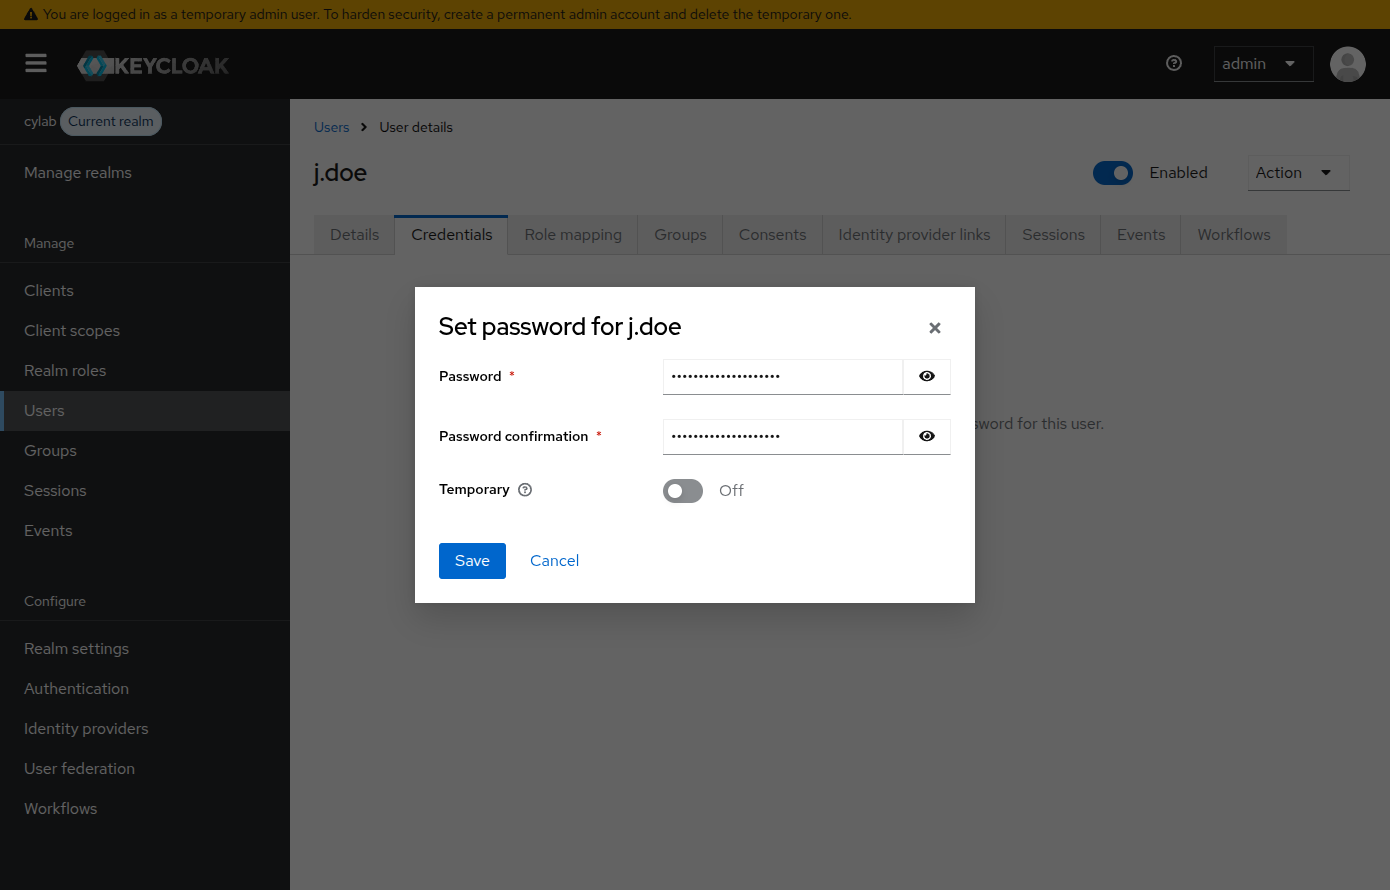
Finally, open the Credentials tab and set a password for the user.

OpenID Connect (OIDC)
OpenID Connect (OIDC) is an authentication protocol built on top of the OAuth 2.0 that verifies a user’s identity and enables Single Sign-On (SSO). It allows users to log in to an application (the Relying Party - RP), using credentials from a trusted Identity Provider (IdP, or OpenID Provider - OP), eliminating the need for separate passwords. The IdP can be a web giant like Google, Okta or Microsoft, or a self-hosted service like Keycloak or Authentik.
The process typically follows these steps:
- The user attempts to access the Relying Party (RP) using his browser or an app, which redirects them to the OpenID Provider (OP);
- The user logs in with their OP credentials, and the OP validates these credentials;
- The OP redirects the user’s browser back to the RP with a one-time authorization code;
- The RP then connects directly to the OP using this code to get the actual ID Token (a JSON Web Token containing user details like name and roles) via a secure, server-to-server back-channel request to the OP’s Token Endpoint;
- The Relying Party verifies the ID Token’s content and grants the user access.

Client and testing
Clients are the web applications and services that can use keycloak to authenticate users.
https://www.keycloak.org/app/ is a small javascript application that can be used for testing. We will now create the corresponding client configuration.

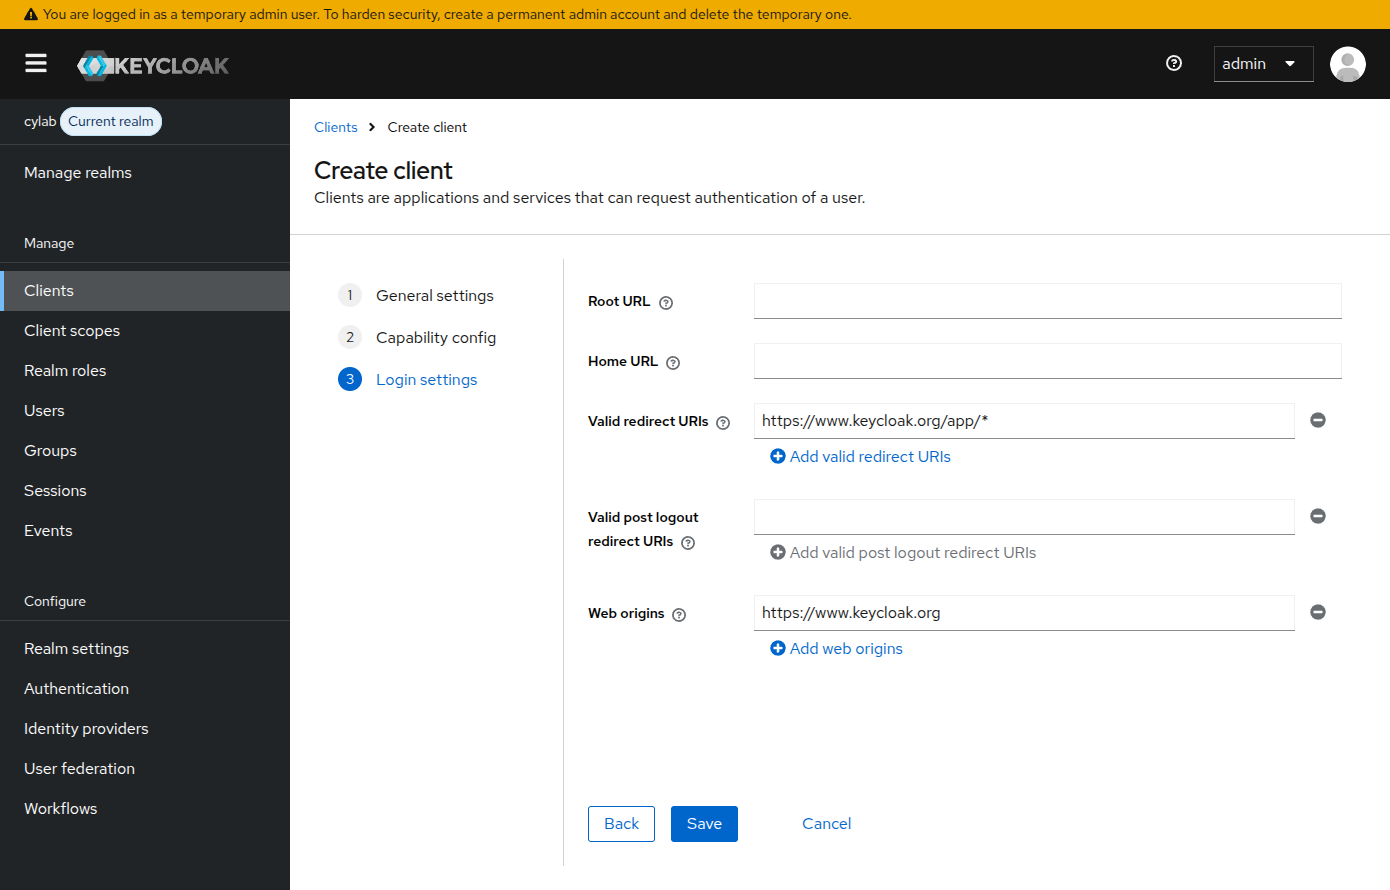
In the Clients menu, create a new client and set the following values:
- Type :
OpenID Connection - Client ID :
keycloak-test - Authentication flow :
Standard flow - Valid redirect URIs :
https://www.keycloak.org/app/* - Web origins :
https://www.keycloak.org
Now use another browser or session and head to https://www.keycloak.org/app/
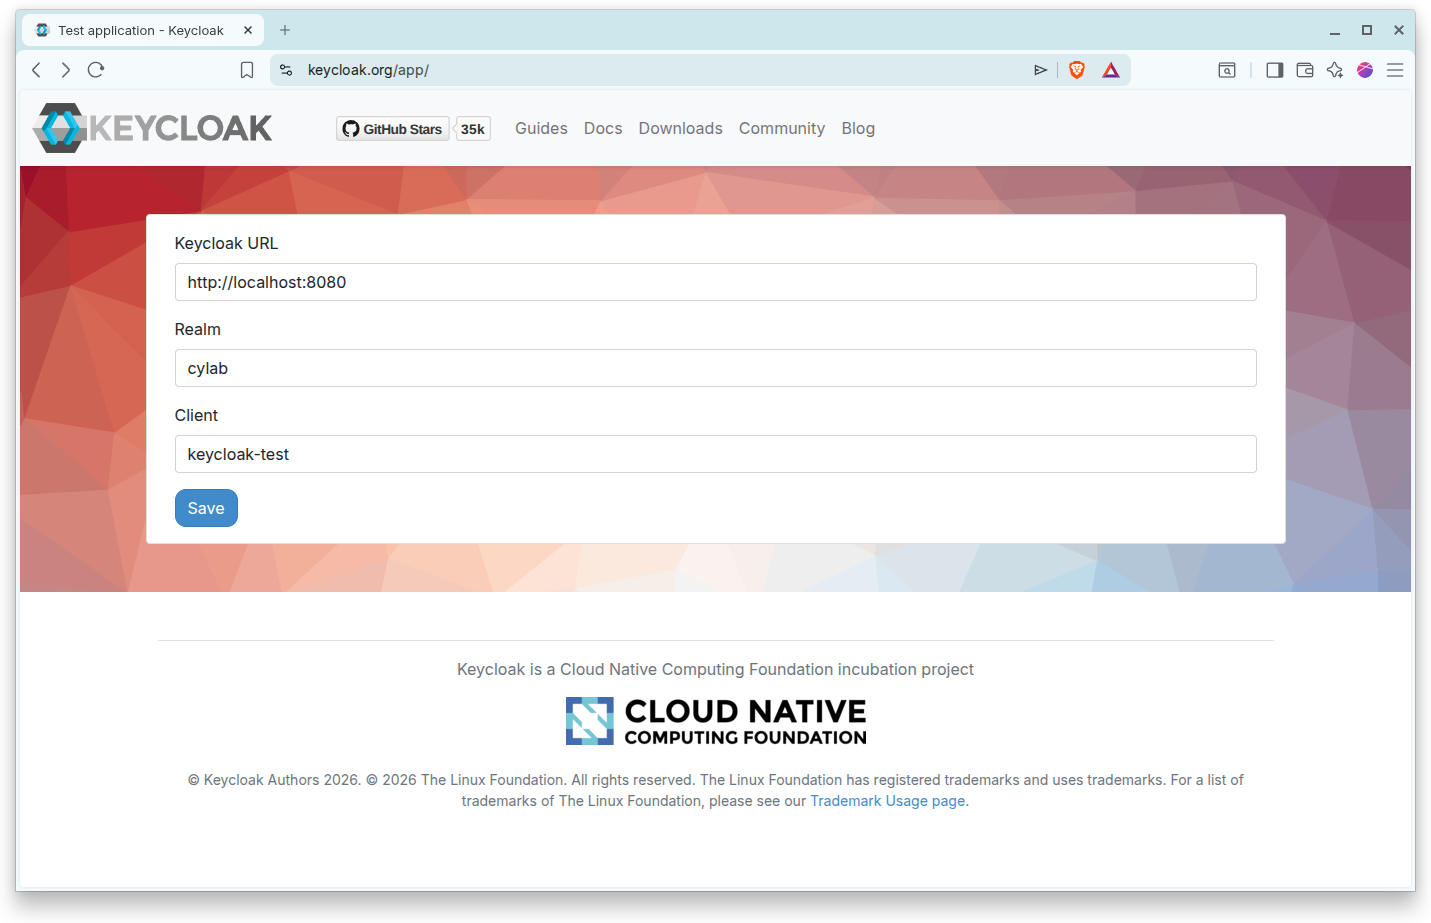
Fill in the appropriate values:
- Keycloak URL :
http://localhost:8080 - Realm:
cylab - Client:
keycloak-test
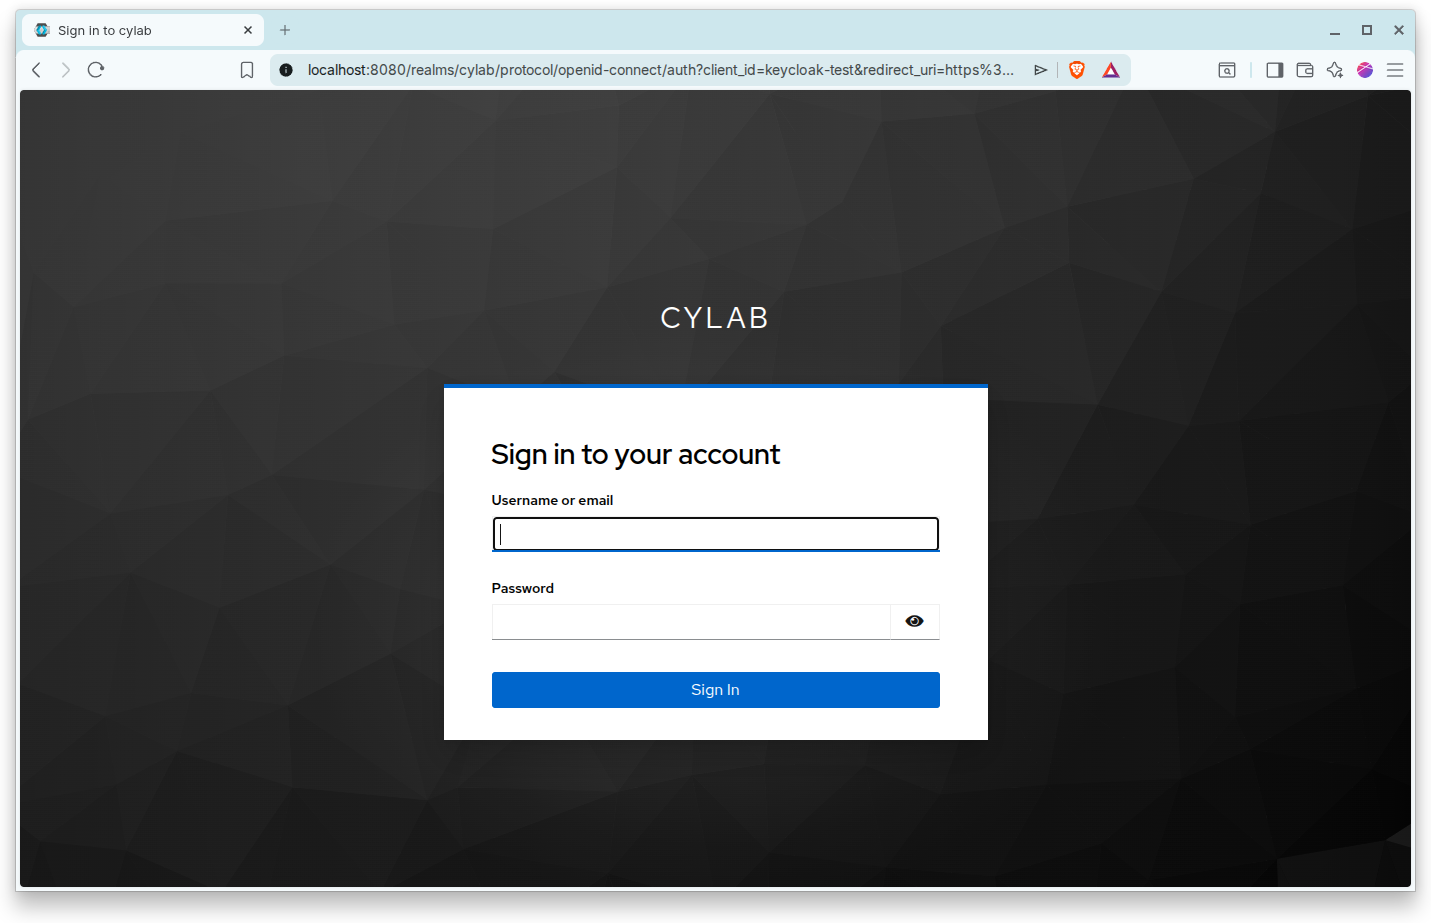
You will be redirected to your own Keycloak instance to authenticate.
If the credentials are correct, you are finally redirected to the test app, and see that the Keycloak instance also transmitted the user details to the test application…

Going further
You can now use Keycloak to manage Open WebUI users.
This blog post is licensed under
CC BY-SA 4.0


