Implement CRUD operations in Laravel, and automatic code generation
Apr 17, 2020 by Thibault Debatty | 7950 views
https://cylab.be/blog/61/implement-crud-operations-in-laravel-and-automatic-code-generation
When working with model objects in Laravel, you will typically have to implement the CRUD operations: Create, Read, Update and Delete objects from the database. To support these operations you will need to write:
- routes;
- a controller to handle these routes and operations;
- views;
- obviously, the model class;
- and the corresponding database migration.
This is quite a lot of work but luckily, most of it can be automatically generated… Let’s review this with an example: you create an blog website and want to handle blog post.
For this blog post we assume that:
- you have installed Laravel;
- you have configured your database correctly. For testing purpose, you should use a sqlite database;
- you have installed the Bootstrap layout for Laravel.
Routes
Here is the typical list of routes that you have to create in /routes/web.php:
GET posts: to show the list of postsGET posts/create: show the form to create a new blog postPOST posts/create: save the new blog postGET posts/{post}: show a single postDELETE posts/{post}: delete a postGET posts/{post}/edit: show the form to edit a blog postPUT posts/{post}: update the post
These 7 routes can be replaced by a single line of code:
Route::resource('posts', 'PostController');
This single call will create the 7 routes and redirect them automatically to the PostController.
Controller
To support the CRUD operations, the PostController (located in /app/Http/Controllers) must implement the 7 methods corresponding to the 7 aforementioned routes:
index(): to list the postscreate(): show the form to create the poststore(Request $request): to save the new blog postshow(Post $post): to show a single postdestroy(Post $post): to delete a postedit(Post $post): show the form to modify a postupdate(Request $request, Post $post): to update the post
To quickly get a starting point, you can use artisan to create a skeleton with the following command:
php artisan make:controller PostController --resource
However, the generated methods will contain no code and no input validation. We’ll come back to this later…
Views
You will at least need 3 views (in resources/views):
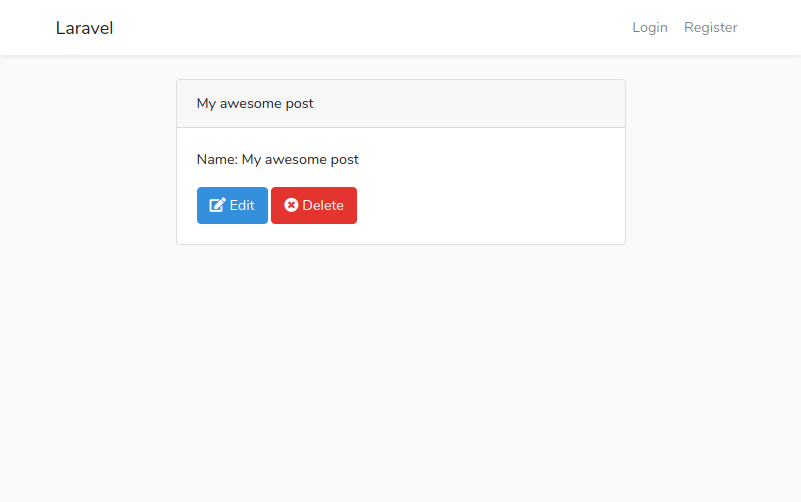
posts/index.blade.php: to list the posts, for example in a table, with links or buttons to show the details of a post, modify it or delete the postposts/show.blade.php: to show the details of a blog postposts/edit.blade.php: the form the modify a post. You can also reuse the same form to create a post. The fields will simply be empty…
Model
The Model is the class representing the objects you want to save in your database. It lies in the /app directory, and must extend Model class:
<?php

namespace App;

use IlluminateDatabaseEloquentModel;

class Post extends Model
{
At the difference of other ORM frameworks, Laravel (Eloquent) infers the fields of your objects from the columns of the database table. This means that you should not define fields in your Post class. Typically, the model class only contains methods that describe the relations with other models and a few other helper methods.
You can also use artisan to create a skeleton here:
php artisan make:model Post
Migration
So, if the fields of your blog posts are inferred from the columns of the database table, it’s time to create the database table. In Laravel, the structure of the database is described in migration files. This allows to keep the database configuration grouped (and versioned) together with the rest of the code. Plus, it allows to update your database structure nicely when your application evolves.
php artisan make:migration <name of migration>
  --create <name of table>
For example:
php artisan make:migration create_table_posts --create posts
Your migration will be located in database/migrations and will contain something like this:
public function up() {
    Schema::create('posts', function (Blueprint $table) {
        $table->increments('id');
    });
}
There you can add the different field for your blog post, using the $table->... methods. For example:
$table->string('title');
$table->text('body');
$table->integer('views');
To apply the migration and create the table, once again you will use artisan:
php artisan migrate
Code generation with Laravel Resource Generator
This is a lot of code to write. Luckily, you can automatically generate most of it, for example using Laravel Resource Generator.
With this plugin, you immediately get working code:
- routes
- a fully functional controller with request validation
- basic views to list, create, modify and delete your resource
- model skeleton
- migration skeleton
The plugin is installed with composer:
composer require tdebatty/laravel-resource-generator
You can now generate all the boilerplate code with a single line:
$ php artisan resource-generator:generate Post
Generate migration and model...
Generate routes...
Generate views...
Generate controller...
Done!
You may now fill the migration file
And then run php artisan migrate
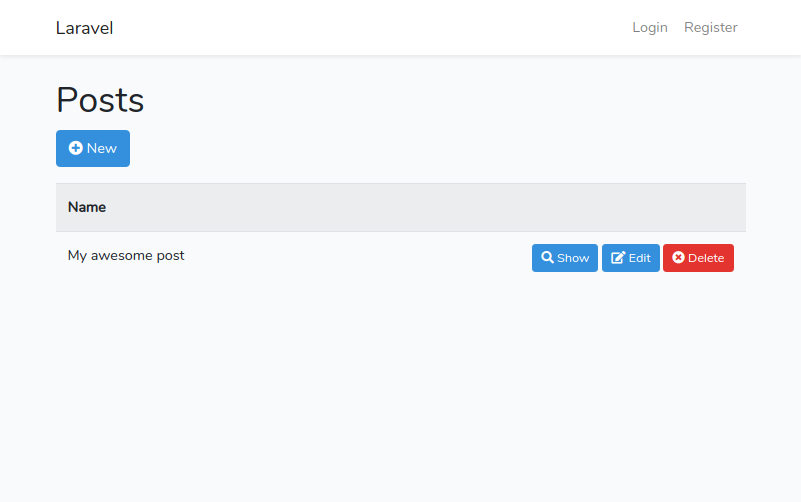
Your resources will be available at http://127.0.0.1:8000/app/posts
The default controller and views assume resources have a name field. You have to add this field manually to your migration file (and other fields according to your needs):
nano database/migrations/*_create_posts_table.php
You can now migrate and check the result:
php artisan migrate
php artisan serve
Font awesome icons
The generator can also add Font awesome icons:
php artisan resource-generator:generate Post -i fa
This blog post is licensed under
CC BY-SA 4.0


