Windows Forensics Analysis Tools: Autopsy
Jan 29, 2021 by Georgi Nikolov | 10289 views
https://cylab.be/blog/125/windows-forensics-analysis-tools-autopsy
What is Autopsy?

The Windows Operating System might seem complicated to analyse, as it is error prone and intricate in how data is saved and stored. Luckily, a plethora of tools exist for Windows Forensic Analysis, that can help us with the daunting task of examining the system and figuring out what exactly happened. Sadly there is not one tool that can do all the work for us, no one tool to rule them all. Quite often we need to combine output from different sources, such as the Windows Registry, Windows Event Logs, or data retrieved from the Unallocated space of the hard disk.
Today I would like to talk a bit about Autopsy, a nifty little tool, that can help us a lot when we want to sift through and examine the content of a Windows hard disk. Autopsy is a great open source software that, through the use of a graphical interface, makes it super easy to deploy and use the command line tools made available by the The Sleuth Kit. These tools offer, among other things:
- determining what data is stored on the disk
- recovering deleted data from the Unallocated space
- search for specific strings
- extracting and filtering metadata
- creation and analysis of timelines
As we can see, these tools are quite powerful and through the use of Autopsy, it has become even easier to apply them during a forensic examination.
Running Autopsy
Personally, I love booting up the SIFT Virtual Machine when I am starting a Windows Forensic Analysis. The benefit of using the SIFT VM is that it comes pre-installed with almost any tool that you might need. The drawback is that the SIFT VM is a behemoth and needs over 60 GiG of free space.
As you can imagine, the SIFT VM comes pre-installed with the Autopsy tool. To start it, we can simply run the sudo autopsy command through the command line.
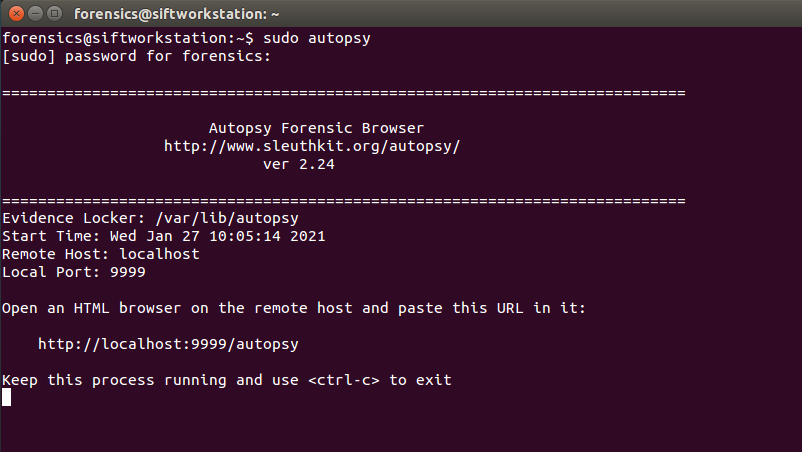
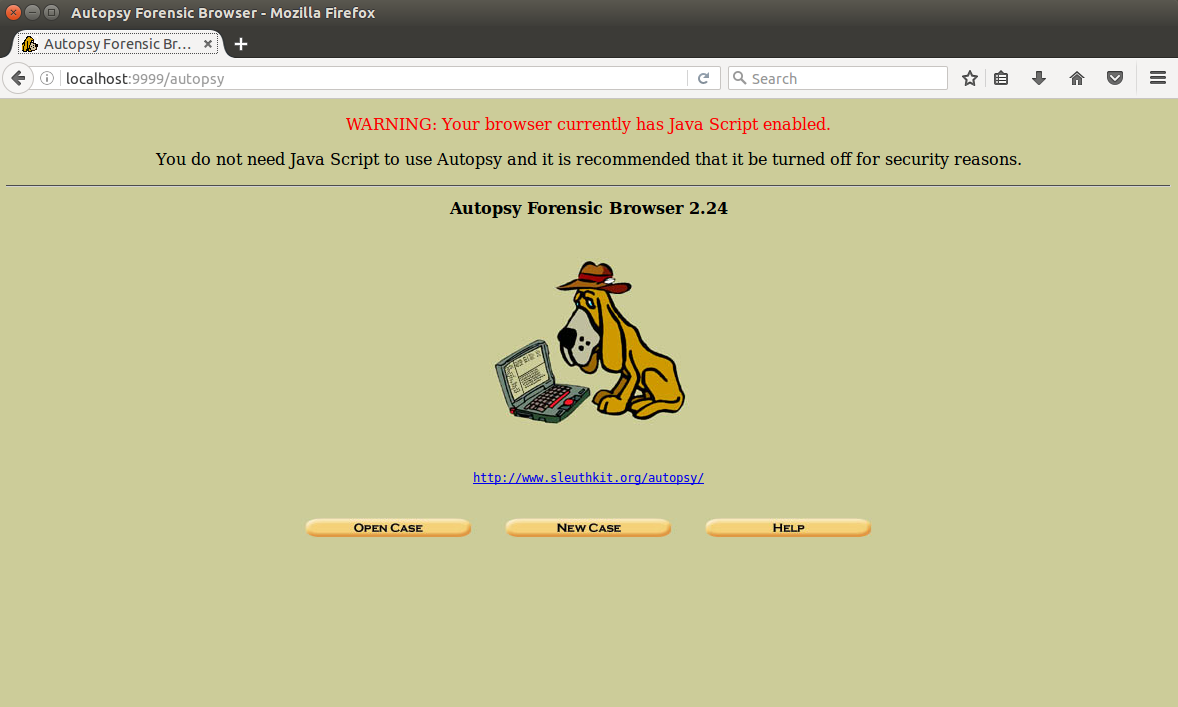
What this does is start a local web server, that we can access through http://localhost:9999/autopsy, which presents us with the User Interface.
It is important to note that the SIFT VM distribution has an older version of Autopsy installed. It is still a viable solution, if we want to content ourselves with just using the SIFT VM.
There is another option available- the Autopsy Tool has an installer not only for Linux distributions, but also for Windows, and the latest version (4.17.0) is more user-friendly and clean than the one found on the SIFT VM.
The Windows installer of Autopsy can be found at the Autopsy Website. The installation is straightforward and once installed, we can run the tool.

Using the Autopsy Tool
Autopsy 2.24 running on the SIFT VM
From there, it’s straightforward to create a new forensic case and load up a disk image for analysis. We need to specify certain things:
- Case number and examiner charged with the case
- Host used for the case
- Image to be analysed
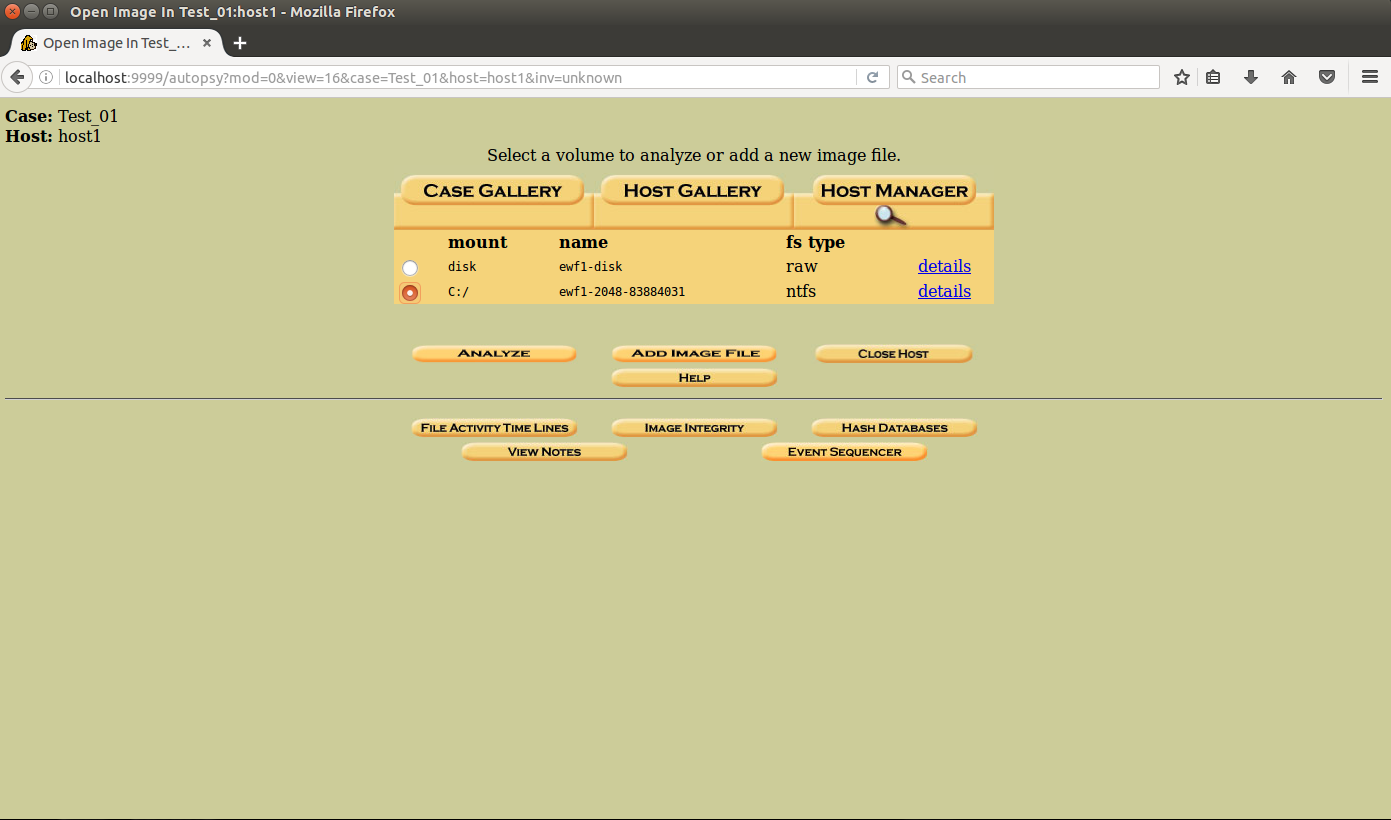
When this is done, we are presented with couple of options on what we want to do next. We can :
- Check Image Integrity, which must always be done to prevent evidence tampering
- Analyse the data present on the hard disk image
- Create a timeline of events on the hard disk by using the files metadata
- Use Hash Databases to cross-check and identify possible malicious files
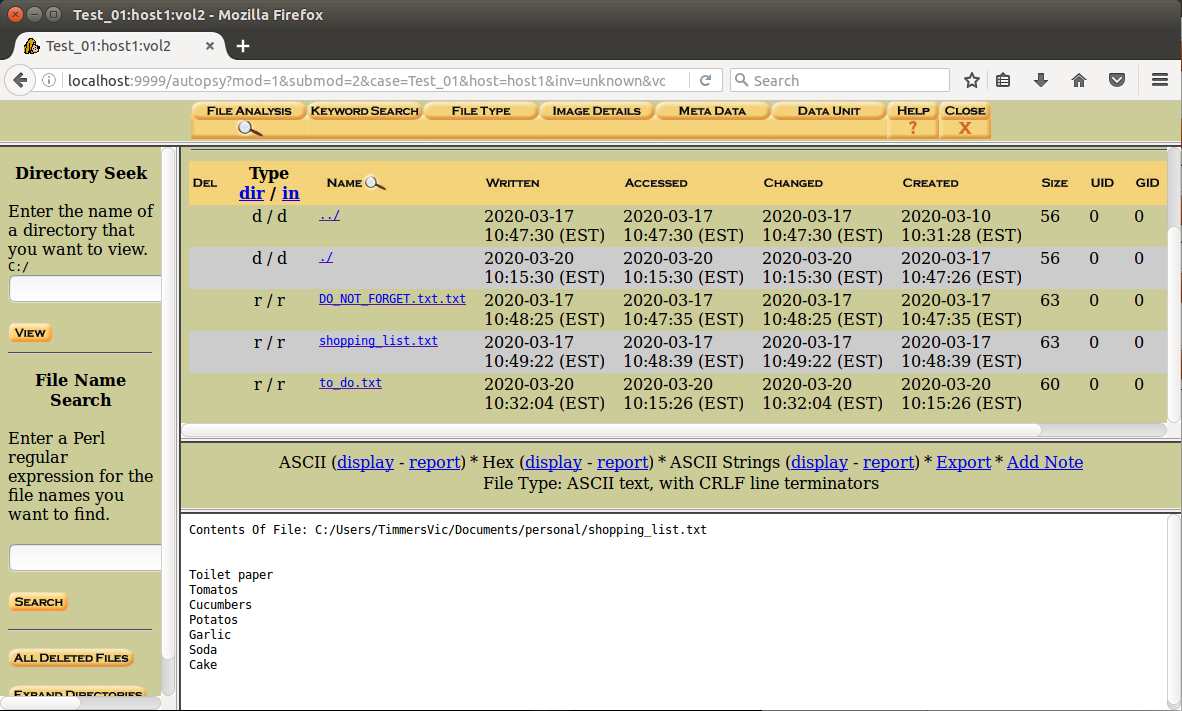
When everything is set up, we can start the examination. We have couple of options presented to us on the top of the tool, such as:
- File Analysis - we can go through the hierarchical structure of the hard disk, presenting us with an overview of all files, visible or hidden.
- Keyword Search - a search on a keyword string or expression using
grepon the image. The search can be parametrized to search for ASCII/Unicode, disregard Lower and Upper Cases, or use a grep regular expression. - File Type - a sorting of all files on the hard disk, allocated and unallocated, will be done and the files will be categorised.
- Image Details - offers in-depth information about the hard disk image
- Meta Data - executes a search in the Master File Table (MFT) based on the MFT Entry Number of a given file.
- Data Unit - view the contents of any cluster in the file system.
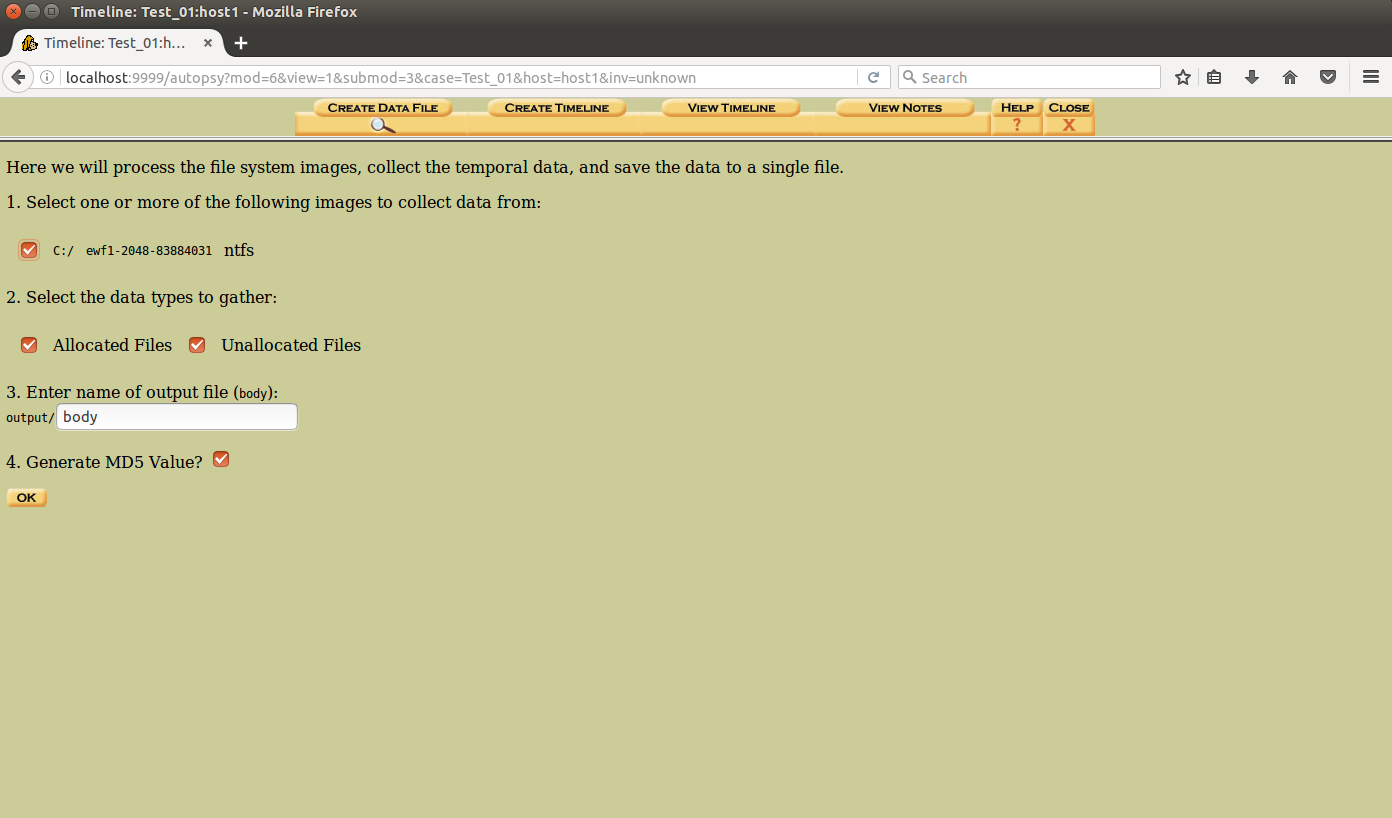
Creating a timeline is also quite easy, we just need to select the “timeline” option after opening a case.
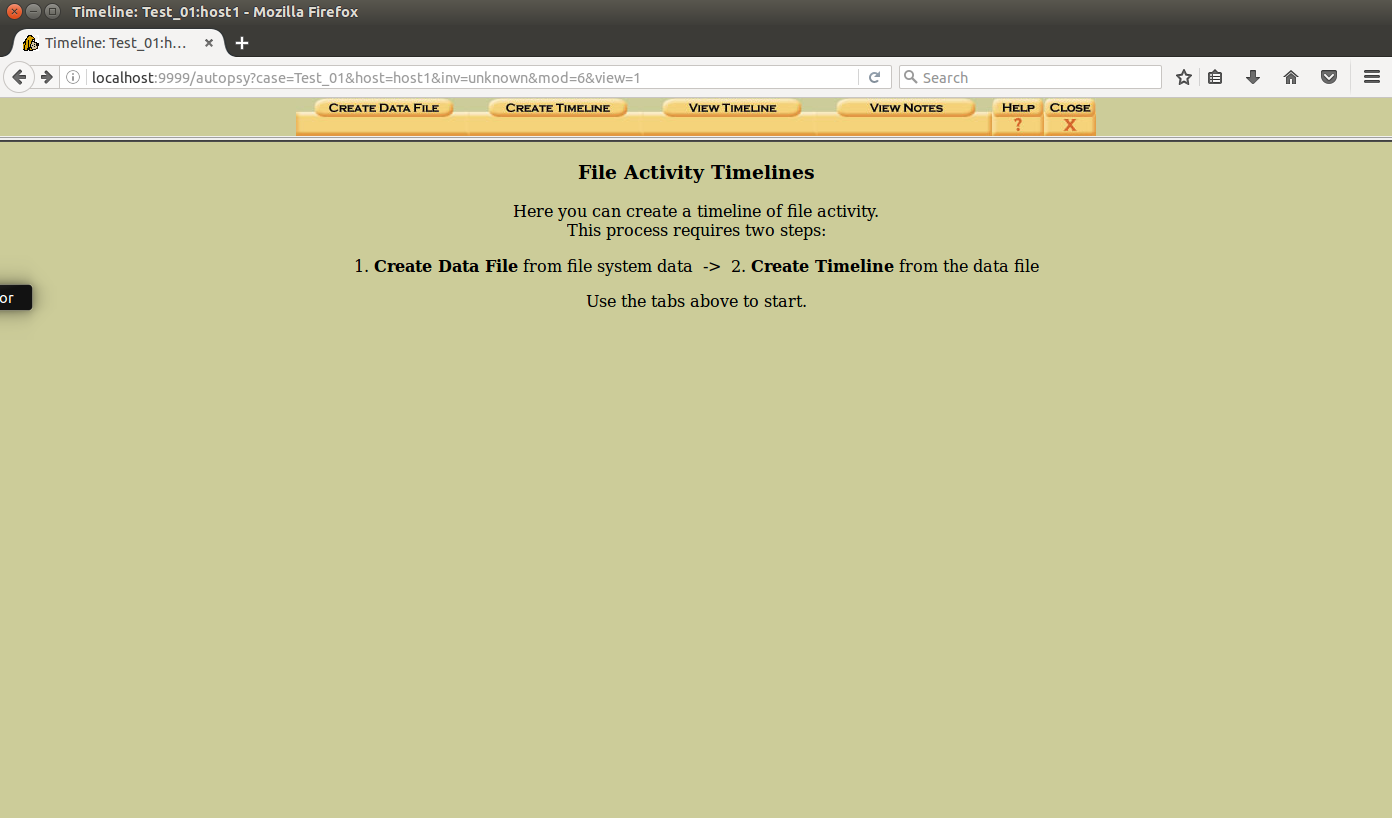
Further there are two distinct steps that needs to be followed- we need to create a so-called “body” file and then read the body file and transform it into a readable timeline.

Autopsy 4.17 running on Windows 10
Running the latest version of Autopsy on a Windows OS is easier than the one installed on the SIFT VM. Not much to do than execute the Autopsy program and we are ready to start our analysis. We can create a new case, the same way we did in Autopsy 2.24, by supplying some extra information, such as the case number, name of the investigator and the path to the image that needs to be loaded and parsed.
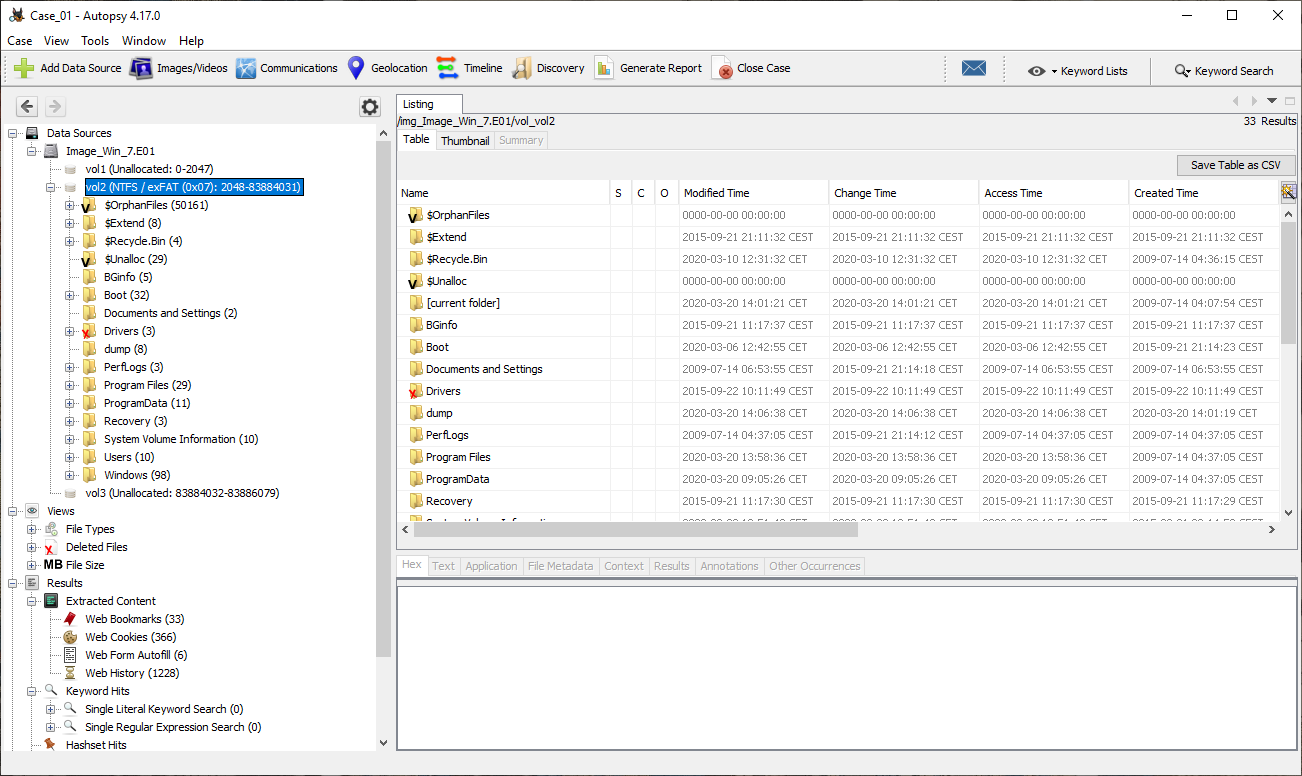
Once we have loaded the image, Autopsy will show us some general information about the data found on it.
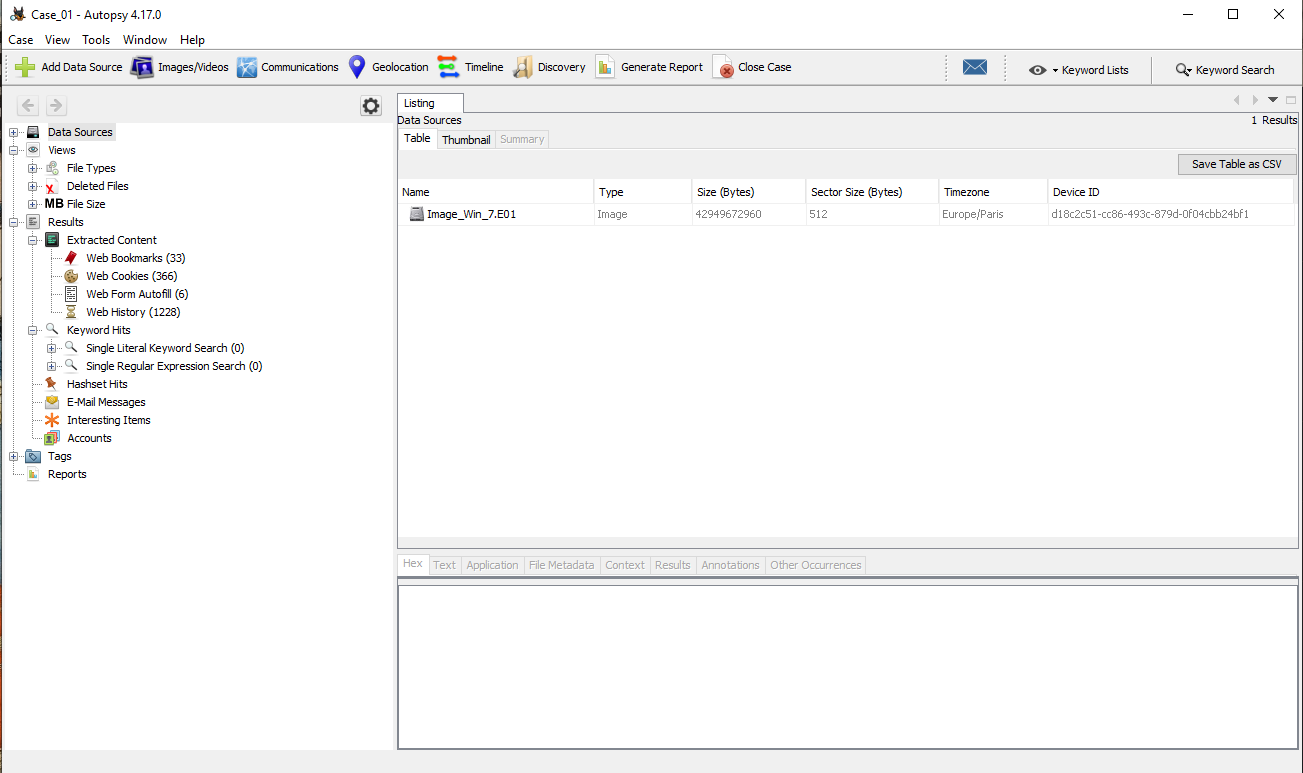
We can already observe that the latest version running on Windows has a lot more options present and they are presented in a clearer and more structured way. From there it is only couple of clicks away to open the image and browse all files situated in the Allocated and Unallocated space of the hard disk.
It is also quite straightforward to create a timeline of all the events that have occurred on the hard disk. This timeline is constructed through the use of the timestamps of the different files and data extracted from browser databases.
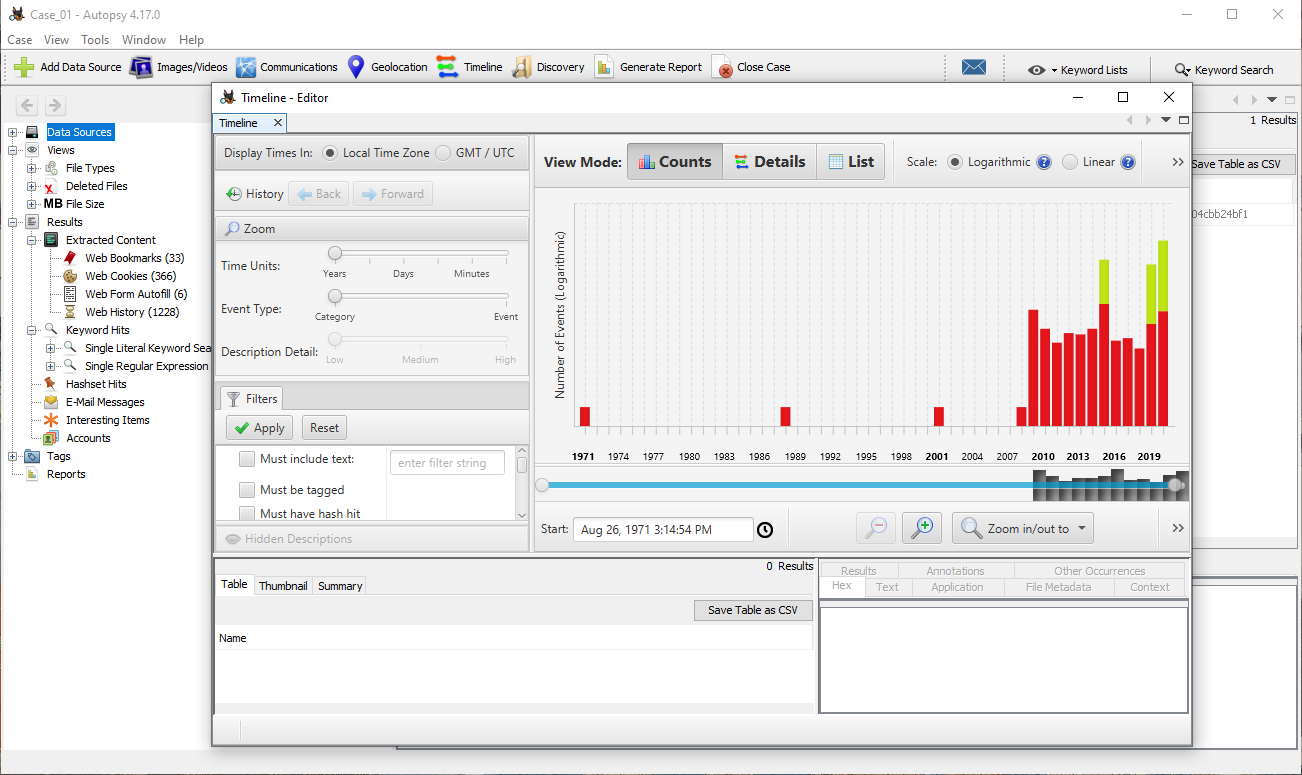
The timeline interface gives us multiple options:
- limit the time window we are analysing
- multiple filters available, some examples:
- type of events (file system, web activity, custom, etc)
- based on specific “string”
- data source
- file type
By selecting a specific period in the timeline we can browse through the data that is available. In the example that follows, we are going through the web activity of the user.
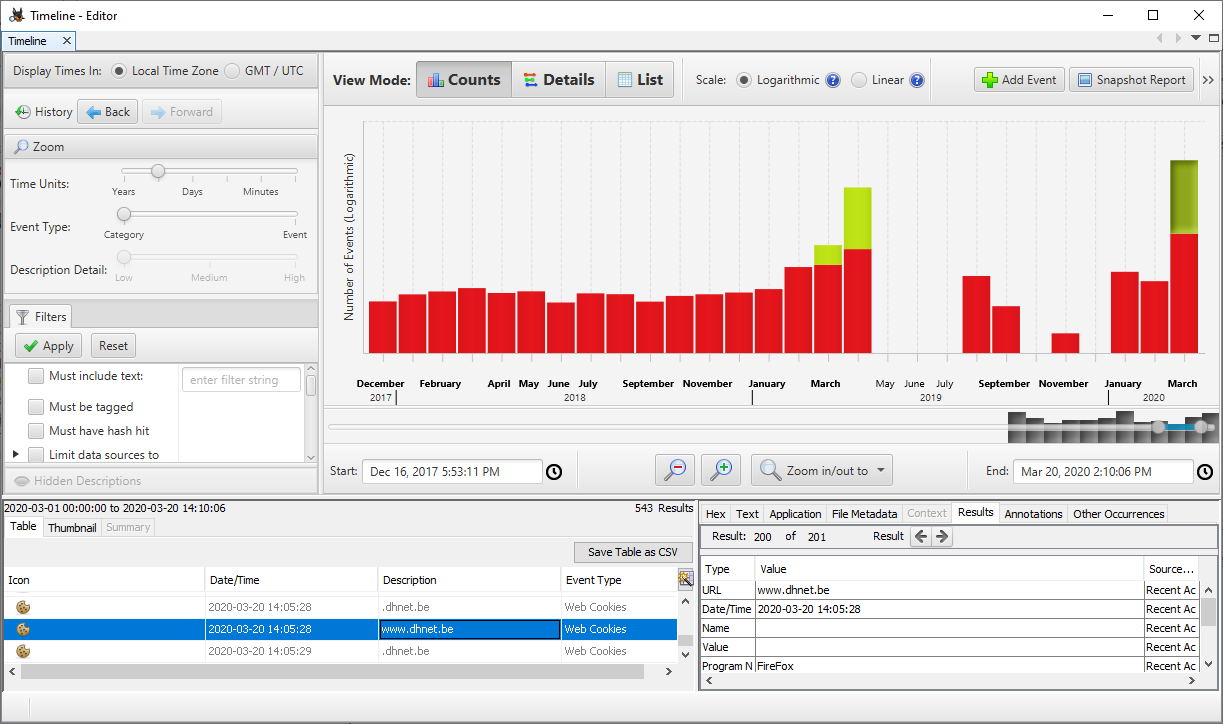
It is also possible to export the list of events in a CSV format, which offers us even greater flexibility and filtering options when using programs such as Excel.
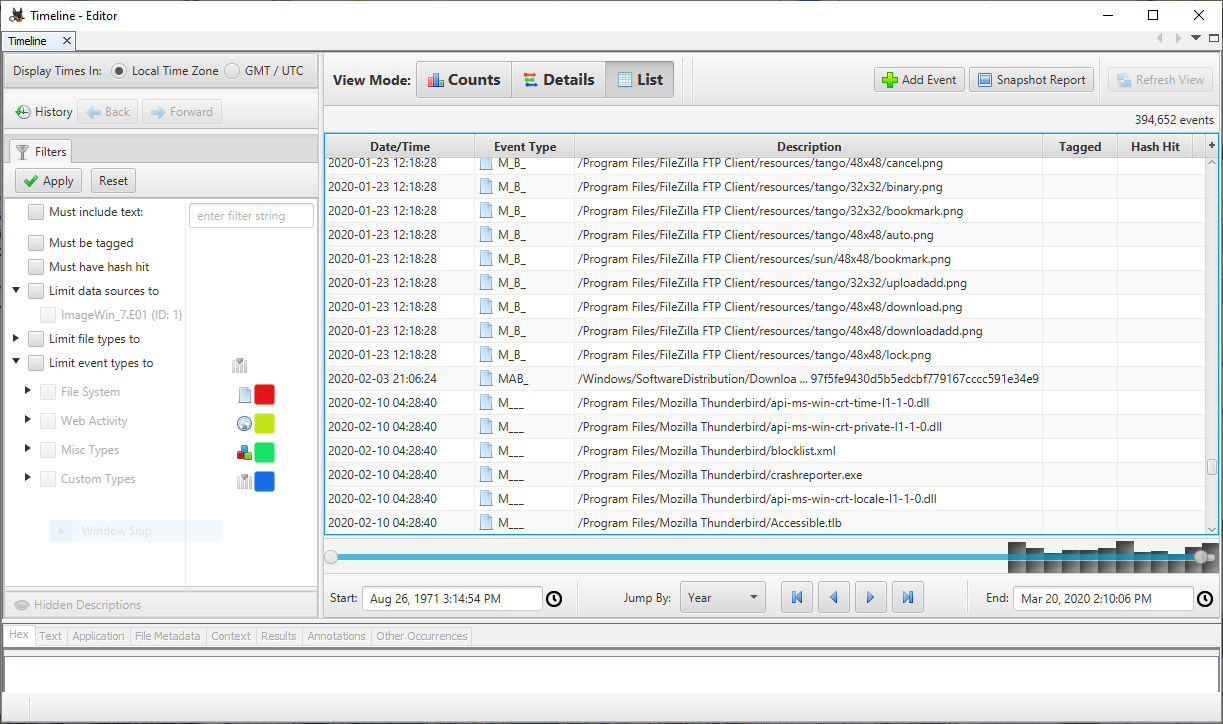
The events can be viewed in three different modes:
- histogram if we are interested to know which periods have the most activity
- detail view with extensive information about the individual events
- list view in chronological order
Final Thoughts
We have only scratched the surface in what is possible with the Autopsy tool, still much lays to be discovered and used in our forensic analysis. The Autopsy program is great if we want to quickly go through the files on a hard disk image or create a timeline of all events. This does not mean that the tool can be used for all our needs - there are still other places we must look for evidences, but Autopsy has its rightful place in our toolbox!
This blog post is licensed under
CC BY-SA 4.0


