Install Windows on a USB drive
Feb 7, 2025 by Thibault Debatty | 3309 views
Normally the Windows installer does not give you the option to install Windows on a USB drive. In my opinion this is pretty annoying as it can be convenient to have a different version running from an external USB drive. There is however a trick to make this possible…

In short
The trick is actually quite simple:
- Create a Windows virtual machine;
- Convert the virtual drive to raw format;
- Copy the raw drive image to a USB drive and;
- Reboot from the USB drive.
In the next sections I’ll show you the step-by-step process using VirtualBox.
1. Install Windows in a VM
📀 If you don’t have it yet, download the Windows 11 Disk Image (ISO) from https://www.microsoft.com/en-us/software-download/windows11
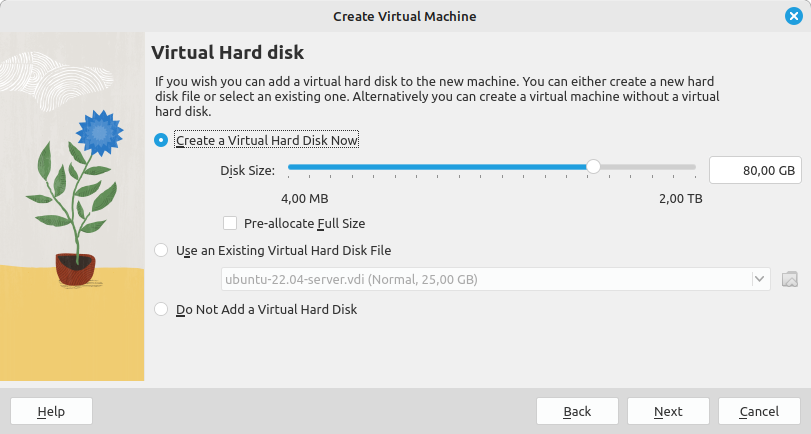
In VirtualBox, create a new virtual machine. I will call mine winfresh11.
⚠ The size of the virtual hard disk must be small enough to fit on your USB drive!
Then start the usual installation process.
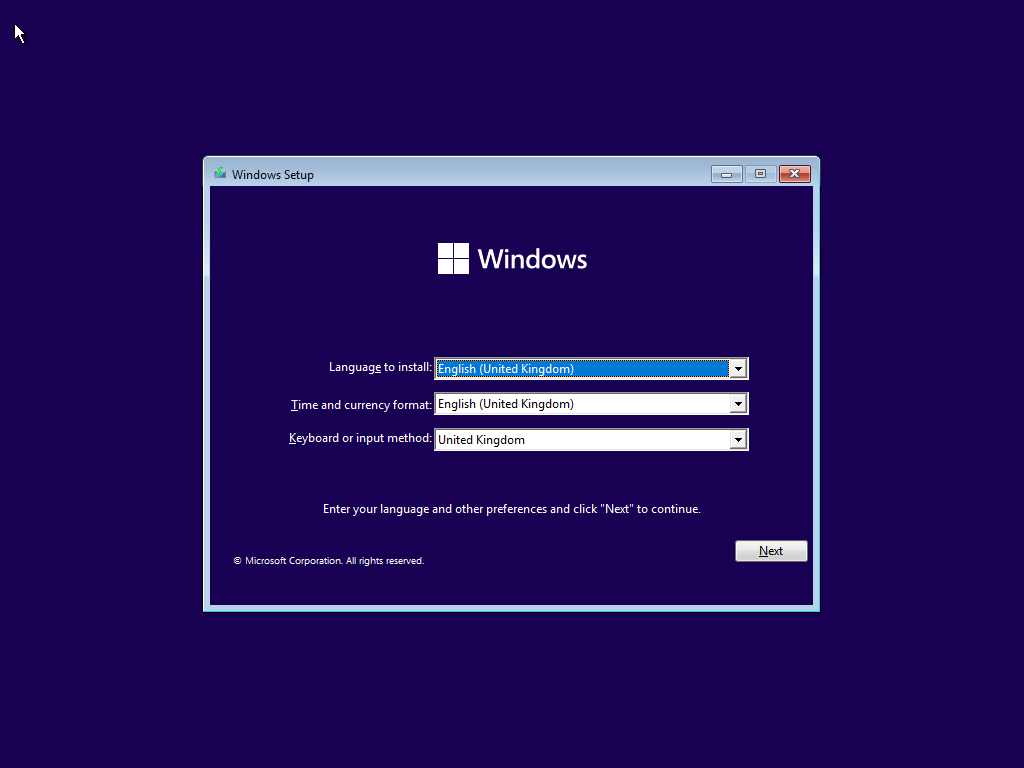
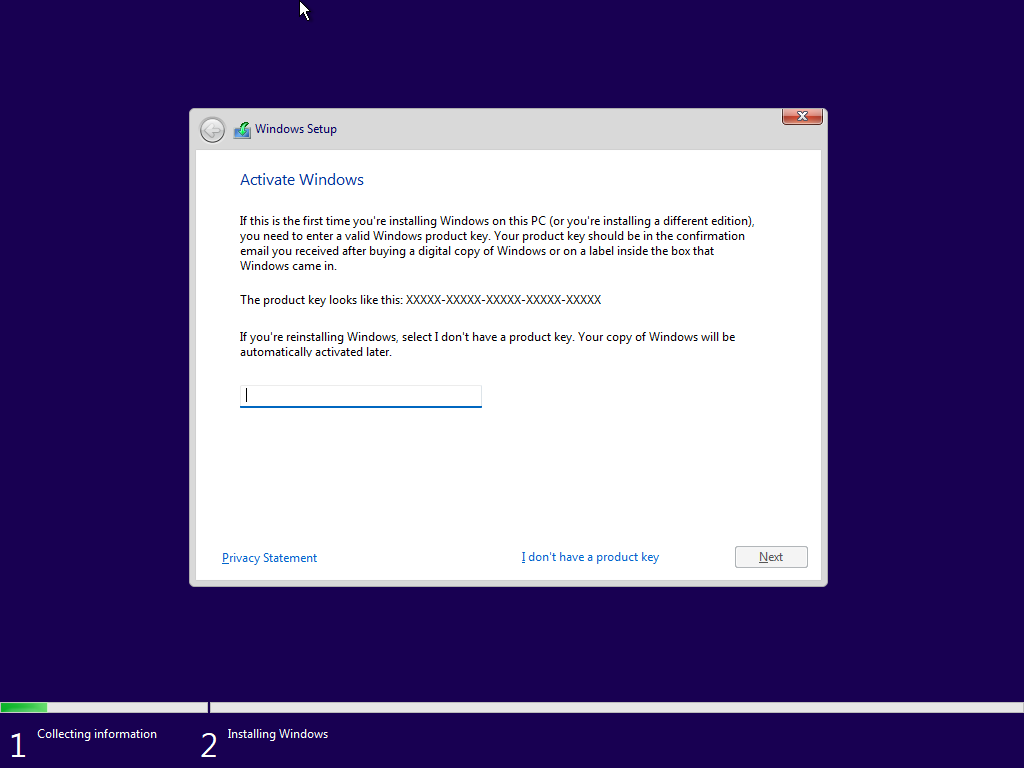
There is no need to provide a Windows key for now…
At the installation type, select Customised: Install Windows only
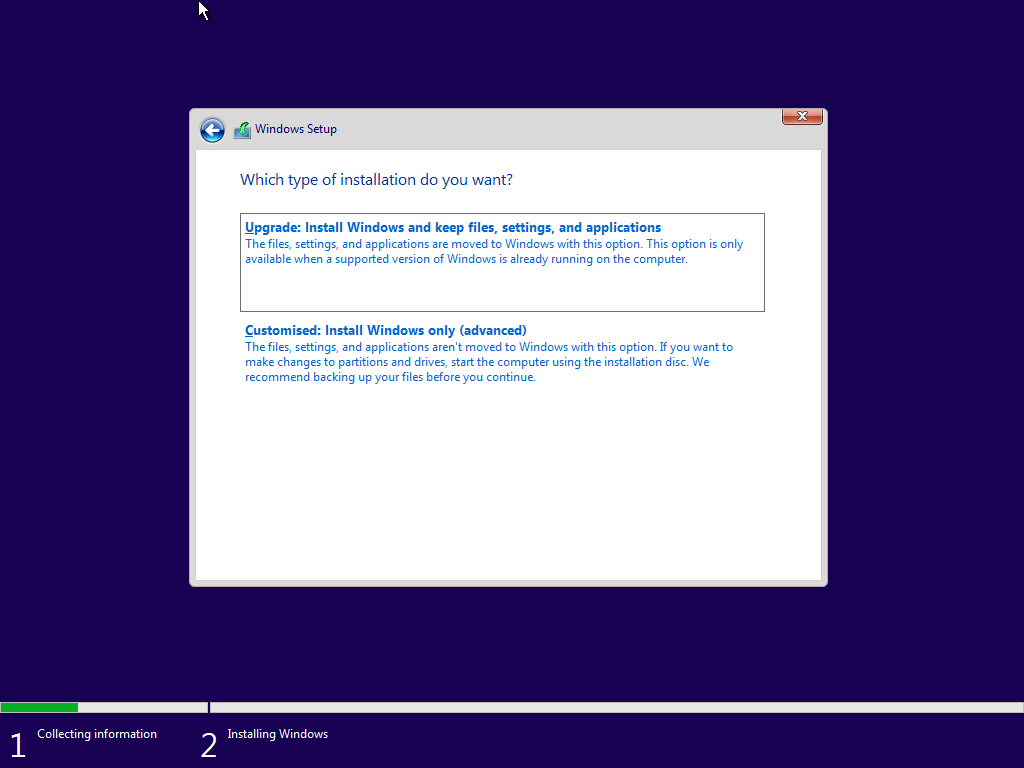
Continue the installation procedure until the VM reboots and asks for your country or region.

Now you can shutdown the VM, we have a usable initial Windows image.
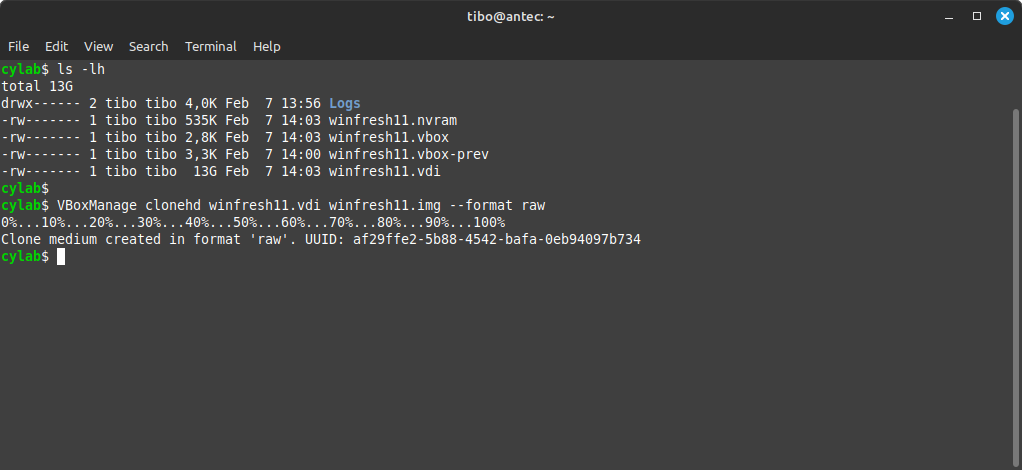
2. Convert the virtual drive to a raw disk image
By default, VirtualBox uses a special format called Virtual Drive Image (vdi) to save the virtual disk as a file on the host computer. So we must convert the virtual image to raw format using the following command:
VBoxManage clonehd <vdi> <raw image> --format raw
So in my case the complete command is:
VBoxManage clonehd winfresh11.vdi winfresh11.img --format raw
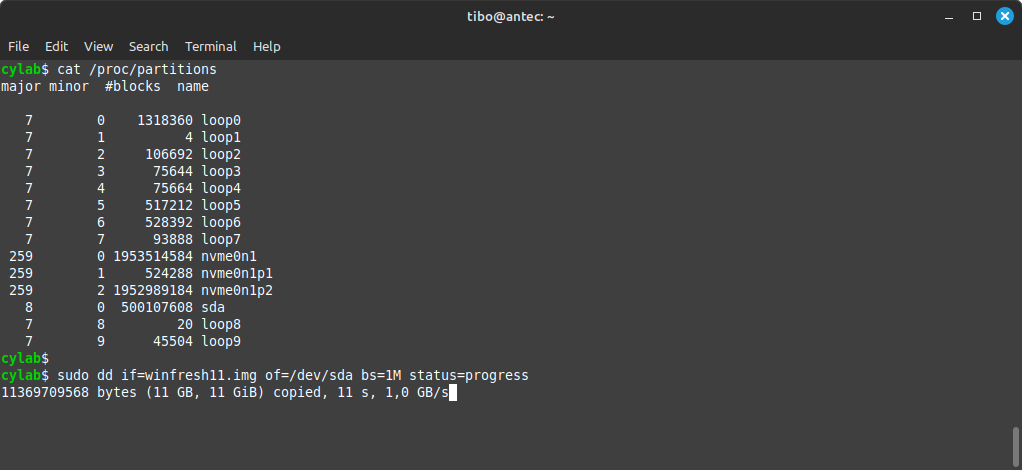
3. Copy the raw image to a USB drive
Now you can use the dd command to copy the virtual image to a USB drive. But first make sure you find the correct device name. You can check this using GParted or checking /proc/partitions.
⚠ you should check twice that you are using the correct device name, as any mistake could completely wipe your data!
The command to copy the disk image is
sudo dd if=<raw image> of=<usb device> bs=1M status=progress
So in my case:
sudo dd if=winfresh11.img of=/dev/sda bs=1M status=progress
This will take some time! 🐌 🐌 🐌 In my experience the writing speed of a good USB drive will stabilize around 50 MB/s. So it will take roughly 30 minutes to write a 80 GB image.
Reboot from the USB drive
Once done, leave the USB drive connected and reboot your computer. During the boot process, hit the required key to select the boot device. It’s generally F12, F10 or F7.
In the menu that appears, select your USB drive, and continue the installation process… Voila!
This blog post is licensed under
CC BY-SA 4.0


