Multi-tenant Kubernetes cluster : namespace, quota and kubectl user
May 6, 2021 by Thibault Debatty | 3453 views
https://cylab.be/blog/145/multi-tenant-kubernetes-cluster-namespace-quota-and-kubectl-user
When multiple users must use the same kubernetes cluster, a good practice consists in segregating them in isolated namespaces. In this tutorial we show how to create a namespace, apply quotas so the user cannot exhaust the resources (memory and cpu) of the cluster, and create a dedicated kubectl user.
Namespace and quota
kubectl create namespace example
Create a yaml file defining appropriate resource quotas (you can call it quota-4cpu.yaml):
apiVersion: v1
kind: ResourceQuota
metadata:
  name: 4cpu
spec:
  hard:
    requests.cpu: "4"
    requests.memory: 4Gi
    limits.cpu: "8"
    limits.memory: 8Gi
Apply these quota to your namespace:
kubectl apply -f quota-4cpu.yaml --namespace example
From now on, every container deployed in this namespace must have a memory request, memory limit, cpu request, and cpu limit. And (obviously), the total of each cannot exceed the values defined by the resource quota.
But what is the difference between request and limit quota?
- Request is what the container is guaranteed to get. If a container requests a resource, Kubernetes will only schedule it on a node that can give it that resource. From the administrator’s point of view, assigning requests quota forces you to provision at least that amount of resources in the cluster.
- A limit will restrict the amount of resource a container can use. If resources are available on the node, the container can use more cpu and memory, until the value defined by the limit quota is reached. From the administrator’s point of view, this allows to do overprovisioning on the cluster.
ServiceAccount
Normally, Kubernetes is meant to use an external identity provider, that is used by Kubernetes to authenticate normal users. For this tutorial, we will use a service account to grant a user access to the namespace.
Create the service account example inside the namespace example:
kubectl --namespace example create serviceaccount example
Create a role with sufficient rights to manage the namespace (e.g. role-deployer.yaml):
kind: Role
apiVersion: rbac.authorization.k8s.io/v1
metadata:
  name: deployer
rules:
  - apiGroups: ["", "extensions", "apps"]
    resources: ["services", "deployments", "replicasets", "pods", "configmaps", "persistentvolumeclaims", "pods/exec"]
    verbs: ["*"]
The pods/exec resource is not required, it allows a user with the deployer role to execute a command inside a running pod. This is usually useful for debugging…
kubectl apply -f role-deployer.yaml --namespace example
Assign the role to the service account (role-binding-example.yaml):
kind: RoleBinding
apiVersion: rbac.authorization.k8s.io/v1
metadata:
  name: example-deployer
subjects:
- kind: User
  name: example
  apiGroup: ""
roleRef:
  kind: Role
  name: deployer
  apiGroup: ""
kubectl apply -f role-binding-example.yaml --namespace example
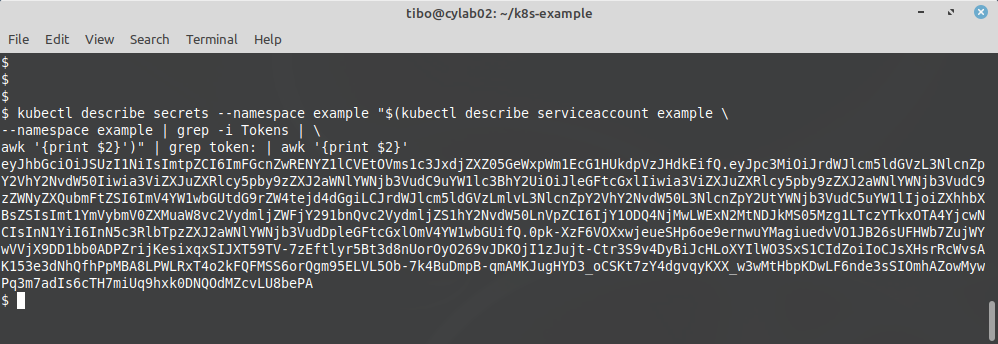
Now we can extract the token of the service account:
kubectl describe secrets --namespace example
"$(kubectl describe serviceaccount example
--namespace example | grep -i Tokens |
awk '{print $2}')" | grep token: | awk '{print $2}'
This will show a long token that we must copy and use later…
And we will also need the authority certificate of the server:
kubectl config view --minify --raw
--output 'jsonpath={..cluster.certificate-authority-data}' |
base64 -d | openssl x509 -text -out k8s.crt
This will create a file called k8s.crt containing the authority certificate of the server, that we will also need.
Kubectl
Now, on a client computer that has kubectl installed, we can import the token and server certificate (k8s.crt), so we can access the example namespace of the cluster.
Create the cluster entry in the config:
kubectl config set-cluster mycluster --server https://my.cluster.com:6443
--certificate-authority=k8s.crt
Create the user entry in the config:
kubectl config set-credentials mycluster-example --token=eyJhbGciOiJSU...
Finally, we can create a context that will group the cluster, the appropriate user, and namespace:
kubectl config set-context mycluster-example --cluster=mycluster
--user=mycluster-example --namespace=example
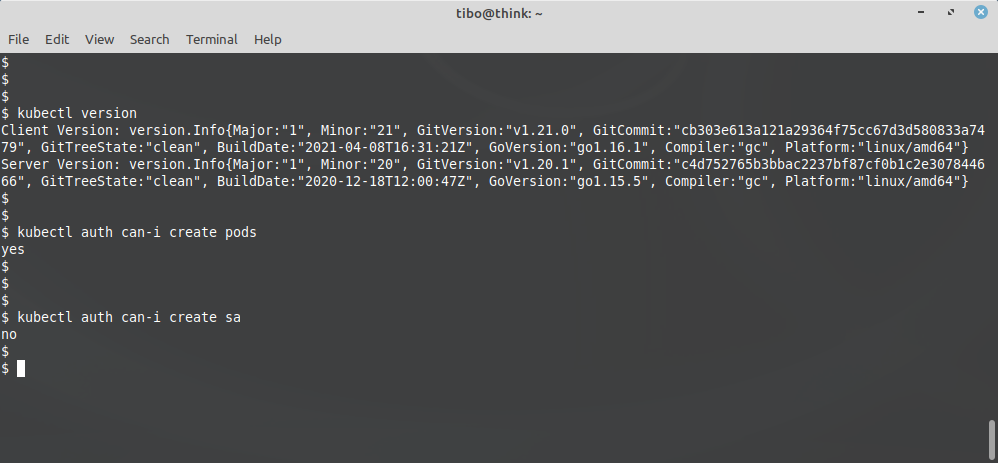
We can test with:
kubectl config use-context mycluster-example
kubectl version
kubectl auth can-i create pods
kubectl auth can-i create sa
This blog post is licensed under
CC BY-SA 4.0


