Install Kubernetes on Ubuntu 22.04 with MicroK8s
Dec 6, 2022 by Thibault Debatty | 7422 views
https://cylab.be/blog/246/install-kubernetes-on-ubuntu-2204-with-microk8s
Kubernetes is a complex beast, with lots of available drivers and plugins to handle different types of clusters. For example, to handle networking between pods in the cluster, you must install a CNI (Container Network Interface) plugin like Flannel, Calico, Weave Net, Cilium or other. To handle storage and volumes, you can install one of multiple CSI (Container Storage Interface) plugins like CephFS, GlusterFS, Google Cloud Storage etc. In this blog post we show how to use MicroK8s to simplify the installation process.
MicroK8s is a Kubernetes management tool that is perfect to deploy a development or testing Kubernetes environment on a single machine, or a small Kubernetes cluster.
Installation
MicroK8s is actually a snap package, so the installation is very simple:
sudo snap install microk8s --classic
To allow pod communication, you will have to add
sudo ufw allow in on cni0
sudo ufw allow out on cni0
sudo ufw default allow routed

# if needed, don't forget to allow ssh and enable ufw:
sudo ufw allow ssh
sudo ufw enable
You can now add yourself to the list of users that are allowed to use microk8s:
sudo usermod -a -G microk8s `whoami`
sudo chown -f -R `whoami` ~/.kube
To apply the changes, you must either logout and login again, or you can reload your terminal session with:
newgrp microk8s
You can now use kubectl almost as usual, but you must prepend the microk8s wrapper:
microk8s kubectl version
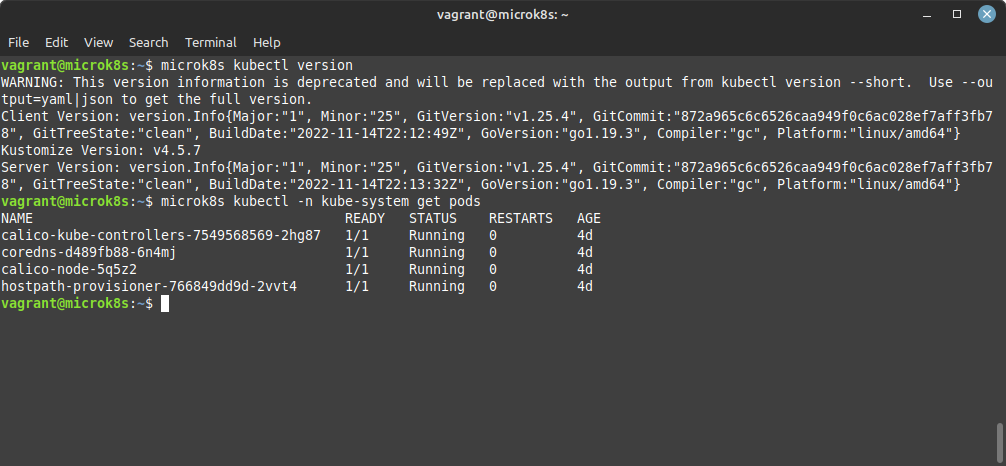
At the time of writing, microk8s installs kuvernetes v1.25.4
If you prefer you can also create an alias for kubectl, at the end of ~/.bash_aliases:
alias kubectl='microk8s kubectl'
Addons
By default, microk8s installs a very light Kubernetes environment, with only a few plugins. You can list enable and available addons with:
microk8s status
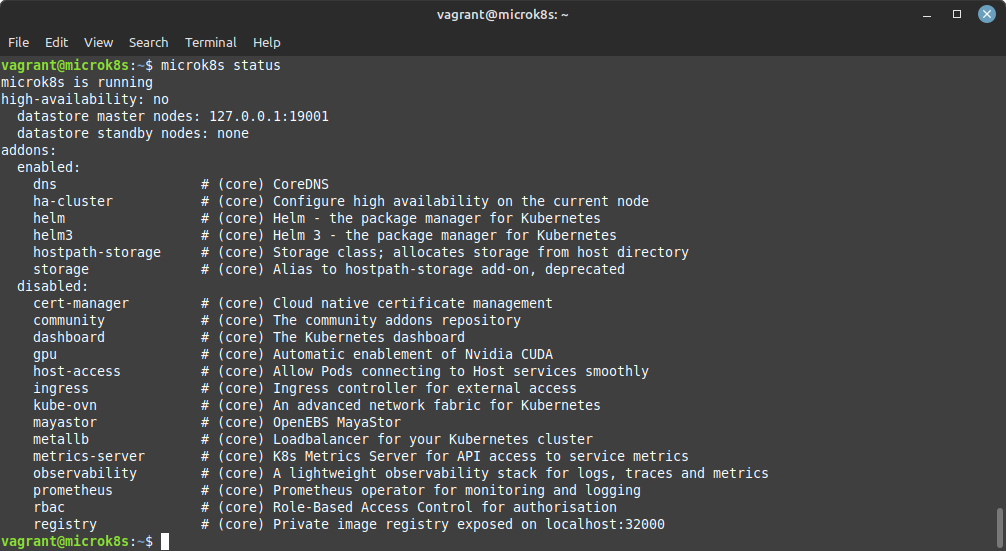
For a basic Kubernetes setup, you should probably enable at least DNS and local storage:
microk8s enable dns hostpath-storage
Test
Create a file called cylab.yaml that describes a pod and a NodePort service that will expose the pod on port 30001:
apiVersion: v1
kind: Pod
metadata:
  name: cylab-hello-pod
  labels:
    app: cylab-hello
spec:
  containers:
  - name: cylab-hello
    image: cylab/hello:1.0
    ports:
    - containerPort: 80


---
apiVersion: v1
kind: Service
metadata:
  name: cylab-hello-svc
spec:
  type: NodePort
  ports:
  - port: 80
    nodePort: 30001
    protocol: TCP
  selector:
    app: cylab-hello
Apply the app description:
microk8s kubectl apply -f cylab.yaml
After a few seconds, the pods and services will be up and running:
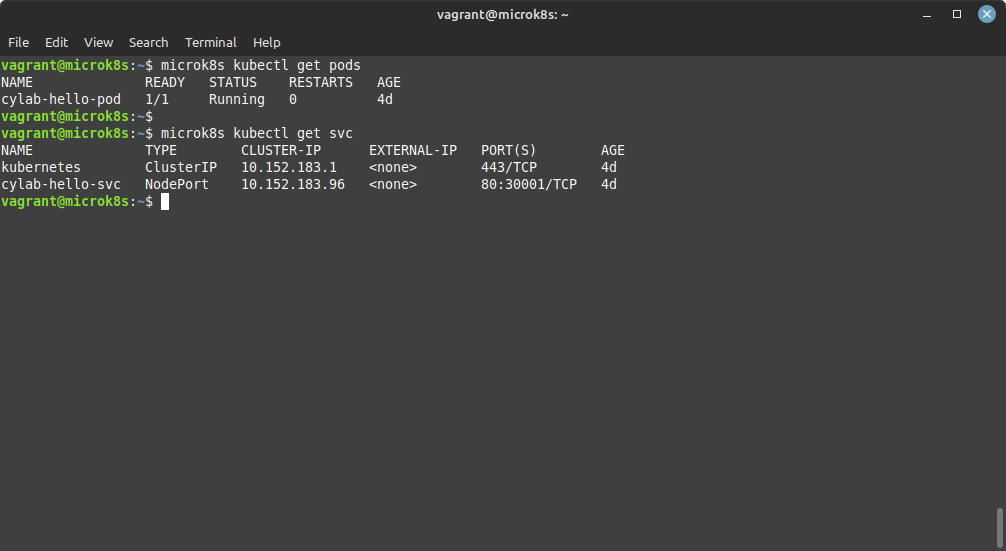
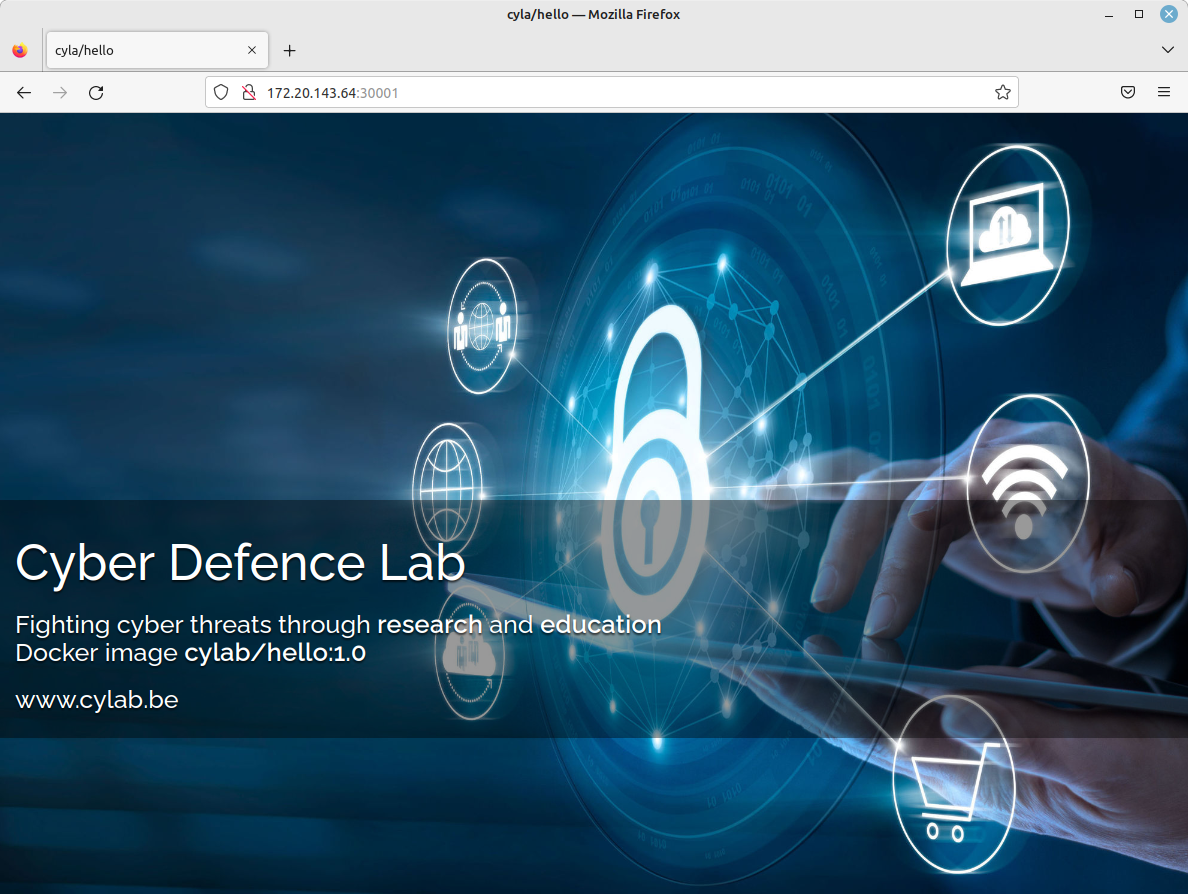
And the application will be available on port 30001, using the IP address of your host computer.
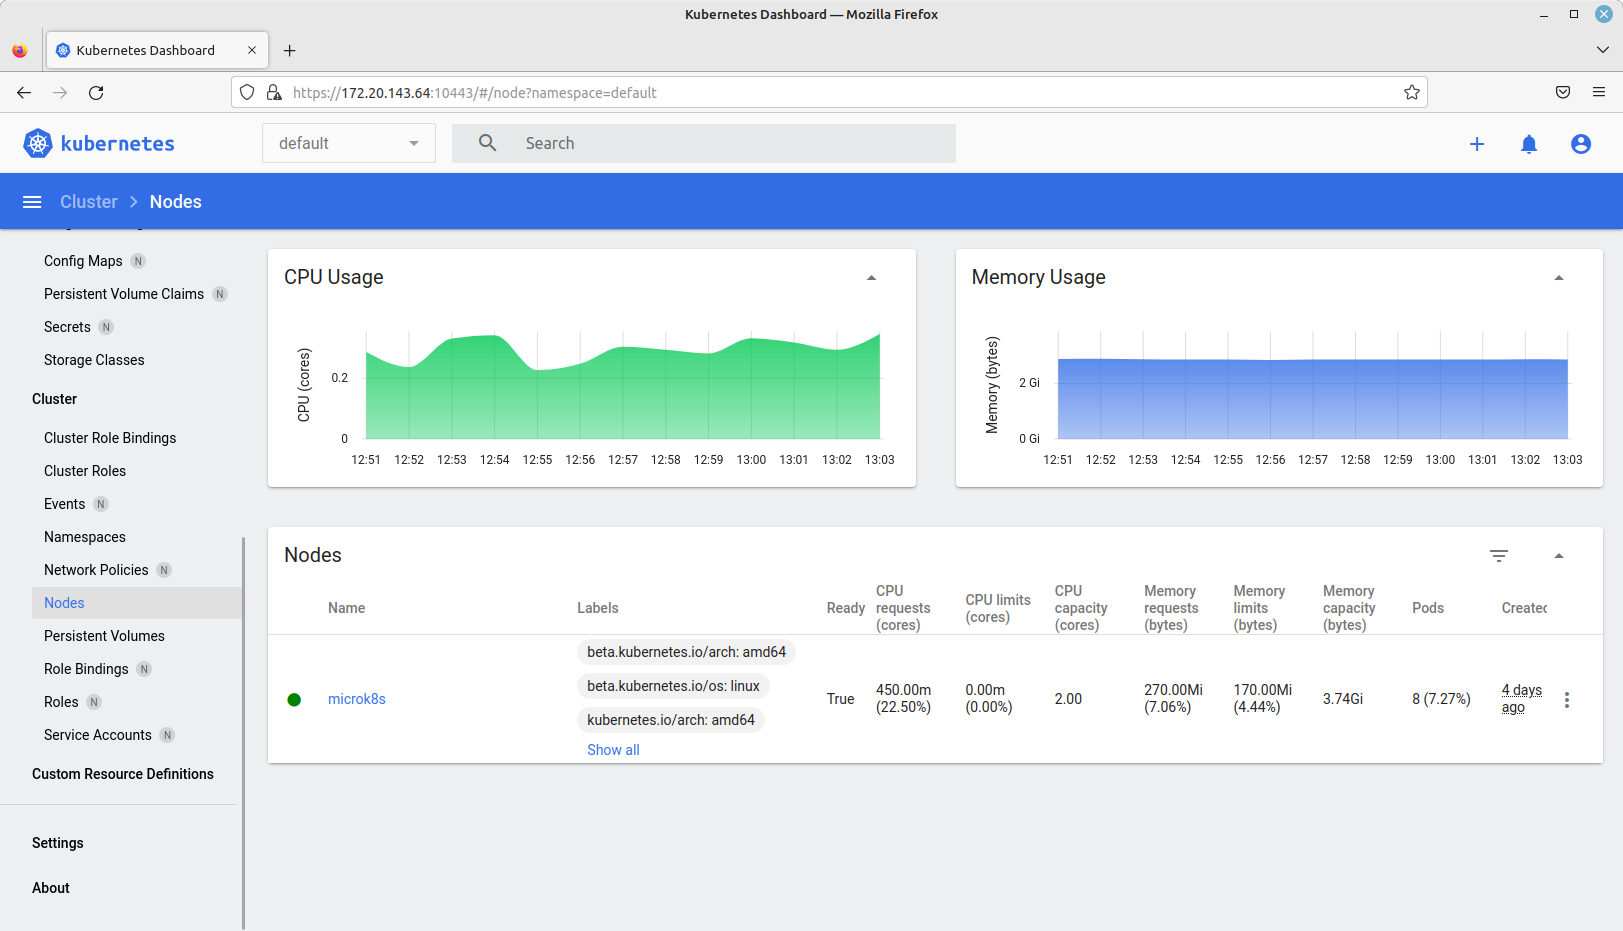
Dashboard
MicroK8s can also deploy the Kubernetes Dashboard for you with:
microk8s dashboard-proxy
After a few second, the Dashboard will be available at https://ip.of.your.host:10443. Don’t be surprised: the server uses a self-signed https certificate, that will probably trigger a warning in your browser.
This blog post is licensed under
CC BY-SA 4.0


