MARk : add images to your detection reports
Aug 25, 2021 by Thibault Debatty | 2190 views
https://cylab.be/blog/166/mark-add-images-to-your-detection-reports
Since version 2.6.0, the Multi-Agent Ranking framework (MARk) offers the possibility to integrate images and other files in the reports generated by your detectors. Here is how…
Update to version 2.6.0
If you don’t have installed MARk yet, follow our previous tutorial to install MARk and create a detector.
To update to version 2.6.0, you will have to make 2 modifications:
- update your pom.xml
- update the signature of the
analyzemethod of your detector
1. modify your pom.xml as follows:
  <dependencies>
    <dependency>
      <groupId>be.cylab.mark</groupId>
      <artifactId>client</artifactId>
      <version>2.6.0</version>
      <scope>provided</scope>
    </dependency>

    <dependency>
      <groupId>be.cylab.mark</groupId>
      <artifactId>core</artifactId>
      <version>2.6.0</version>
      <scope>provided</scope>
    </dependency>
  </dependencies>
2. modify the signature of the analyze method as follows:
    @Override
    public final void analyze(
            final Event ev,
            final DetectionAgentProfile profile,
            final ClientWrapperInterface datastore) throws Throwable {
    }
As you can see, the third parameter is now a ClientWrapperInterface (instead of a ServerInterface). This new interface brings some additional methods that we will use…
Before we go further, compile your code to make sure everything is working correctly…
mvn clean install
Add a file to your report
Adding a file to your report requires 3 steps:
- create a shared file;
- get the corresponding URL;
- use the URL in your report, and write it to the database.
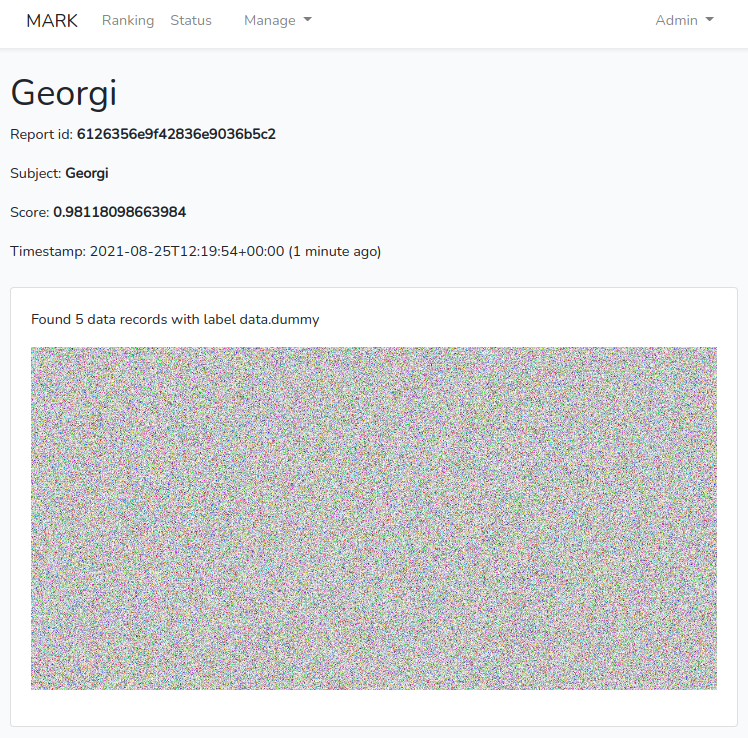
To create a file that will be shared between the machine (container) running the detection algorithm is running and the machine (container) where the web interface is running, you can use the method datastore.createSharedFile(String name). To get the corresponding URL, you can use the method datastore.getURLFromFile(File file). So here is a code example
// 1. create the shared file
File file = datastore.createSharedFile("image.png");

// here you should write the image to the file
writeImageToFile(data, file);

// 2. get the URL corresponding to this file
// will be something like /data/123456_image.png
String file_url = datastore.getURLFromFile(file);

// 3. create the report, using the file URL
String report = "<p>Found " + data.length + " data records with label "
    + ev.getLabel() + "</p><p><img src='" + file_url + "'></p>";

// save evidence to datastore
Evidence evidence = new Evidence();
evidence.setLabel(profile.getLabel());
evidence.setSubject(ev.getSubject());
evidence.setReport(report);
evidence.setScore(rand.nextDouble());
evidence.setTime(ev.getTimestamp());
datastore.addEvidence(evidence);
You can find a complete example in the repository of the project
Test with docker
As for the previous tutorial, the easiest way to test and run MARk is using docker and docker-compose. Here is the docker-compose.yml for the current version of the server (2.6.1) and web interface (1.5.1):
version: '2.0'
services:
  mark-web:
    image: cylab/mark-web:1.5.1
    container_name: mark-web
    environment:
    - MARK_HOST=mark-server
    - MARK_PORT=8080
    ports:
    - "8000:80"
    volumes:
    - data:/var/www/html/storage/app/data
    depends_on:
    - mark
  mark:
    image: cylab/mark:2.6.0
    container_name: mark-server
    volumes:
    - ./modules:/mark/modules
    - data:/mark/data
    environment:
    - MARK_MONGO_HOST=mark-mongo
    ports:
    - "8080:8080"
    depends_on:
    - mongo
  mongo:
    image: mongo:4.4
    container_name: mark-mongo
    volumes:
    - mongo:/data/db

volumes:
  data:
  mongo:
And here is the one-liner to build your code and run the MARk server:
mvn package && cp target/*.jar modules/ && docker-compose restart
The web interface will be accessible at http://127.0.0.1:8000 with following credentials:
- E-mail :
mark-admin@cylab.be - Password:
change-me!
This blog post is licensed under
CC BY-SA 4.0


