A bit of PIL for bit plane display
Jan 14, 2022 by Charles Beumier | 6058 views
https://cylab.be/blog/176/a-bit-of-pil-for-bit-plane-display
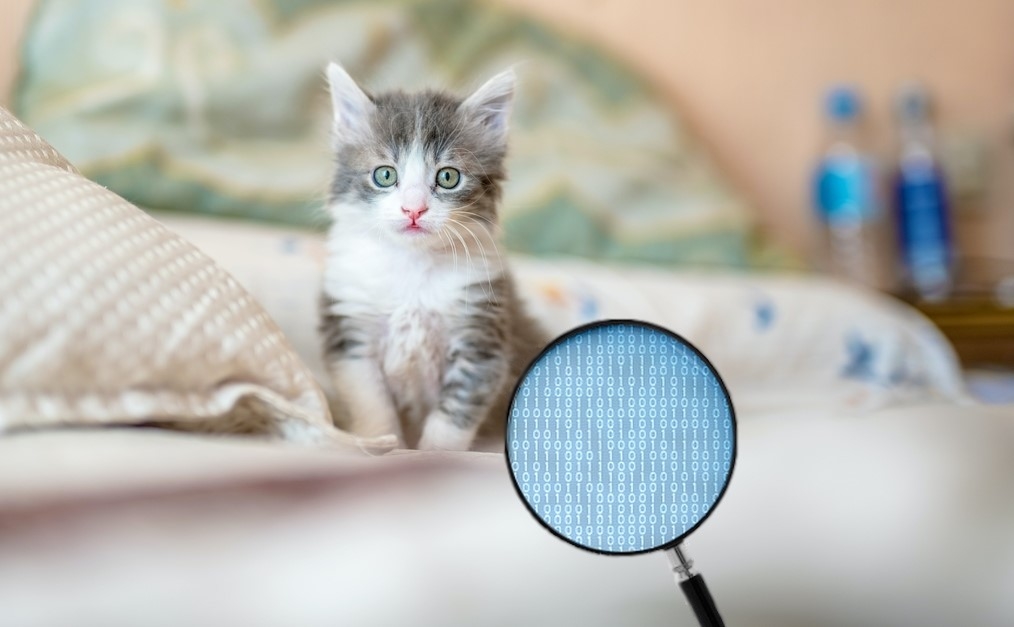
Displaying image bit planes, in particular less significant ones, is an important task to reveal some image artefacts due to image degradation or manipulation. In particular, the Least Significant Bit (LSB) of pixel values is heavily used in steganography to hide messages in a cover image. We will see in this blog how to use the Python Imaging Library (PIL) to save and display an image containing some specified bit planes of a given image.
To display an image file, you normally click on it to call the default image viewer which usually provides for simple tools like image rotation and mirroring. In some specific situations, you may install and use a viewer which offers more image processing capabilities. Gimp, photoshop or photofiltre are well-known examples which provide for many tools concerning image manipulation, color modification and drawing, to name a few. Rarely though, you are given a tool that lets you extract one or several bit planes from an image. If you need this, you have to write a program. If you purchased a MATLAB license, the image package provides the function bitget(img, 0) to get the LSB plane of image img. We propose here a program to extract bit planes, written with the free Python Image Library.
An image is an array of pixel values, usually stored as RGB values (8-8-8). Each color field intensity R, G and B is stored with 8-bit, representing integer values between 0 and 255. The MSB is the most significant bit and counts for 128, while the LSB counts only for 1. Compared to the full range, the LSB is small and not visible to the human eye. The LSB bit plane, which is the image formed by the LSB of all image pixels, is the perfect place to leave a discrete message, hidden by the dominant bits.
The Python Imaging Library is a free and open-source library for the Python language to open, manipulate and save images. It is available for Windows, Linux and Mac OS X. PIL provides per-pixel manipulations, masking, image filtering and enhancing and image drawing. It supports the BMP, GIF, JPEG, PNG, PPM and the TIFF file formats.
The showBits program
# showBits.py: Use PIL to read image, get bits set in mask and display

import sys
from PIL import Image

# 1. Check format and get image filename and mask
if len(sys.argv) != 3:
    print("'%s' shows bits of 'mask'; saves to 'BITS.bmp'" % (sys.argv[0]))
    print("format: '%s image_file mask'" % (sys.argv[0]))
    print("'mask' is uint8 in Hexa (0x01: LSB, 0x80: MSB, 0x0F: 4 LSBs)")
    exit(0)
img_file = sys.argv[1]
mask = int(sys.argv[2], 16) # Convert hexa to int
if (mask < 1) or (mask > 255):
    print("'mask' is uint8 in Hexa (0x01: LSB, 0x80: MSB, 0x0F: 4 LSBs)")
    exit(0)

# 2. Access image file
imgI = Image.open(img_file)
width, height = imgI.size
pix = imgI.load()    # access to pixel 2D array
if imgI.mode != 'RGB': # mode is pixel type
    print("So far, only RGB images supported")
    exit(0)

# 3. Create result image
resI = imgI.copy()   # buffer for results, same size and type as imgI
res_pix = resI.load()

# 4. Fill resI thanks to bit mask and multiply for contrast
mult = int(255/mask) # 0x01->255, 0x02->127, 0x04->63, 0x0F->17, 0xFF->1
for y in range(height):
    for x in range(width):
        r, g, b = pix[(x,y)]
        r, g, b = r & mask, g & mask, b & mask # Keep LSB
        res_pix[(x,y)] = (r*mult, g*mult, b*mult)

# 5. Display result and save to BITS.bmp
imgI.show() # invoke 'display' to show image
resI.show() # invoke 'display' to show image
resI.save("BITS.bmp") # save to file
The program to extract and save some image planes consists of 5 parts. The first one checks the arguments and extracts the image filename and the bit mask. The bit mask has to be specified as a hexadecimal 8-bit value: 0x01 designates the LSB while 0x80 the MSB. 0x0F specifies the 4 LSBs.
The second program part accesses the image file and gets a handle (pix) to the pixel values. The width and height are stored for later use and the pixel type is checked thanks to the mode field.
The third part creates a new image buffer that will hold the resulting image values. It has the same size and pixel type as the original image.
The fourth part fills in the resulting image, pixel by pixel, thanks to two imbricated loops on width and height. Each original colour field value (R, G and B) is filtered by the bit mask thanks to an AND (“&“) operation. The multiplier mult, adapted to the bit mask, is applied to maximize the contrast.
The fifth and final program part consists in displaying the resulting image and saving it to the “BITS.bmp” file. Displaying is achieved by the Image.show() function of PIL which launches an external process that cannot be stopped easily from the program. It invokes the “display” executable that could need installation by a “sudo apt-get install imagemagick” command.
Example
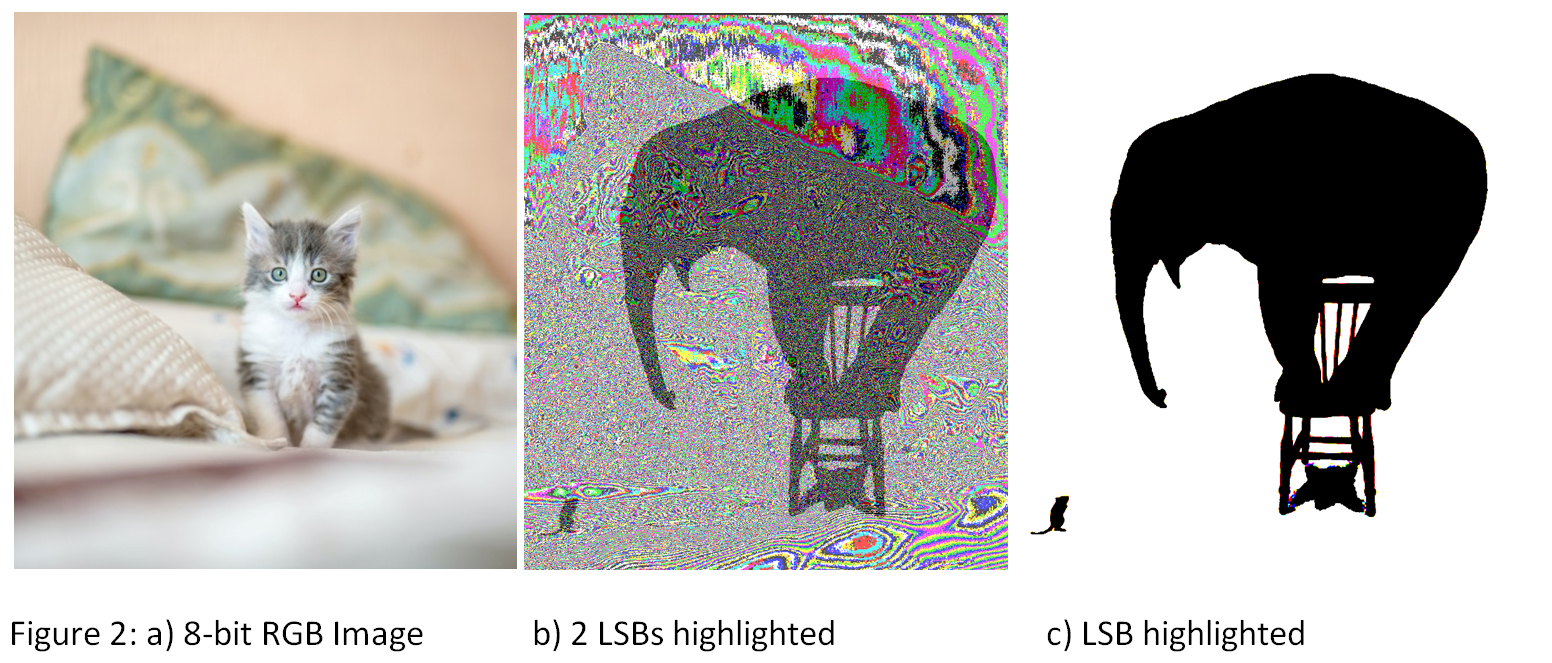
An image of a cat has been modified, replacing its LSB with a binary image of an elephant frightened by a mouse. By running the program (“python3 showBits.py cat_withLSB.bmp 0x03”), we obtain Figure 2b which displays the 2 LSBs. With the bit mask 0x01, the LSB is highlighted, as shown in Figure 2c.
Final words
We have proposed and presented a python program based on the PIL library to extract and display planes of an image. This is particularly useful to observe the less significant bits revealing image degradation or manipulation.
This blog post is licensed under
CC BY-SA 4.0


