Getting started with Helm
Jan 15, 2022 by Thibault Debatty | 5597 views
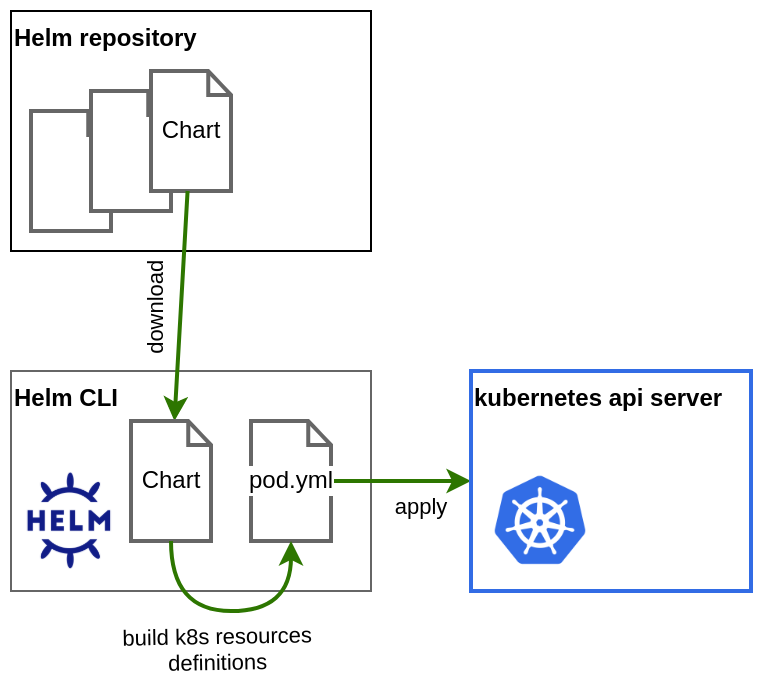
Helm is a template engine that can be used to deploy applications on a Kubernetes cluster. It allows to build a customized kubernetes resources definition, that can be deployed on your cluster. But helm has actually many other functionalities, to handle the whole process of building, distributing, installing and managing Kubernetes applications.
These templates are called charts in helm terminology. A helm chart is actually a compressed directory with a few template files. You can see on the Figure below a snippet of a template from the redis chart.
These charts can be downloaded manually, or they can be stored on and fetched from Helm repositories (just like Docker images can be pushed to and pulled from repositories).
The Helm command line tool allows to download a chart from a repository (or from a URL), create the customized Kubernetes resources definition from the templates, and push it to your Kubernetes cluster. Once this chart has been installed on your cluster, it is called a release. Indeed, you may wish to install the same chart multiple times, with different parameters, or in different namespaces…
Installation
Easiest way to install Helm is using the provided installation script:
wget https://raw.githubusercontent.com/helm/helm/main/scripts/get-helm-3
sudo bash get-helm-3
This script will check that the dependencies are present on your machine, then and install the appropriate version. You can then test that Helm was correctly installed with
helm version
Finding charts
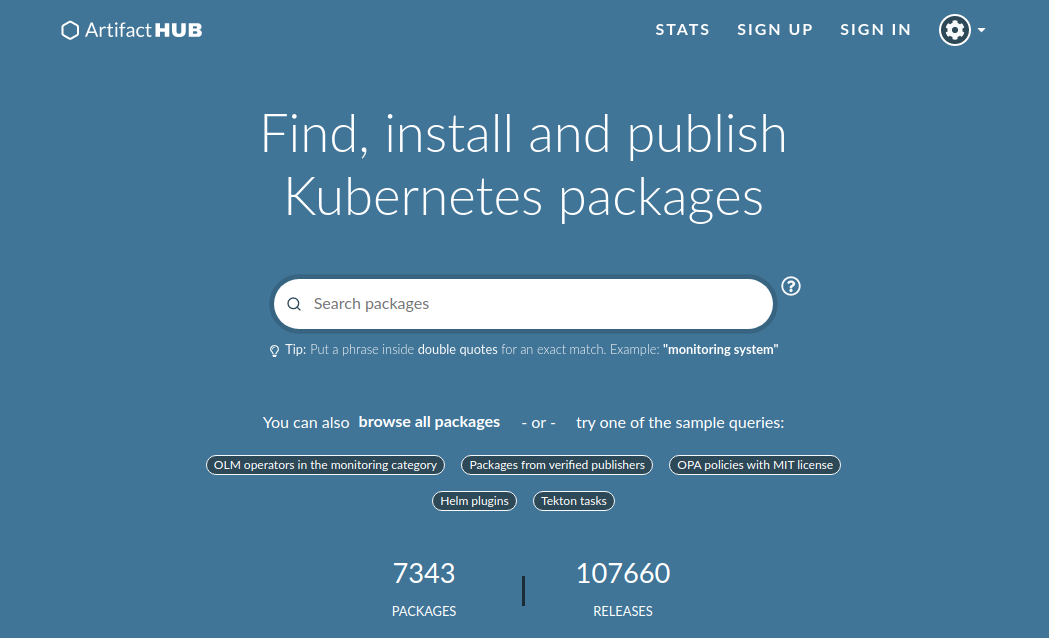
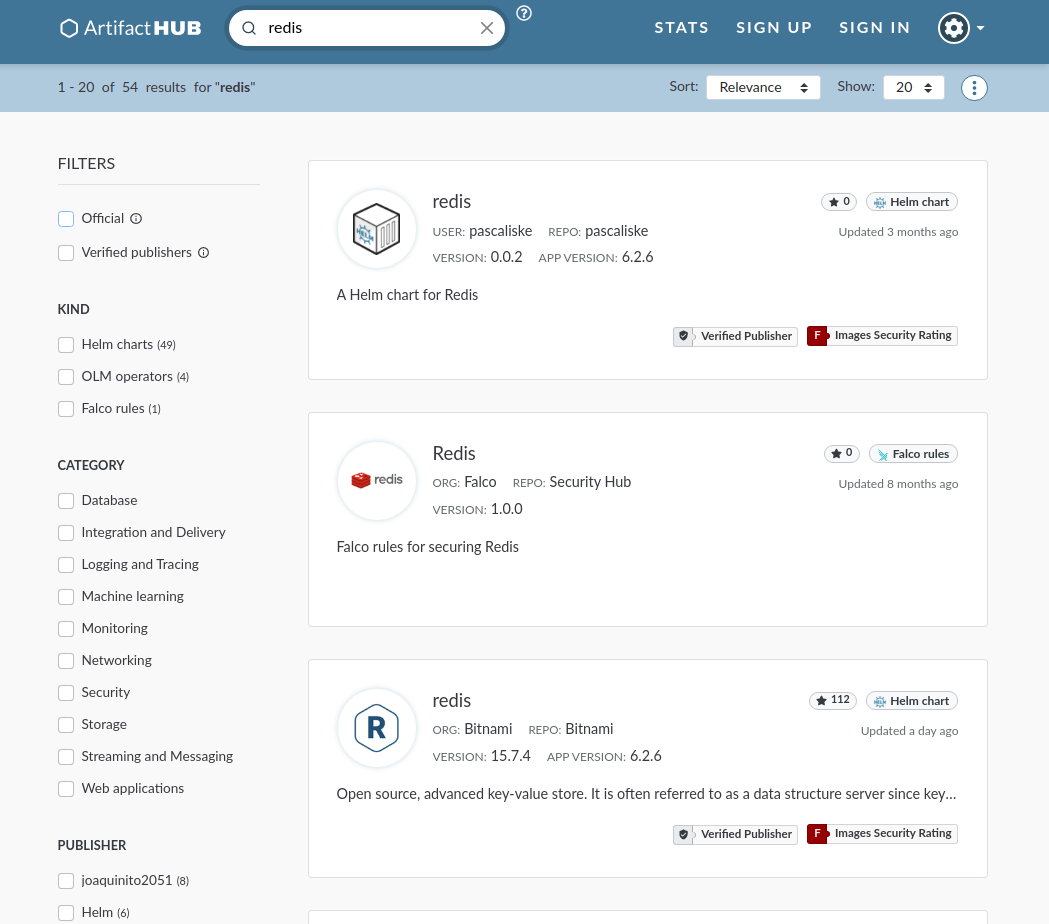
The easiest way to find charts is to search on https://artifacthub.io/
Install a chart
Once you have found the chart you want, you can start the installation… By default, the Helm command line tool comes with no preconfigured repository, so you will probably have to first add the appropriate repository:
helm repo add <name> <URL>
For example:
helm repo add bitnami https://charts.bitnami.com/bitnami
Luckily, the command is also indicated on https://artifacthub.io/
Then you can install a chart with
helm install <release name> <chart name>
where <release name> is the name you want to give to this release (this instance of the chart). E.g.
helm install redis-test-01 bitnami/redis
This will automatically download the chart, create the appropriate Kubernetes resources definitions, and push them to your Kubernetes cluster.
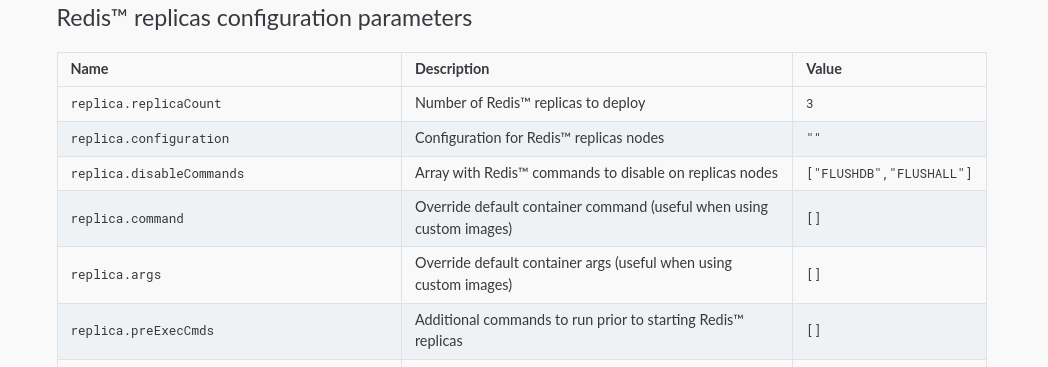
As mentioned above, Helm is mainly a templating system. Hence there are usually numerous parameters that you can set when deploying. These are also listed on the artifacthub.io page, with their respective default value.
You can set a different value with:
helm install <release name> <chart name> --set key=value
# or, to set multiple values:
helm install <release name> <chart name> --set key1=value1,key2=value2
E.g.
helm install redis-test-02 bitnami/redis --set replica.replicaCount=4
You can also install the release in a specific namespace with
helm install <release name> <chart name> -n <namespace>
# or, to create the namespace
helm install <release name> <chart name> -n <namespace> --create-namespace
Finally, if you use a specific kubeconfig.yaml to connect to your Kubernetes cluster, you can also use it with Helm:
helm install <release name> <chart name> --kubeconfig <kubeconfig.yaml>
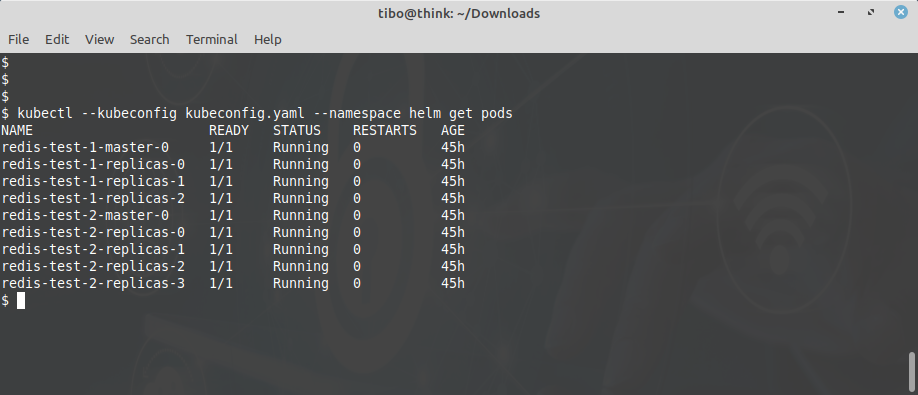
After a few seconds, you will see the different pods, services and other resources appear, using kubectl.
List and uninstall releases
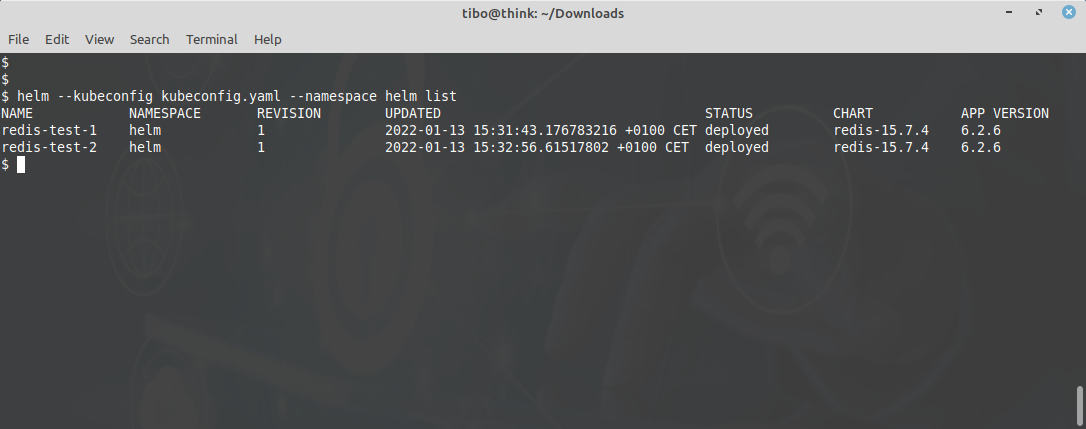
You can list installed releases with
helm list
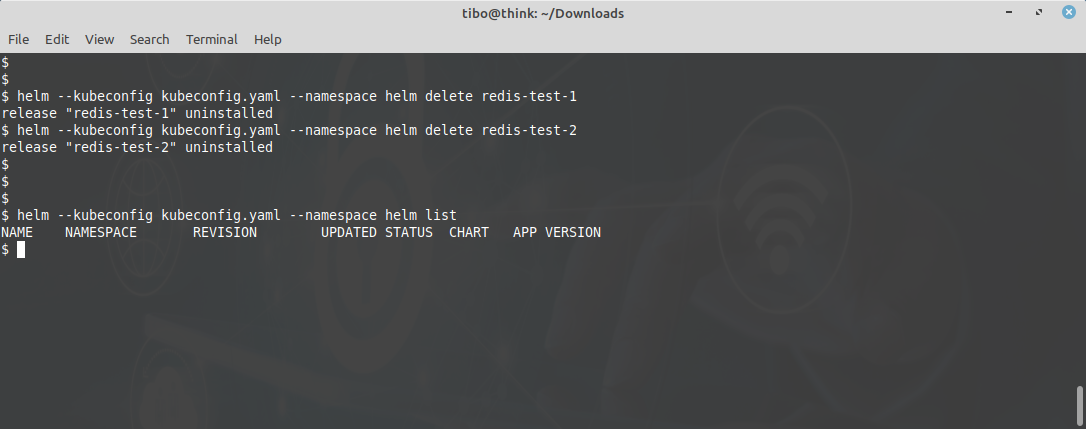
And delete all the pods, services and other resources of a release with:
helm delete <release name>
Final words
Next to installing and uninstalling charts, Helm also allows to create and package charts. This will be the subject of another blog post…
This blog post is licensed under
CC BY-SA 4.0


