DNS over HTTPS and DNS over TLS with dnsdist
Apr 6, 2022 by Thibault Debatty | 19665 views
https://cylab.be/blog/211/dns-over-https-and-dns-over-tls-with-dnsdist
DNS is a real corner stone of privacy and security on the Internet! From the security point of view, DNS is used by your machine to link a domain name to an IP address. DNS is also used to find the email server of a recipient (using MX records). On a desktop computer, DNS is used by email clients to perform auto-configuration. Over the Internet, DNS records are used to prevent BGP hijacking (using RPKI). The list is long! From the privacy point of view, the DNS queries sent by your computer offer a clear view of the services you use.
To protect the security and privacy of your devices (servers and computers, but also smart and IoT devices), you should make sure you always use a DNS server that offers security, privacy and performance. Moreover, the requests sent by your device to the DNS server should be encrypted using DNS over TLS (DoT) or DNS over HTTPS (DoH) to avoid eavesdropping or tampering.
In this blog post, we will see how to use dnsdist as a relay to transmit DNS requests. Dnsdist is actually a load balancer developed by PowerDNS, so it uses a list of DNS servers (called downstream servers) to forward the queries. Moreover, it will continuously monitor the state of the downstream servers, to provide the best performance.
As downstream servers, we will use DNS servers provided by Quad9 and Cloudflare. These providers guarantee privacy and security of received DNS requests. We will also use DNS over HTTPS and DNS over TLS to protect our queries from eavesdropping or tampering during their journey to the downstream servers.
Installation with docker compose
The version of Dnsdist available in repositories is usually outdated. Hence the easiest way to run a recent version of Dnsdist is using Docker and docker compose.
First, create a directory structure for dnsdist
mkdir -p dnsdist/conf.d
cd dnsdist
Now add the following docker-compose.yml:
#
# dnsdist
# DNS relay with DNS over TLS and DNS over HTTPS
# https://cylab.be/blog/211/dns-over-https-or-tls-with-dnsdist
#

services:
  dnsdist:
    image: cylab/dnsdist
    restart: "unless-stopped"
    ports:
      - "5300:53"
      - "5300:53/udp"
      # console
      - "5199:5199"
      # web interface
      - "8083:8083"
    volumes:
      - ./conf.d:/etc/dnsdist/conf.d
You can now start the server with
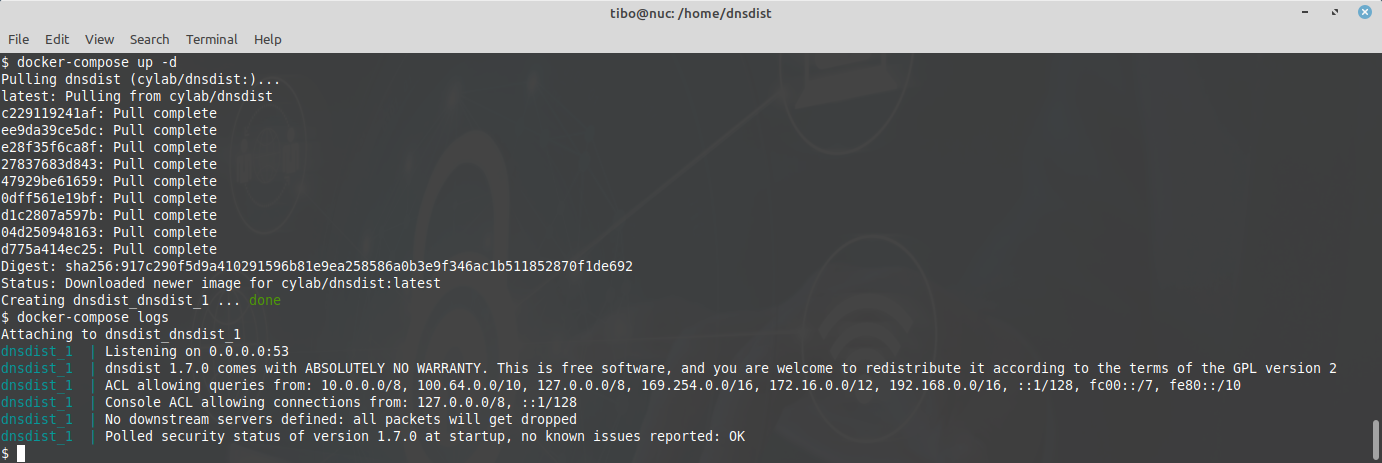
docker compose up -d
And check the logs with
docker compose logs
Downstream servers
Our dnsdist installation currently has no downstream DNS server configured. As you can see from the docker-compose file, the configuration directory of dnsdist is mounted at conf.d
Quad9
To use the servers from Quad9, create a file conf.d/quad9.conf with following content:
---
--- https://www.quad9.net/
--- Provides privacy (no logging) and security (malware blocking and DNSSEC validation)
---

--- DNS over TLS
newServer({address="9.9.9.9:853", tls="openssl", subjectName="dns.quad9.net", validateCertificates=true, checkInterval=10, checkTimeout=2000})
newServer({address="149.112.112.112:853", tls="openssl", subjectName="dns.quad9.net", validateCertificates=true, checkInterval=10, checkTimeout=2000})

--- DNS over HTTPS
newServer({address="9.9.9.9:443", tls="openssl", subjectName="dns.quad9.net", dohPath="/dns-query", validateCertificates=true, checkInterval=10, checkTimeout=2000})
newServer({address="9.9.9.9:5053", tls="openssl", subjectName="dns.quad9.net", dohPath="/dns-query", validateCertificates=true, checkInterval=10, checkTimeout=2000})
newServer({address="149.112.112.112:443", tls="openssl", subjectName="dns.quad9.net", dohPath="/dns-query", validateCertificates=true, checkInterval=10, checkTimeout=2000})
newServer({address="149.112.112.112:5053", tls="openssl", subjectName="dns.quad9.net", dohPath="/dns-query", validateCertificates=true, checkInterval=10, checkTimeout=2000})
Cloudflare
To use the DNS servers from Cloudflare, create a file conf.d/cloudflare.conf with following content:
---
--- https://1.1.1.1/dns/
--- Provides privacy and security (DNSSEC validation)
---

--- DNS over TLS
newServer({address="1.1.1.1:853", tls="openssl", subjectName="cloudflare-dns.com", validateCertificates=true, checkInterval=10, checkTimeout=2000})
newServer({address="1.0.0.1:853", tls="openssl", subjectName="cloudflare-dns.com", validateCertificates=true, checkInterval=10, checkTimeout=2000})

--- DNS over HTTPS
newServer({address="1.1.1.1:443", tls="openssl", subjectName="cloudflare-dns.com", dohPath="/dns-query", validateCertificates=true, checkInterval=10, checkTimeout=2000})
newServer({address="1.0.0.1:443", tls="openssl", subjectName="cloudflare-dns.com", dohPath="/dns-query", validateCertificates=true, checkInterval=10, checkTimeout=2000})
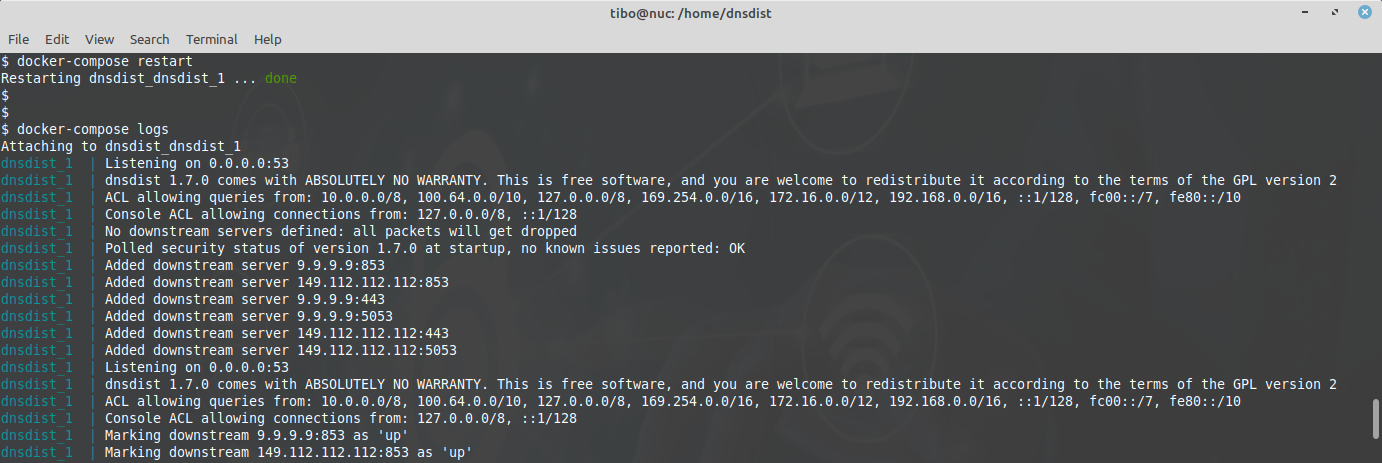
Then restart the server:
docker compose restart
This time the logs will show the new downstream servers.
The newServer configuration command has many options, like grouping servers in pools. The complete list can be found in the online documentation: https://dnsdist.org/reference/config.html#newServer
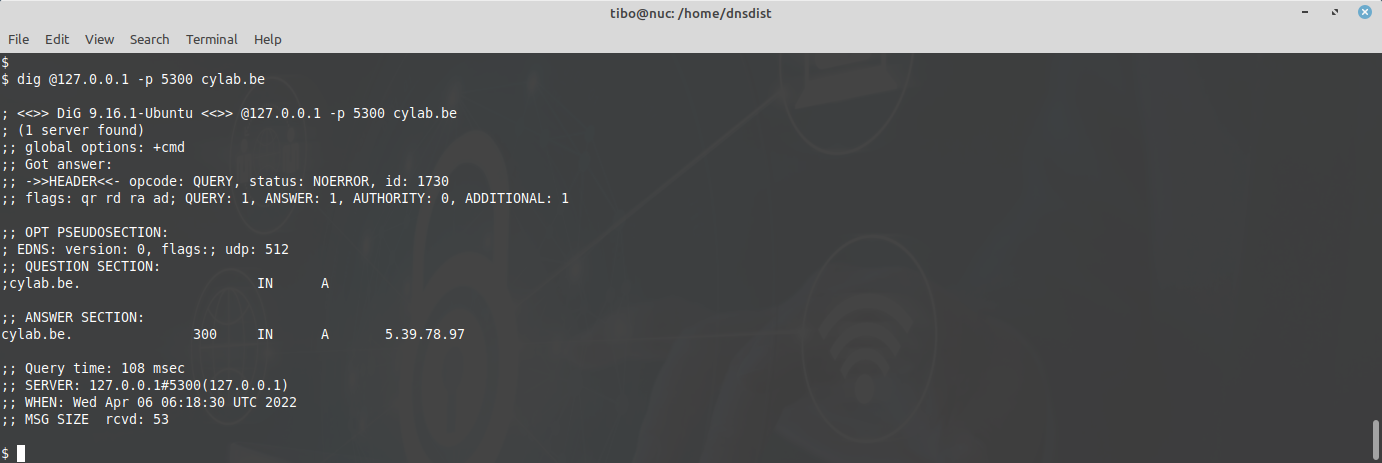
Test
You can use dig to check that dnsdist is working correctly. As you can see from the docker-compose file, dnsdist is (currently) mapped to port 5300. Hence the dig command to use is
dig @127.0.0.1 -p 5300 cylab.be
Caching
Dnsdist also allows to cache DNS replies to improve performance. The cache is enabled per pool of downstream servers, but the same cache can be shared between several pools. To enable caching, create a(nother) file conf.d/cache.conf with following content:
pc = newPacketCache(10000, {maxTTL=86400, minTTL=0, temporaryFailureTTL=60, staleTTL=60, dontAge=false})
getPool(""):setCache(pc)
- The first parameter (10000) is the maximum number of entries stored in the cache, and is the only one required.
- maxTTL is the maximum Time To Live (TTL) of an entry in the cache.
- minTTL is the minimum TTL an entry should have to be considered for insertion in the cache.
- temporaryFailureTTL is the TTL used for a Server Failure or a Refused response.
- staleTTL is the TTL that will be used when a stale cache entry is returned.
- dontAge avoids reducing the TTL of cached entries.
https://dnsdist.org/guides/cache.html
Then restart the server:
docker compose restart
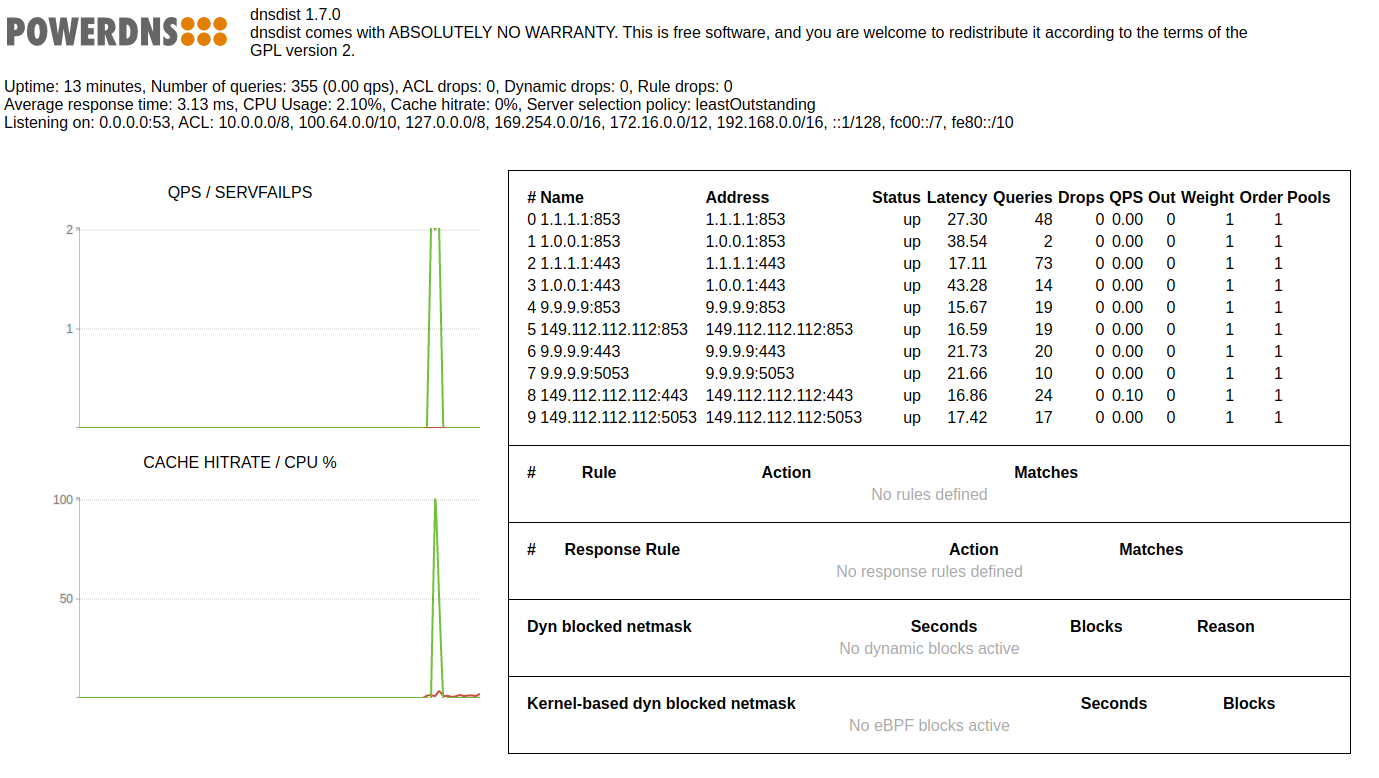
Web interface
Dnsdist has a built-in web interface for monitoring the state of the server. To enable the web interface, create (again) a config file conf.d/webinterface.conf with following content:
webserver("0.0.0.0:8083")
setWebserverConfig({password="supersecretpassword", apiKey="supersecretapikey", acl="172.0.0.0/8"})
Don’t forget to modify the passwords, and restart the server:
docker compose restart
The web interface will now be available at http://ip.of.server:8083 (or http://127.0.0.1:8083 if you installed dnsdist locally). You can use any username, and the password that you defined in the configuration file.
Using system-wide (instead of systemd-resoved)
Now if you want to use your freshly installed dnsdist for all DNS queries executed by your system, you will have to:
- disable the built-in DNS resolver of systemd;
- map you dnsdist server to port
53; - replace /etc/resolv.conf;
- if you have a GUI and use NetworkManager: prevent NetworkManager from overwriting /etc/resolv.conf;
- test.
1. disable the built-in DNS resolver of systemd
sudo systemctl stop systemd-resolved.service
sudo systemctl disable systemd-resolved.service
2. modify docker-compose.yml to map dnsdist to port 53
services:
  dnsdist:
    image: cylab/dnsdist
    restart: "unless-stopped"
    ports:
      - "53:53"
      - "53:53/udp"
# lines omitted ...
and recreate the docker service:
docker compose down
docker compose up -d
3. modify /etc/resolv.conf such that your OS uses your dnsdist server for all DNS queries:
When using systemd, /etc/resolv.conf is actually a symlink to /run/systemd/resolve/stub-resolv.conf. We have to replace this symlink with a regular file.
sudo mv /etc/resolv.conf /etc/resolv.conf.back
sudo nano /etc/resolv.conf
with the following content:
nameserver 127.0.0.1
4. prevent NetworkManager to overwrite /etc/resolv.conf
Modify /etc/NetworkManager/NetworkManager.conf and add this line to the [main] section:
dns=none
Then restart NetworkManager:
sudo service NetworkManager restart
https://developer-old.gnome.org/NetworkManager/stable/NetworkManager.conf.html
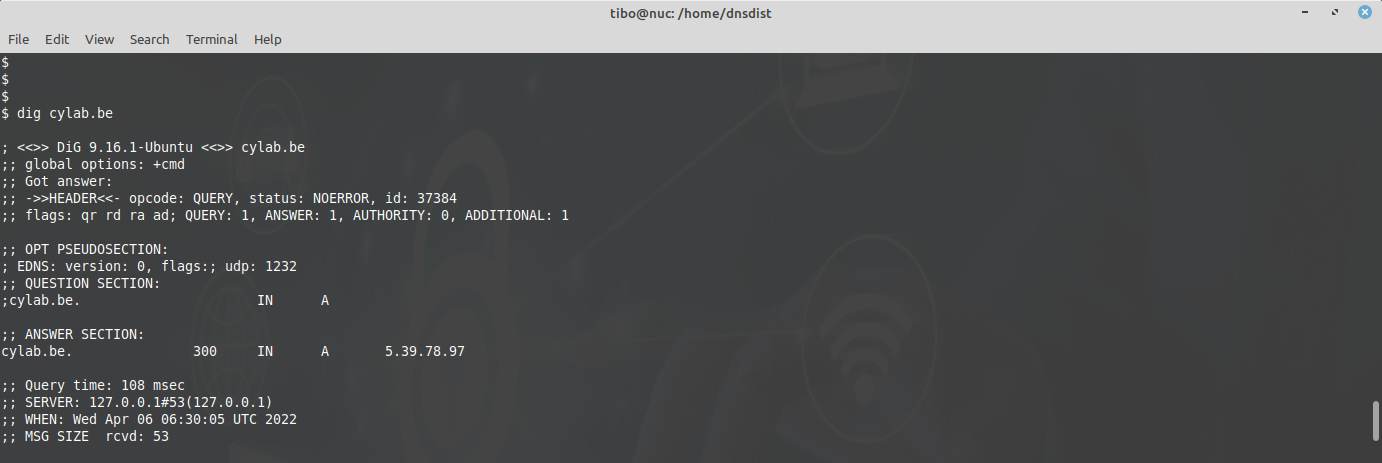
5. you can now test, using dig without additional parameters:
dig cylab.be
Wildcard host override : spoof
Dnsdist has a handy feature which allows to change DNS results from client queries. This allows to bypass normal resolution and return an IP address for some hosts or domains.
You can use this by adding the following to your configuration (for example in overrides.conf):
addAction("example.com", SpoofAction("192.0.2.1"))
Keep in mind that the SpoofAction directive works as a wildcard, so all hosts or subdomains of example.com will resolve to 192.0.2.1.
E.g.
$ dig example.com

;; ANSWER SECTION:
example.com.		60	IN	A	192.0.2.1

$ dig qsdf.example.com

;; ANSWER SECTION:
qsdf.example.com.	60	IN	A	192.0.2.1
This blog post is licensed under
CC BY-SA 4.0


