Install Autopsy on Linux and on the SIFT workstation
Oct 16, 2024 by Thibault Debatty | 6722 views
https://cylab.be/blog/292/install-autopsy-on-linux-and-on-the-sift-workstation
Autopsy is an open-source digital forensics platform widely used for investigating and analyzing digital media, such as hard drives, memory cards, and smartphones. Developed by Basis Technology, it serves as the graphical front-end for The Sleuth Kit (TSK), a powerful collection of command-line tools for forensic analysis. It also includes additional tools like PhotoRec. Autopsy simplifies the forensic process by offering a user-friendly interface and features like timeline analysis, keyword searching, file carving, and metadata extraction.
In this blog post I’ll show how to install Autopsy using snap. This can be on the SIFT Workstation or another Debian based Linux distribution.
Remove previous version
On the SIFT Workstation, there is actually a preinstalled version of Autopsy, but this one is really old! So we should first remove it:
sudo apt remove autopsy
Install Snap
If snap is not installed on your system (like on Linux Mint), you will first have to install.
Remove the nosnap.pref file:
sudo rm /etc/apt/preferences.d/nosnap.pref
Install snapd:
sudo apt update
sudo apt install snapd
Enable snapd to run at startup:
sudo systemctl enable snapd
Test:
sudo snap install hello-world
hello-world
Install Autopsy and snap interfaces
Installation of Autopsy itself is straightforward:
sudo snap install autopsy
Snap apps are actually containerized applications, which are isolated from the host OS. Interfaces allow a snap to access host resources (such as audio playback) or resources from another snap. In snap terminology, the resource is a slot, and snaps can access this resource if there is an interface from a plug to the slot.
When a snap application is installed, the snap daemon will try to automatically establish interfaces to connect snap plugs to corresponding slots. However, some privileged interfaces require root privilege, and can only be established manually.
This can be done by running snap connections autopsy to list unconnected plugs, and then running sudo snap connect autopsy:<plug>. For example:
sudo snap connect autopsy:system-observe
Another option is to run the following command, which will connect all missing plugs:
snap connections autopsy | sed -nE 's/^[^ ]* *([^ ]*) *- *- *$/\1/p' | xargs -I{} sudo snap connect {}
First run
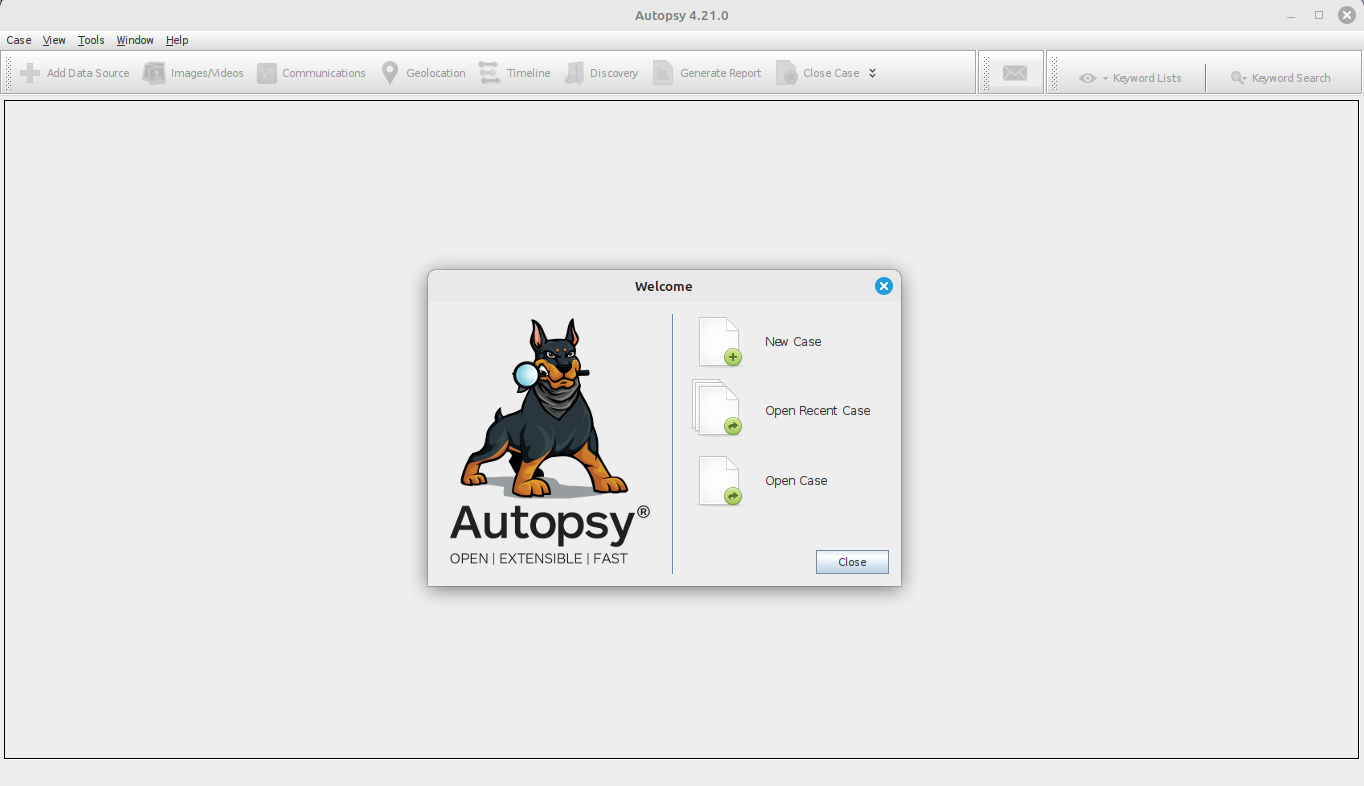
You can now start Autopsy, but there is one caveat: sometimes a dialog opens but is hidden by the splash screen. To avoid this, start autopsy with the following command:
autopsy --nosplash
First steps
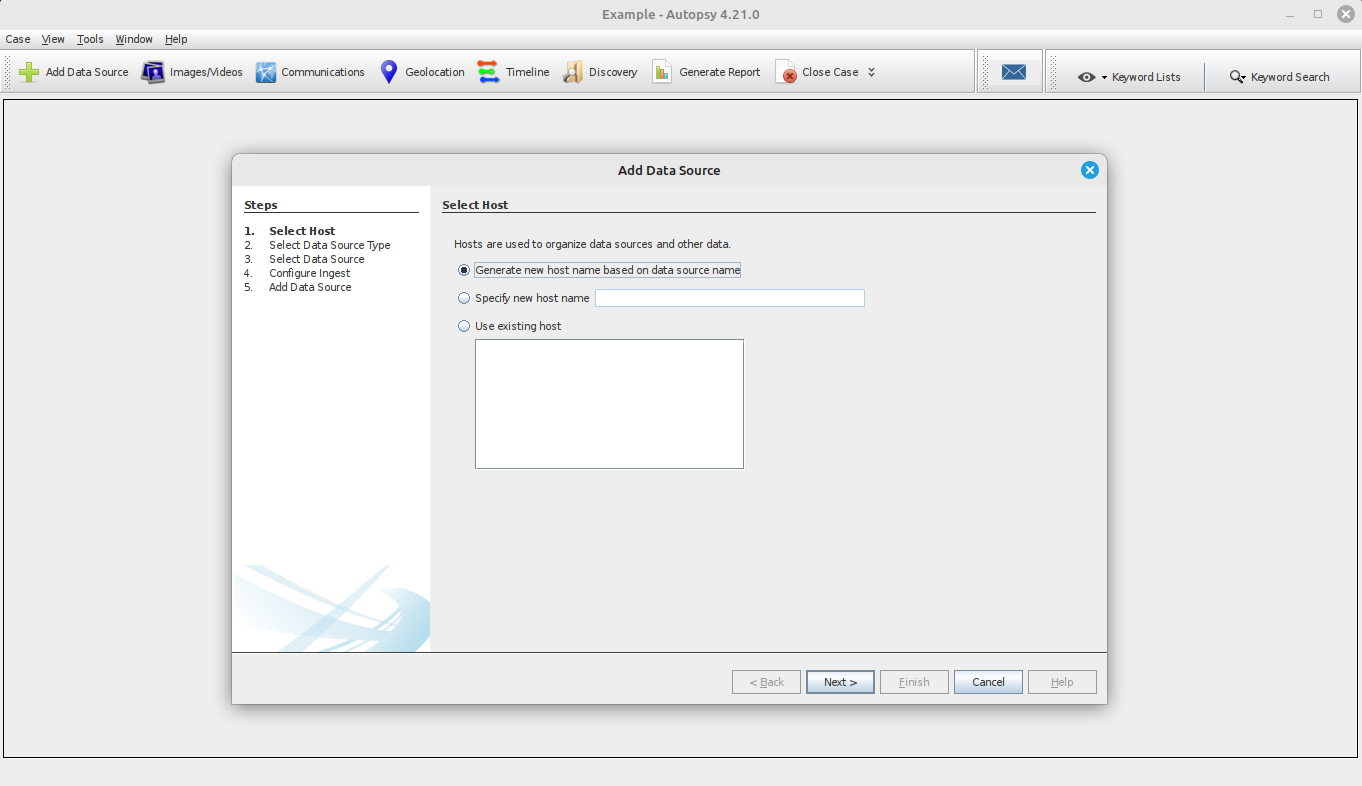
Autopsy is meant to handle a complete case, involving multiple data sources (images). The first step to do is import a data source. Autopsy supports raw disk images but also E01 out of the box.
When importing, you can choose to run analyzers, called ingest modules. My advice here is to run only a few of them (like Recent Activity, File Type Identification, Picture Analyzer, Email Parser and Encryption detection). You can run additional ingest modules later from the menu Tools > Run Ingest Modules.
Analysis takes some time. When done, you can browse the data source and artifacts in the left pane. Autopsy quickly gives you access to a lot of relevant information including:
- user emails
- recent documents
- executed programs
- web downloads and browsing history
This blog post is licensed under
CC BY-SA 4.0


