Add modules to your micro-Linux
Apr 8, 2024 by Thibault Debatty | 3843 views
In a previous blog post, we have built a micro-Linux system relying on initramfs. In this blog post, we will add modules to this minimal system.
Modules
A kernel module is a piece of kernel that is not compiled directly into the kernel binary image (bzImage). Instead, the module lives as a separate file, usually with the .ko extension (“kernel object”). This allows to reduce the size of the kernel, both on disk and in memory, and only load required modules when and if necessary.
A kernel module can be:
- a device driver, that provides support for a specific hardware devices (a graphics card for example);
- a file system (like JFS, Reiserfs, ext2 and others);
- a network protocol (like Bluetooth, NFS, Ceph, 802.1Q VLAN trunking, etc.)
- support for KVM (Kernel Virtual Machine)
Config
The first step to add modules support is to configure your kernel. Hence mentioned in the previous blog post, there are a LOT of kernel configuration options. So here are a few helpers to get you started:
- use the minimal working configuration for this kernel version:
make tinyconfig - use the default configuration for this kernel version:
make defconfig - copy the configuration of the currently running kernel:
cp /boot/config-$(uname -r) .config
Regarding modules, you can also disable all currently selected modules with:
make mod2noconfig
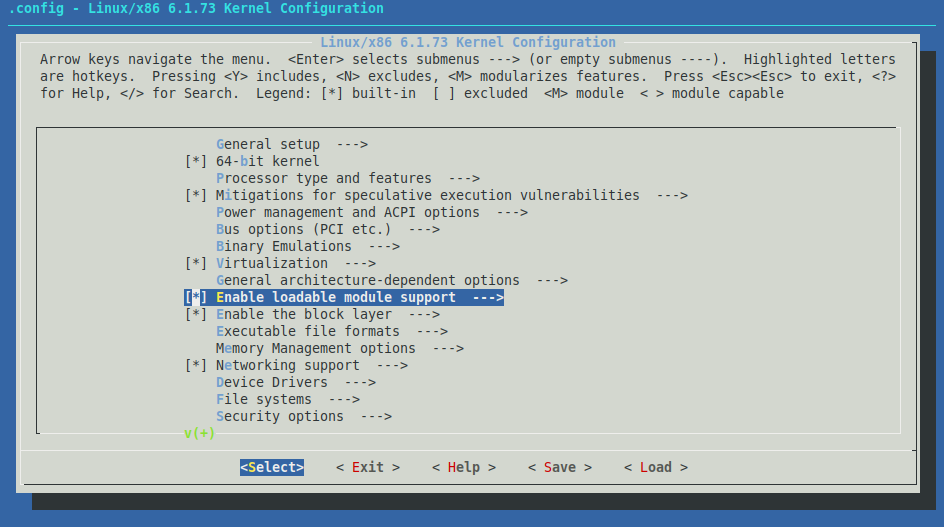
Then use menuconfig to enable modules support and select desired modules:
make menuconfig
Modules compression
By default, Linux kernel modules are compressed using Zstandard compression algorithm (.zst). If you plan to build a micro-Linux with Busybox (like we will), this compression algorithm is not supported by modprobe and other modules management utilities. So in this case you must disable modules compression under Enable loadable modules support:
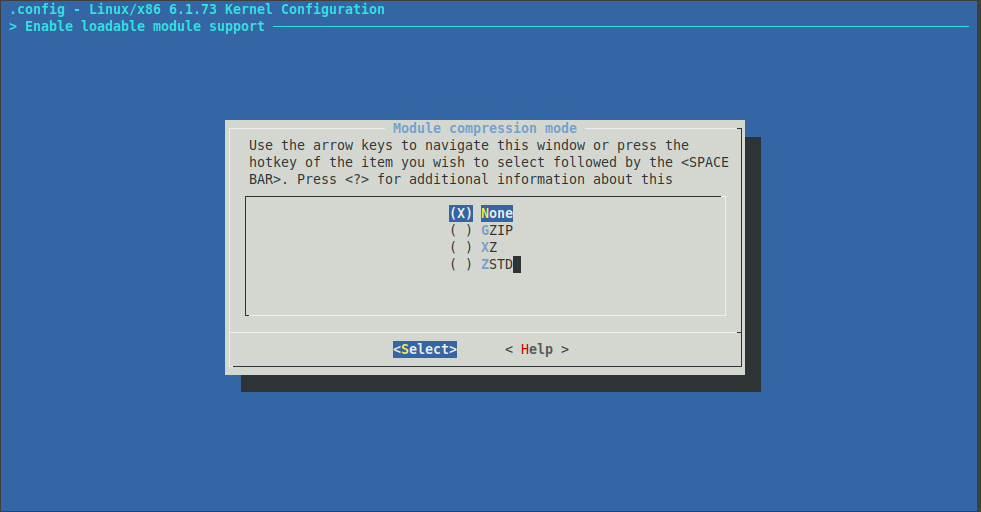
Should you forget to do this, modprobe will fail with error message Invalid ELF header magic: != ELF.
For completeness, gzip modules compression is partially supported by Busybox: you will be able to load modules with modprobe, but you will get error messages, and some other commands like modinfo will not work…
Build
Finally, build the modules:
make -j$(nproc) modules
Don’t be surprised, this may take A LOT of time if you selected multiple modules!
Installation
By default, compiled kernel modules should be installed in /lib/modules/<kernel-version>. You can use the command make modules_install to do this. However, we wish to install these modules inside our initramfs image, whish we can do with:
make INSTALL_MOD_PATH=</path/to/initramfs> modules_install
If you followed the instructions in the previous blog post, this would be:
make INSTALL_MOD_PATH=../initramfs modules_install
Testing
Just like we did in the previous blog post, we can now rebuild the initramfs image:
cd ../initramfs
find . -print0 | cpio --null -ov --format=newc | gzip -9 > ../initramfs.cpio.gz
cd ..
And test with qemu:
qemu-system-x86_64 -kernel bzImage \
    -initrd initramfs.cpio.gz -nographic \
    -append "console=ttyS0"
Initramfs size
When you start adding modules to initramfs, you will see that these can take quite some space. With a few modules, mine grew from 5MB tp 200MB!
If available, the kernel will use a Tmpfs virtual memory file system to uncompress and use the initramfs. By default, the size of this virtual file system is half the size of the RAM on your system.
With qemu, the default memory allocated to your VM is 128MB. Hence only 64MB will be available for the uncompressed initramfs. This will probably not be enough if you add a few modules. So you may have to increase the memory of the VM with:
qemu-system-x86_64 -kernel bzImage \
    -initrd initramfs.cpio.gz -nographic \
    -append "console=ttyS0" \
    -m 1024M
Remember that your VM memory must be at least twice the size of your uncompressed initramfs. Otherwize, your VM may carsh with an error message like end Kernel panic - not syncing: No working init found because the initramfs could not be uncompressed in memory.
Module loading
Once your system has booted, you can
- load a module with
modprobe <module> - list loaded modules with
lsmod - get information about a module with
modinfo <module> - unload a module with
rmmod <module>

Autoloading
When booting your micro-Linux, you may notice that some modules are already automatically loaded.
Since version 2.6, the Linux kernels uses a new virtual filesystem, called sysfs, to provide information about the system’s hardware to userspace processes. sysfs is usually mounted under /sys and provides information about various kernel subsystems including hardware devices.
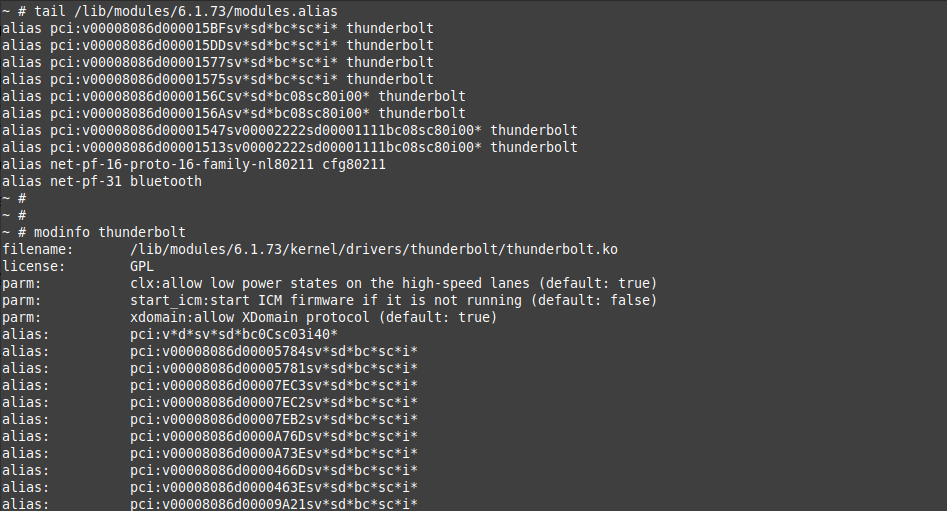
On the other hand, device drivers compiled as modules may have aliases built into them. Aliases are mappings between device identifiers and modules. They are also visible in the output of modinfo. For example, the snd-fm801 driver supports PCI devices with vendor ID 0x1319 and device ID 0x0801, and has an alias of “pci:v00001319d00000801svsdbc04sc01i*”.
The list of module aliases is bundled in a single file /lib/modules/<kernel>/modules.alias when make modules_install is executed.
Combining sysfs and module mappings, the kernel (udev) can automatically load appropriate modules when a device is detected.
References
- https://www.linuxfromscratch.org/lfs/view/development/chapter09/udev.html
- https://www.kernel.org/doc/html/latest/filesystems/tmpfs.html
- udev – A Userspace Implementation of devfs
- https://www.baeldung.com/linux/kernel-module-load-boot
This blog post is licensed under
CC BY-SA 4.0


