Simplify Your Docker Management with Portainer
Aug 22, 2025 by Thibault Debatty | 15451 views
https://cylab.be/blog/434/simplify-your-docker-management-with-portainer
Docker and containers have revolutionized the way we build, ship, and run applications! However, managing multiple containers and services can become increasingly complex. That’s where Portainer comes in! This powerful and intuitive container management web application makes it easy to deploy, manage, and monitor your Docker environments.
In this blog post, we will install Portainer using docker-compose, and explore its key features.
Installation
For this post, we will install Portainer using Docker and Docker compose…
Docker and docker compose
Import the repository key:
sudo apt-get update
sudo apt-get install ca-certificates curl
sudo install -m 0755 -d /etc/apt/keyrings
sudo curl -fsSL https://download.docker.com/linux/ubuntu/gpg -o /etc/apt/keyrings/docker.asc
sudo chmod a+r /etc/apt/keyrings/docker.asc
Add the repository to Apt sources:
echo \
  "deb [arch=$(dpkg --print-architecture) signed-by=/etc/apt/keyrings/docker.asc] https://download.docker.com/linux/ubuntu \
  $(. /etc/os-release && echo "${UBUNTU_CODENAME:-$VERSION_CODENAME}") stable" | \
  sudo tee /etc/apt/sources.list.d/docker.list > /dev/null
Install Docker and docker-compose plugin:
sudo apt-get update

sudo apt-get install docker-ce docker-ce-cli containerd.io docker-buildx-plugin docker-compose-plugin
https://docs.docker.com/engine/install/ubuntu/
Portainer
Create a docker-compose.yaml file with the following content:
services:
  portainer:
    # 2.33 is the current LTS version
    image: portainer/portainer-ce:2.33.0
    command: -H unix:///var/run/docker.sock
    restart: "unless-stopped"
    ports:
      # http web ui
      - 9000:9000
      # https web ui
      - 9443:9443
      # TCP tunnel
      #- "8000"
    volumes:
      - /var/run/docker.sock:/var/run/docker.sock
      - portainer:/data

volumes:
  portainer:
Start the container with:
sudo docker compose up
And that’s it…
First steps
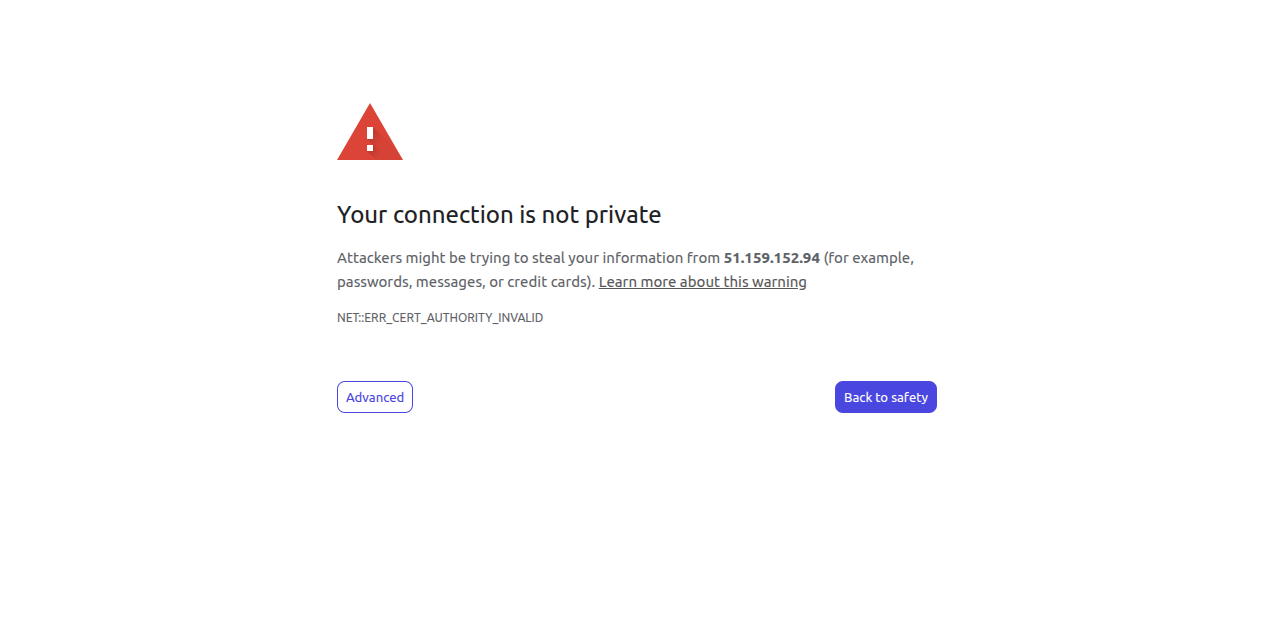
After a few seconds, the web interface of Portainer will be available at https://ip.of.your.server:9443
⚠ Beware that this is a self-signed certificate hence your browser will show you a warning…
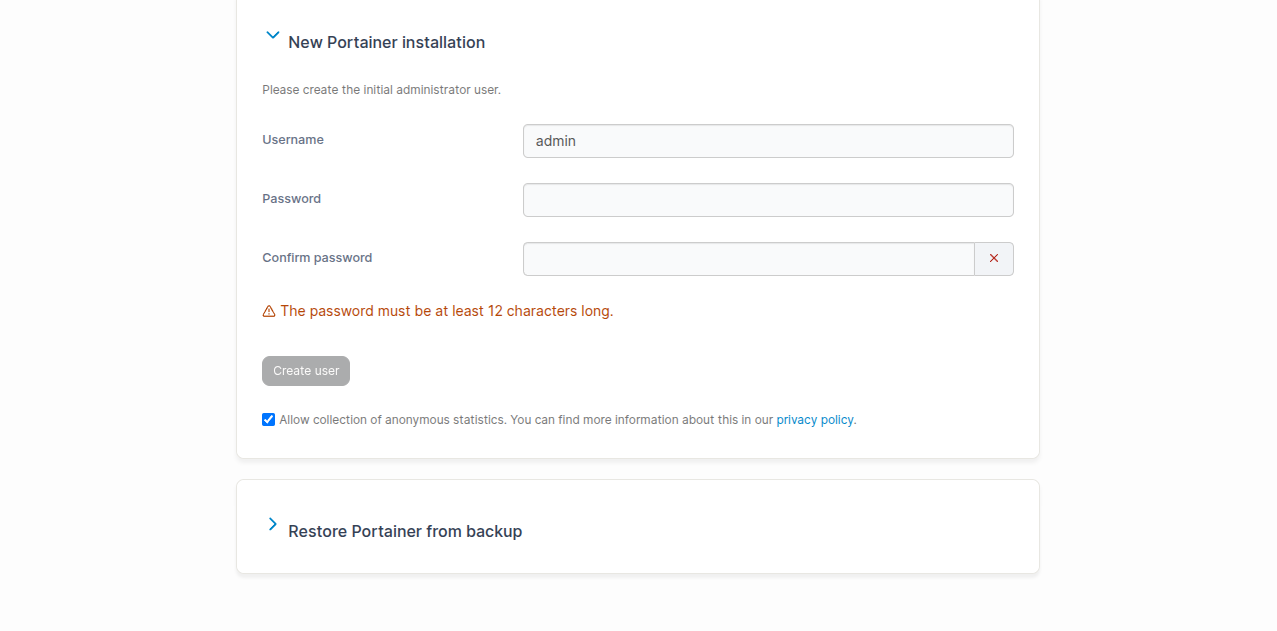
Then you’ll be presented with a wizard that will allow you to create a first administrator account.
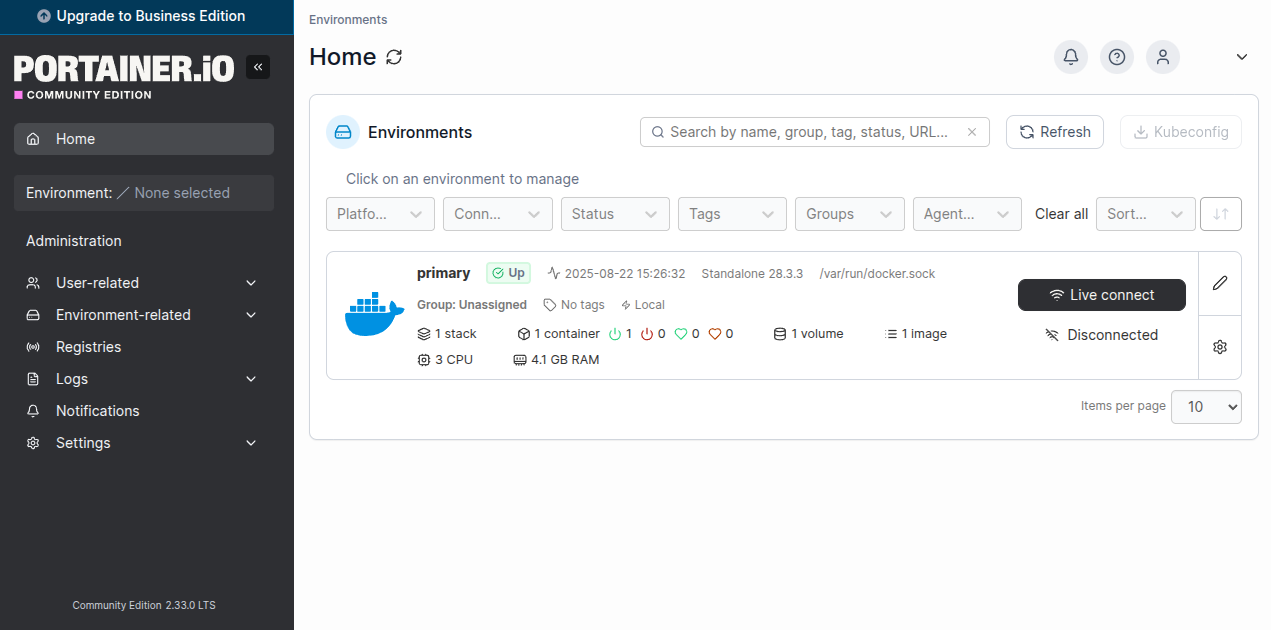
Finally you’ll arrive on Portainer dashboard. A single Portainer instance can actually manage multiple Docker hosts (called Environments), so they will be listed here…
Stacks and containers
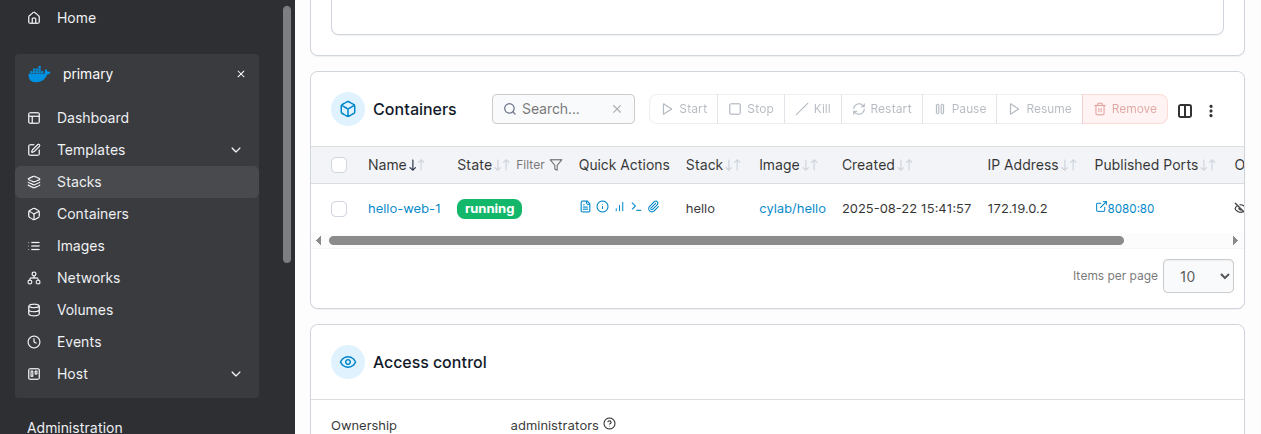
Once you select an environment (in this case the Docker host on which Portainer itself is running), you can easily manage all components like stacks, individual containers, images, networks and volumes.
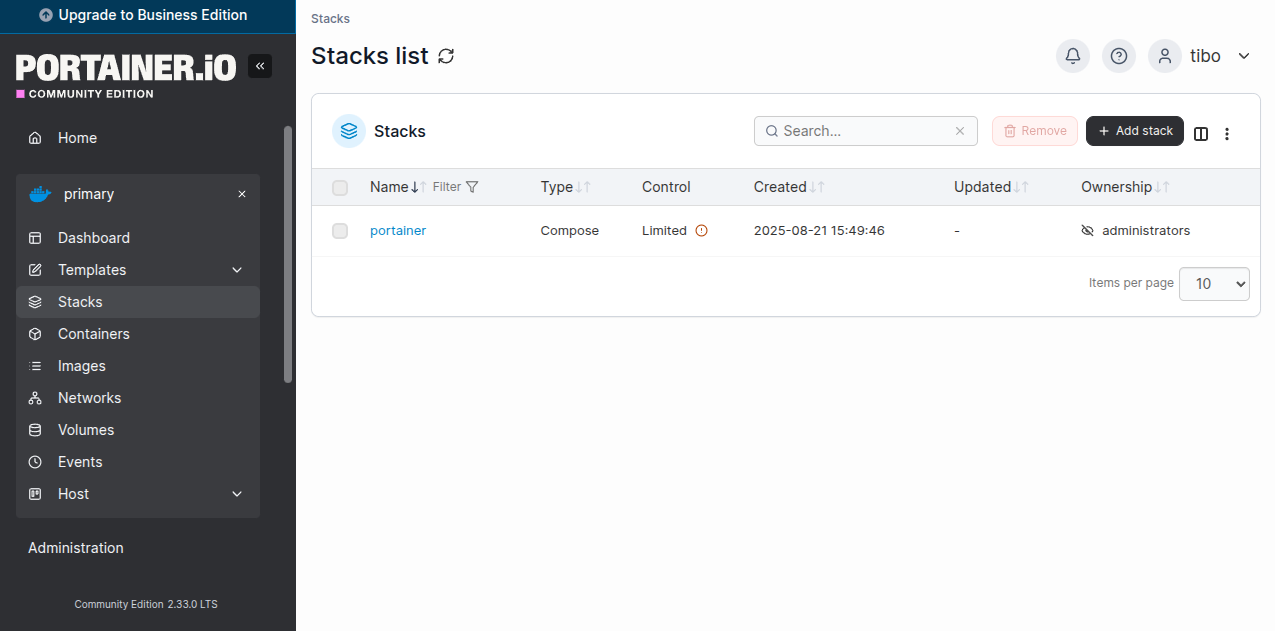
Stacks deployed with docker compose (like Portainer itself) will appear with a “Limited” control indication. Indeed, Portainer provides additional features when stacks are deployed with Portainer itself, like webhook and access control.
The interface to create a new stack allows to copy-paste, upload or fetch from github the content of a docker-compose.yaml file:
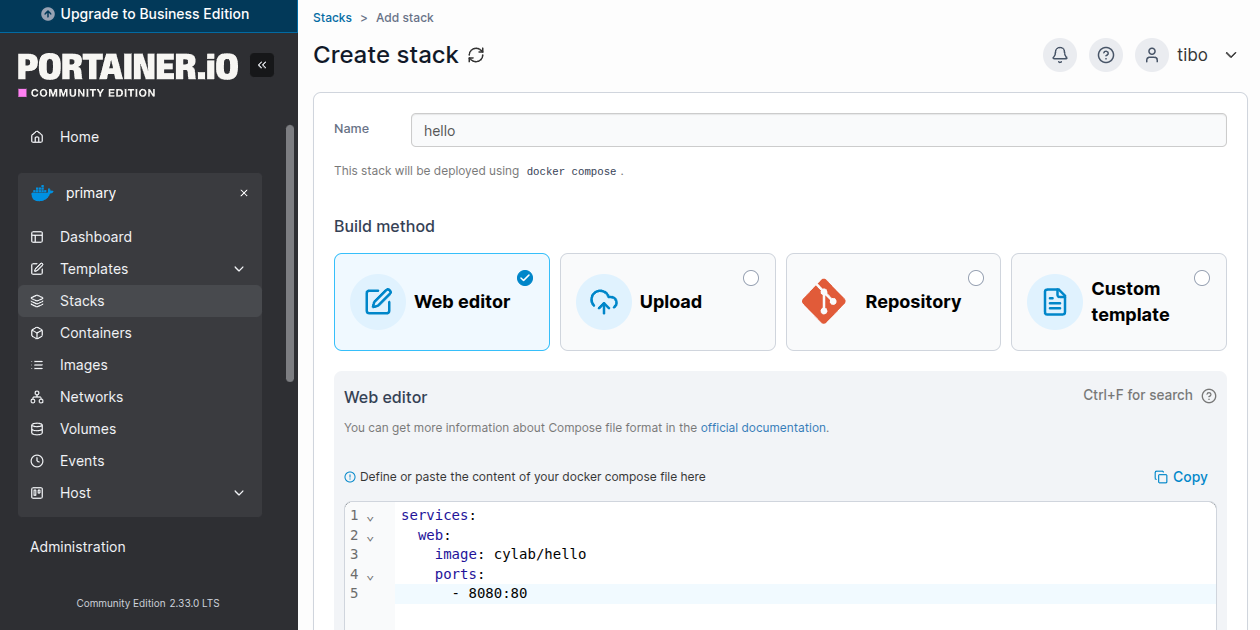
You can test it with a simple image:
services:
  web:
    image: cylab/hello
    ports:
      - 8080:80
And after a few seconds the container will be running the web page will be available at http://ip.of.your.server:8080

Stack webhook
A stack webhook is a very interesting feature which creates a private URL that allows to automatically pull and redeploy the stack, for example when a new version of the images is available.
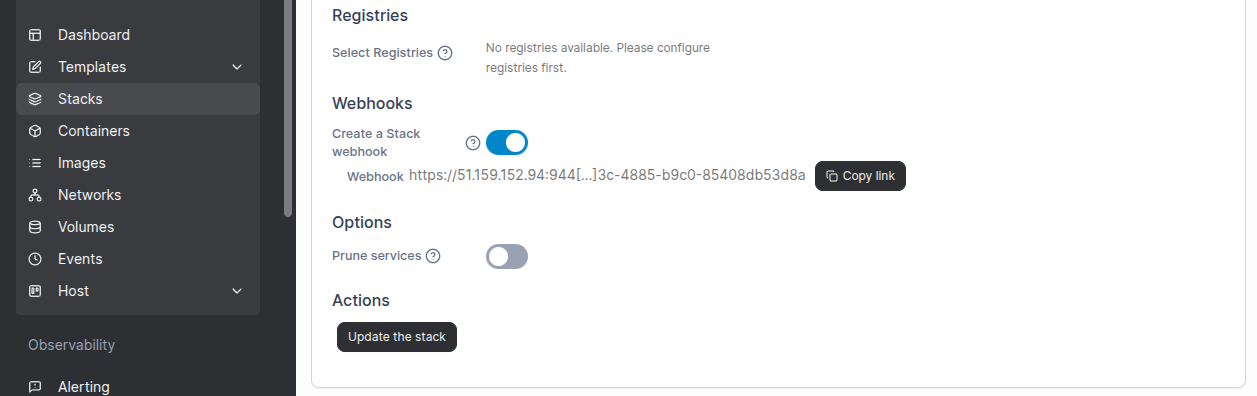
This feature requires the business edition of Portainer, which is free to manage up to 3 nodes…
Stack environment variables
When deploying a new stack, Portainer allows to define environment variables.
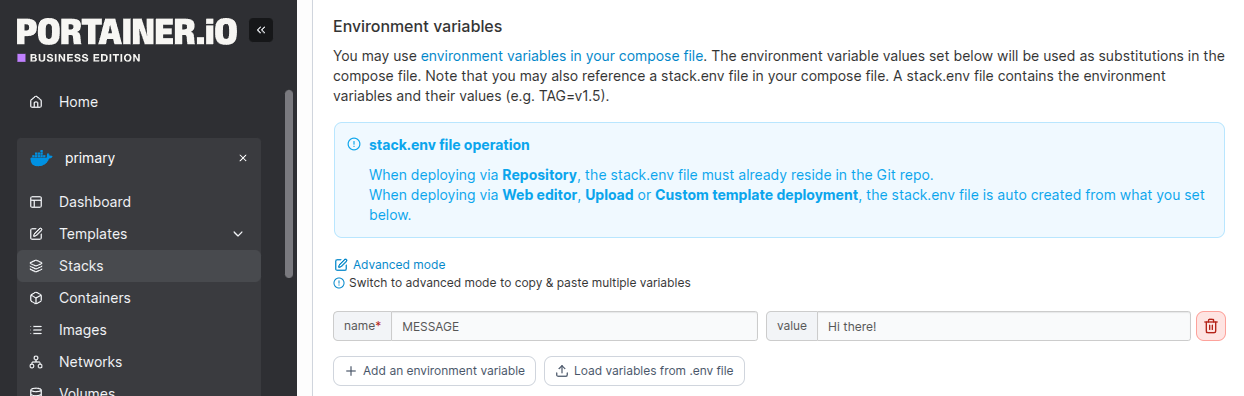
These variables are actually written to a file with name env.stack. Hence you can use them in your containers by adding the env_file definition to your stack services:
services:
  web:
    image: cylab/hello-message
    ports:
      - 8081:80
    env_file:
      - stack.env
Containers
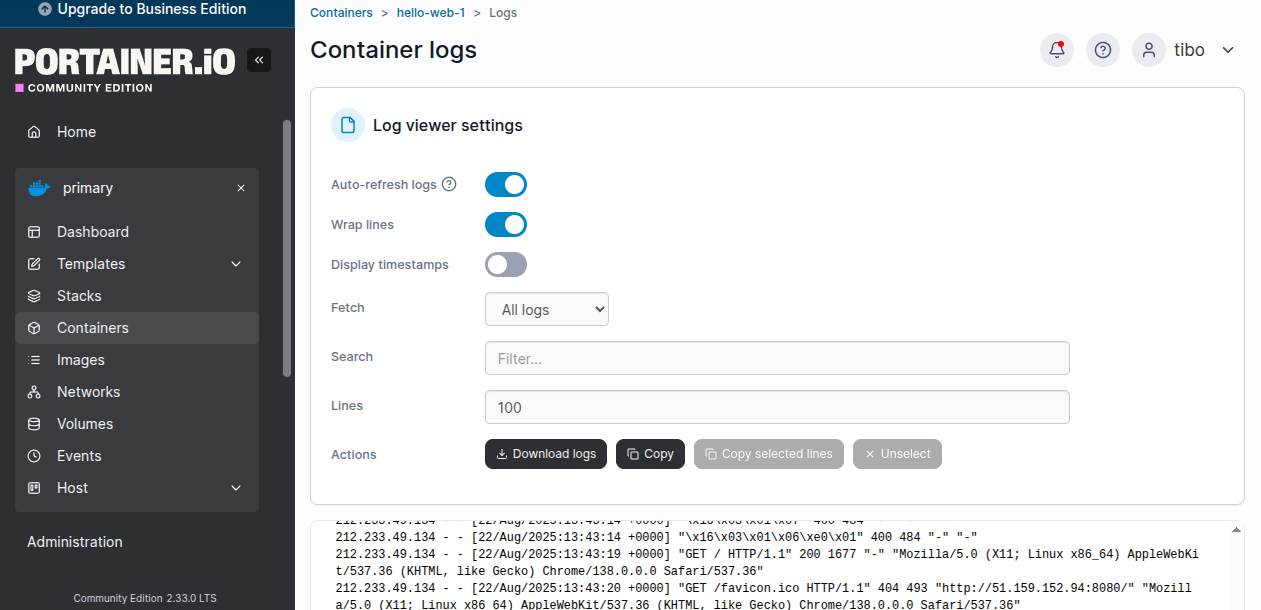
For each individual container, Portainer allows to check the logs:
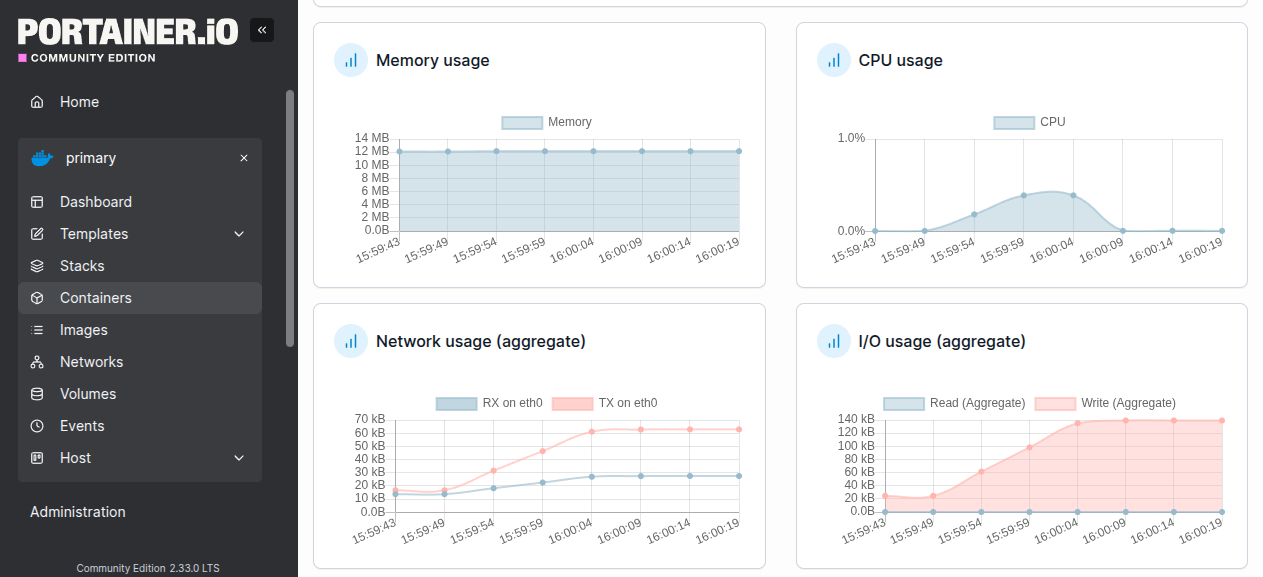
You can also monitor resource usage statistics:
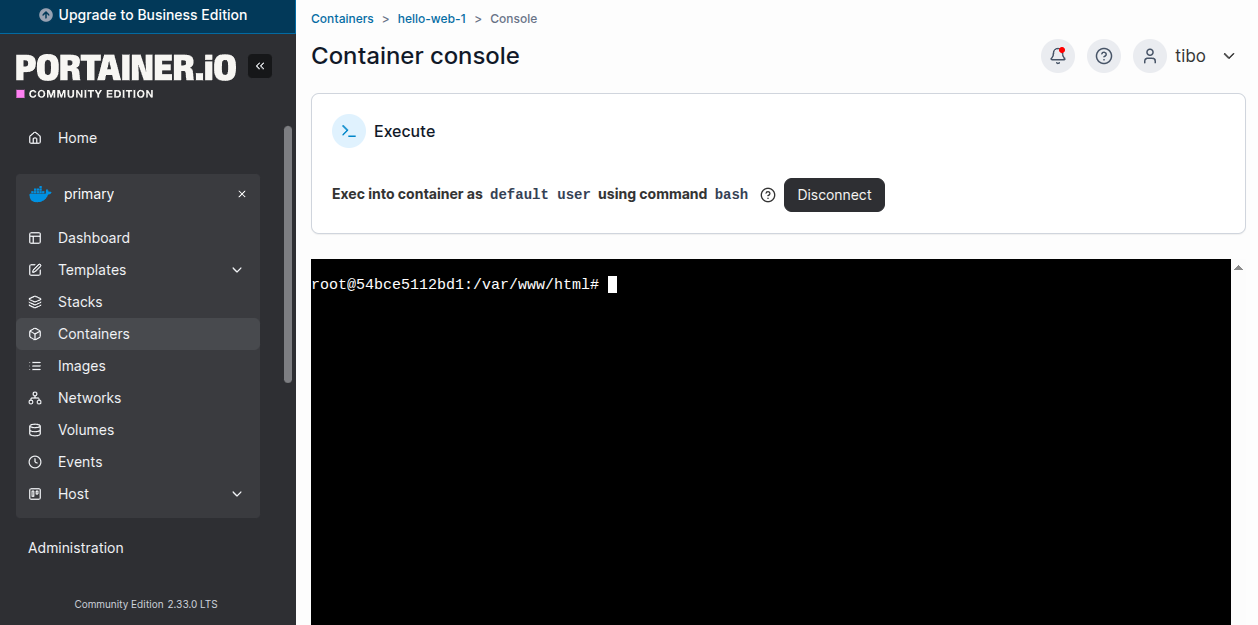
And even open a console directly from the web interface:
Environments
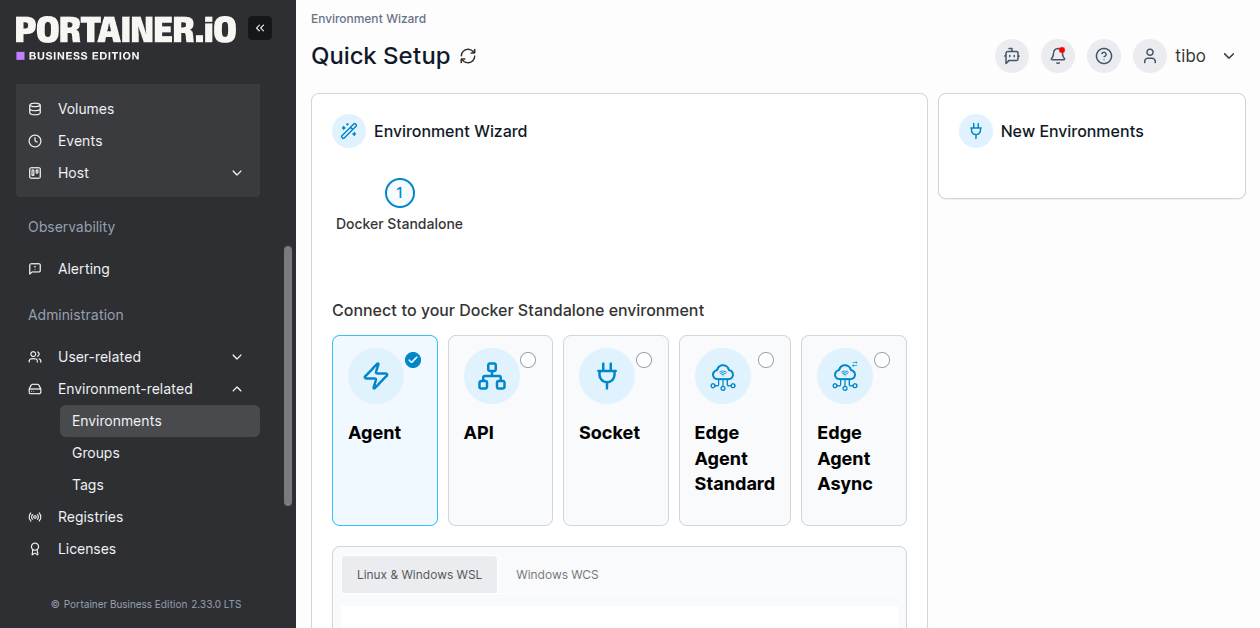
From the left menu, you can manage and add environments.
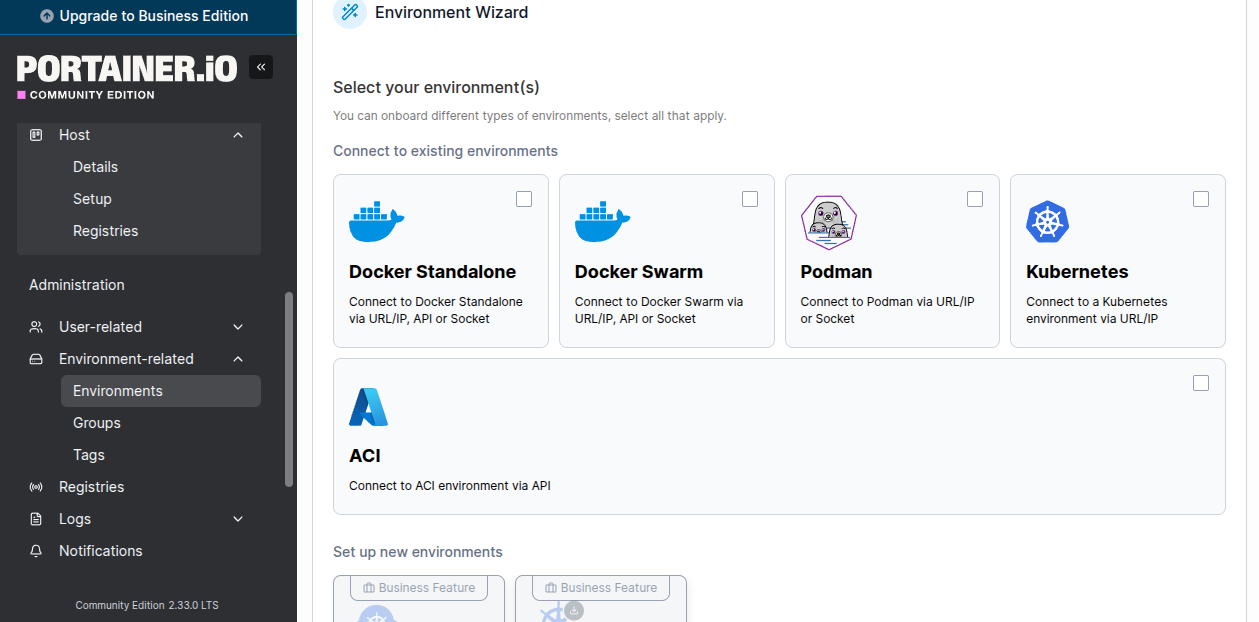
A single Portainer instance can manage container managers of various types:
- Docker standalone nodes
- Docker Swarm
- Podman nodes
- Kubernetes cluster
- Azure Container Instances (ACI)
For most environments, you can even choose between different ways to connect. For example, Portainer can manage a Docker Standalone node using:
- a socket or a URL
- a light container Agent running on the node or
- a slightly heavier Edge Agent that also allows to manage the host itself
Business edition
You can request a Business Edition key at https://www.portainer.io/take-3 which is free to manage up to 3 nodes…
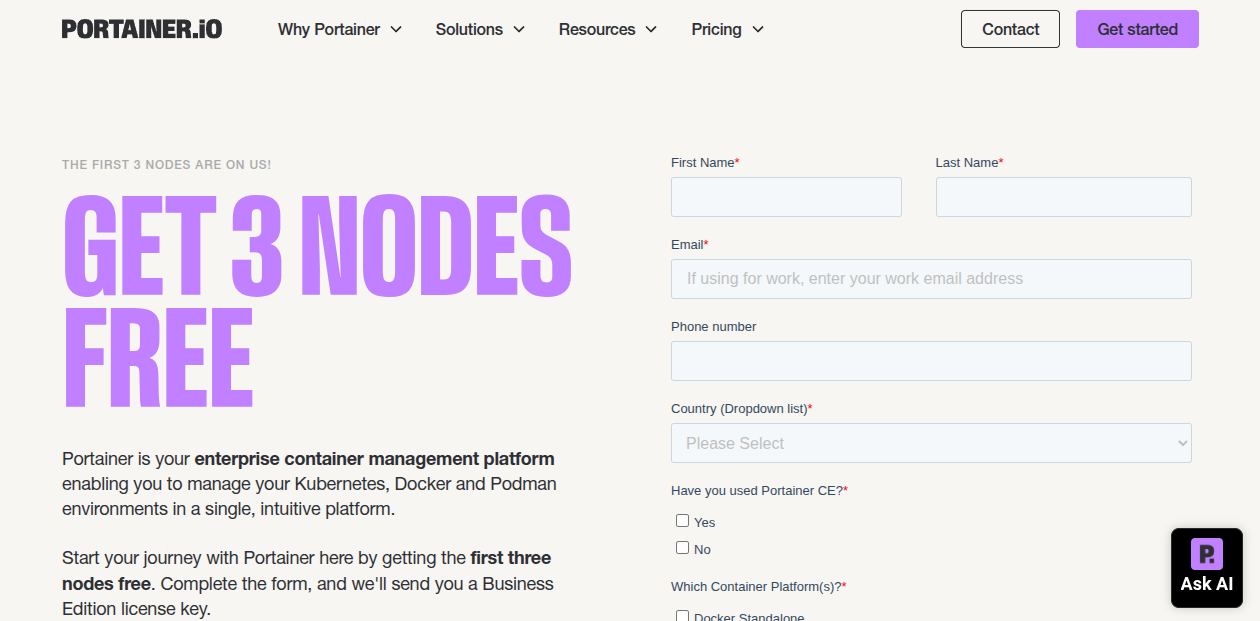
After a few seconds you’ll receive the licence key by email…
Going further
Portainer does not manage https certificates, but it’s easy to deploy Traefik reverse-proxy alongside Portainer to provide automatic SSL termination.
Also, if you plan to deploy a lot of stacks on your Docker host, it’s a good idea to change Docker’s default subnet IP range
This blog post is licensed under
CC BY-SA 4.0


