Retrieval-Augmented Generation (RAG) in Open WebUI
Saturday 10 October 2026 Thibault Debatty 128 views
https://cylab.be/blog/527/retrieval-augmented-generation-rag-in-open-webui
Retrieval-Augmented Generation (RAG) enhances Large Language Model (LLM) responses by injecting relevant, external context into the prompt. Technically, this involves appending retrieved information to the user’s query before the LLM processes it.
Open WebUI offers three distinct ways to implement RAG:
- Web Search: Integrating real-time internet access (see our previous guide on Brave Search).
- Direct Uploads: Uploading specific documents directly into a single chat session.
- Knowledge Bases: Using a collection of documents, indexed in a vector database, that can be queried across multiple chats and by multiple users.
The Knowledge Base feature is particularly powerful, as it allows you to create specialized, “expert” models tailored to your specific datasets.
The Bottleneck: Context Size and Ollama
Because RAG works by appending retrieved text to your prompt, your success depends entirely on the model’s context window. If your retrieved context is 20k tokens but your model is limited to 4k, the most important information will be truncated and lost.
If you are using Ollama as your provider, the default context size is often determined by available VRAM and is typically too small for effective RAG. Generally, the limits scale as follows:
| Available VRAM | Default Context Size |
|---|---|
< 24 GiB |
4k |
24 - 48 GiB |
32k |
> 48 GiB |
256k |
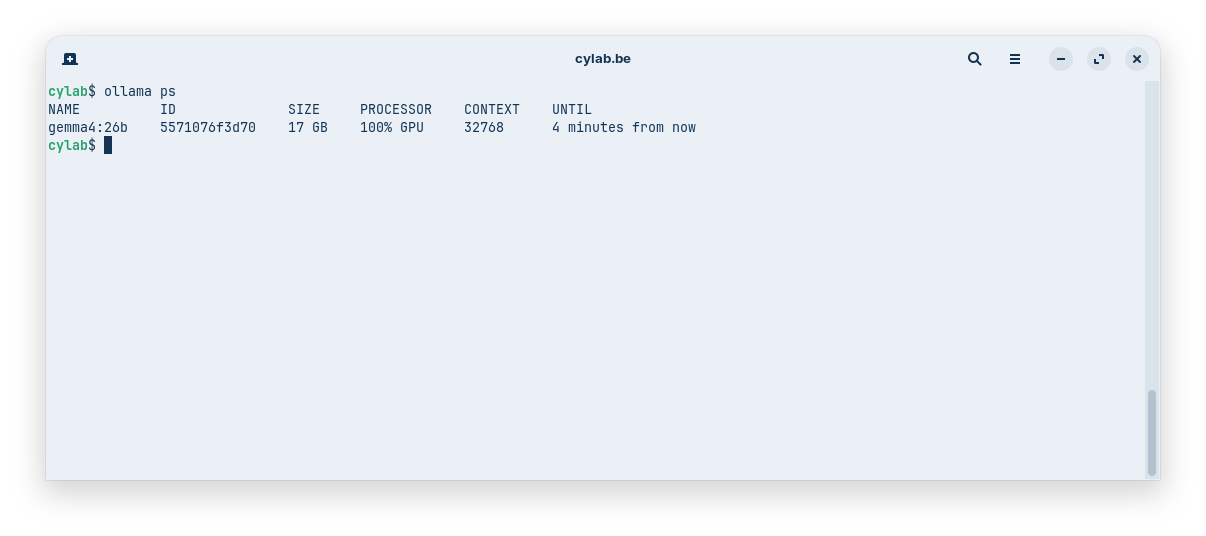
You can check the currently configured context size with the following command (context size is indicated under the CONTEXT column):
ollama ps
To increase the context size:
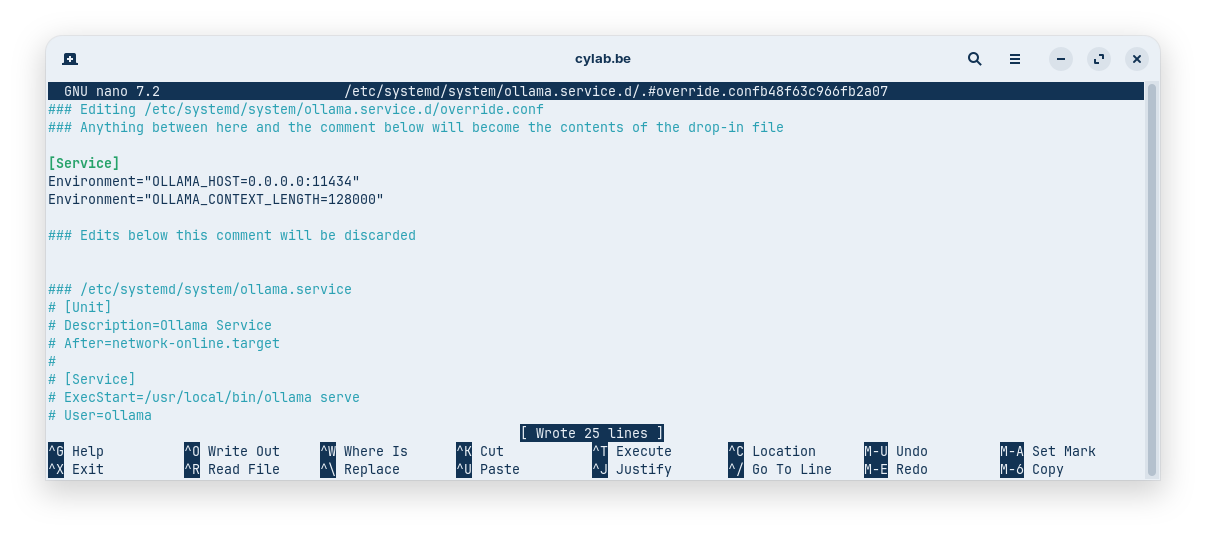
- modify Ollama service configuration:
sudo systemctl edit ollama.service
and add the following environment variable:
[Service]
Environment="OLLAMA_CONTEXT_LENGTH=128000"
- reload systemd daemon configuration and restart Ollama:
sudo systemctl daemon-reload
sudo systemctl restart ollama
- check the result with
ollama ps
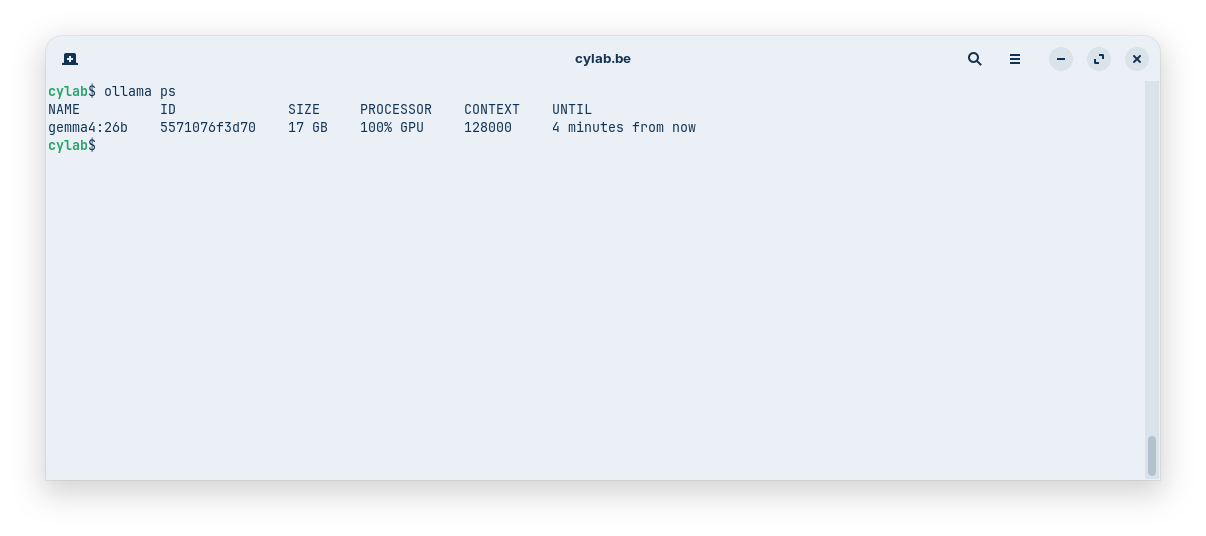
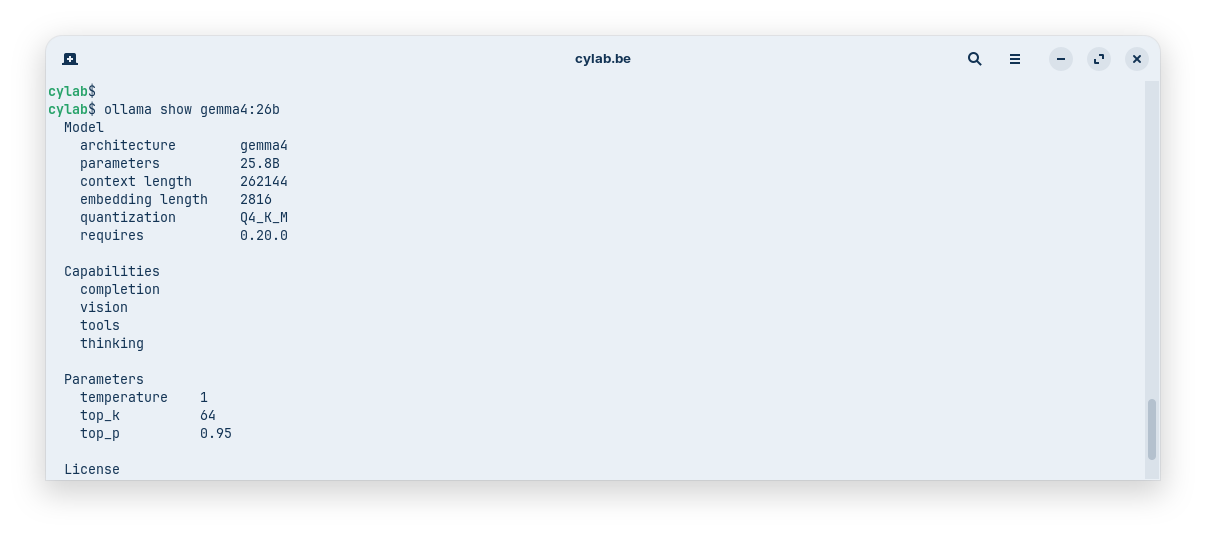
128k is usually considered a good starting point for RAG. You can try to increase this value if you have a lot of VRAM, but keep in mind that each model also has its own limit. You can check this with
ollama show <name-of-the-model>
https://docs.ollama.com/context-length
Managing Knowledge in Open WebUI
Creating a Knowledge Base
Now that Ollama is ready to process RAG-enabled prompts, you can open your Open WebUI Instance.
In the left menu, open Workspace then at the top Knowledge these are the document collections, indexed in a vector database.
You can use the Create button to create a new knowledge base.
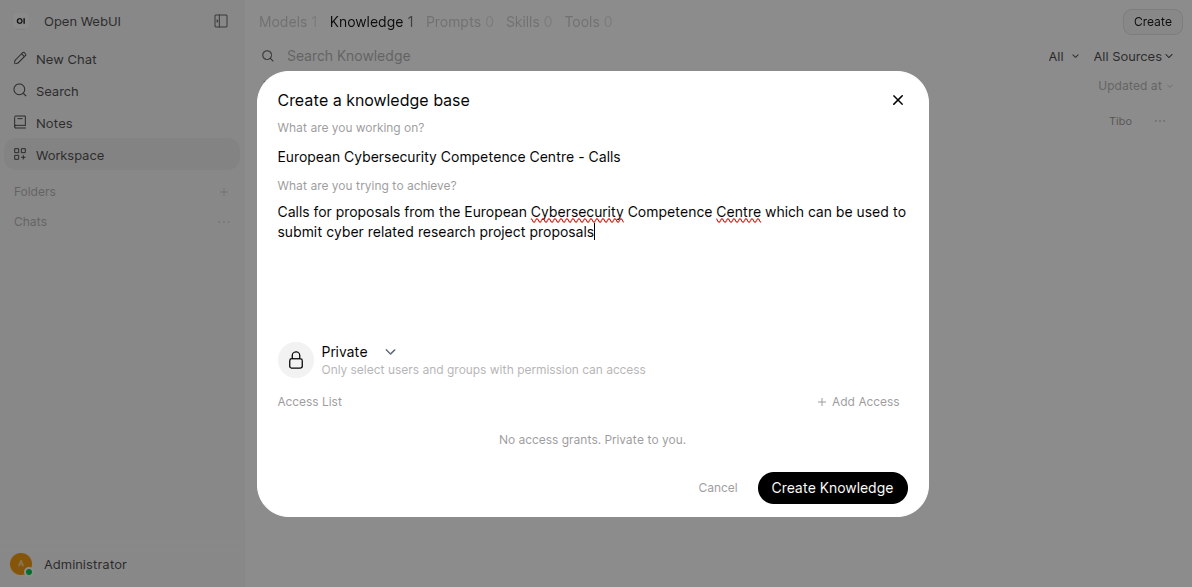
Once created, you can upload files. Open WebUI supports various formats, including PDF and DOCX.
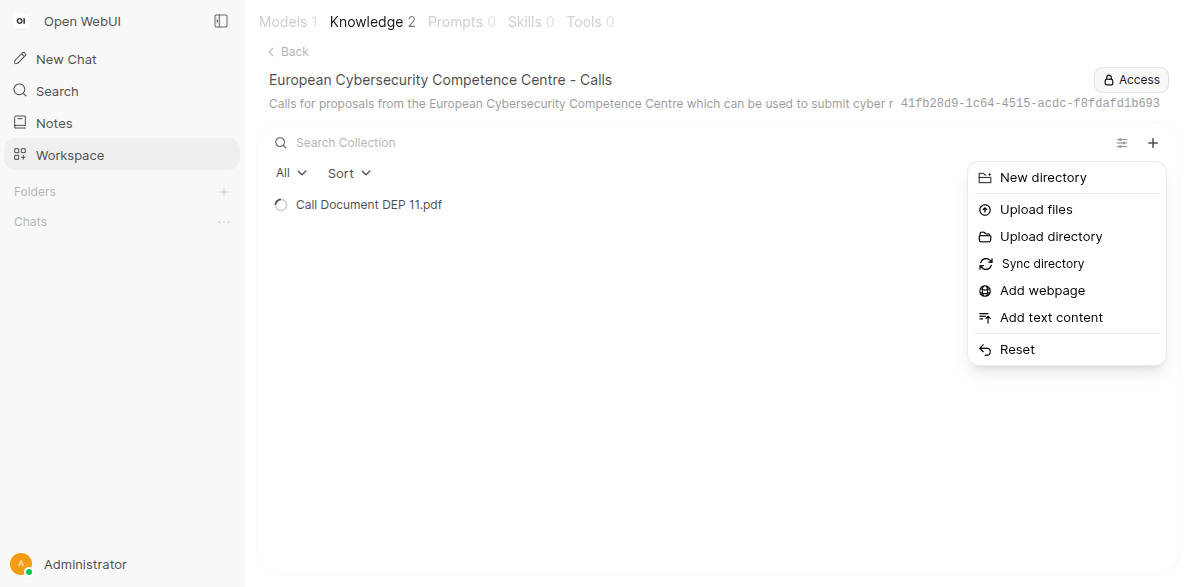
After the upload completes, Open WebUI automatically indexes the document into the vector database.
Using Knowledge in Chat
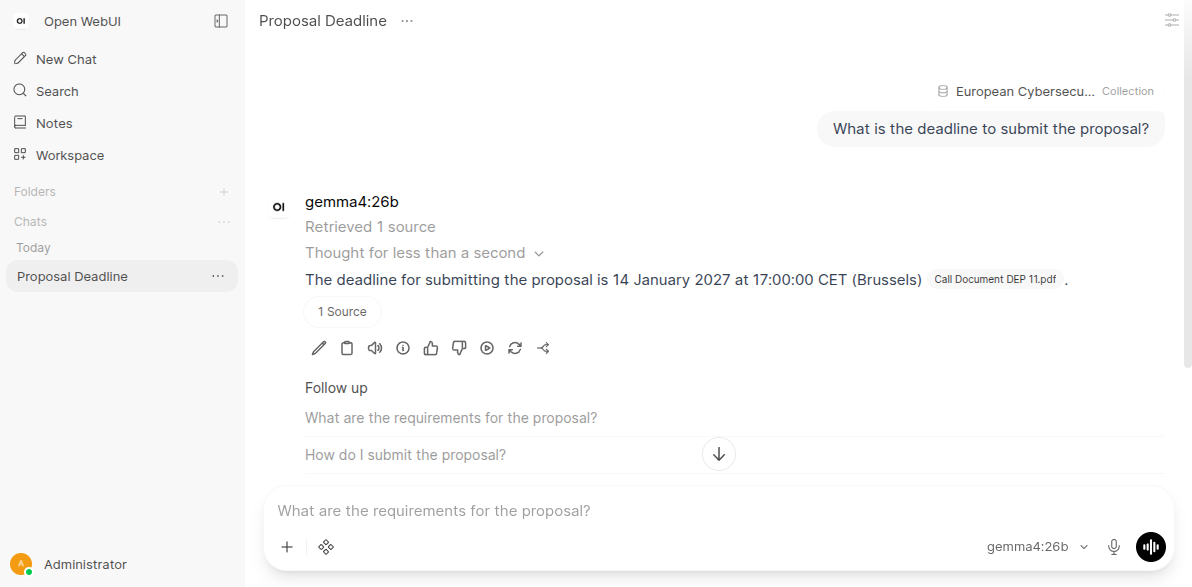
To use your data, start a new chat and click the + icon. From there, you can select and enable the specific knowledge base you wish to query.
Creating Custom Models
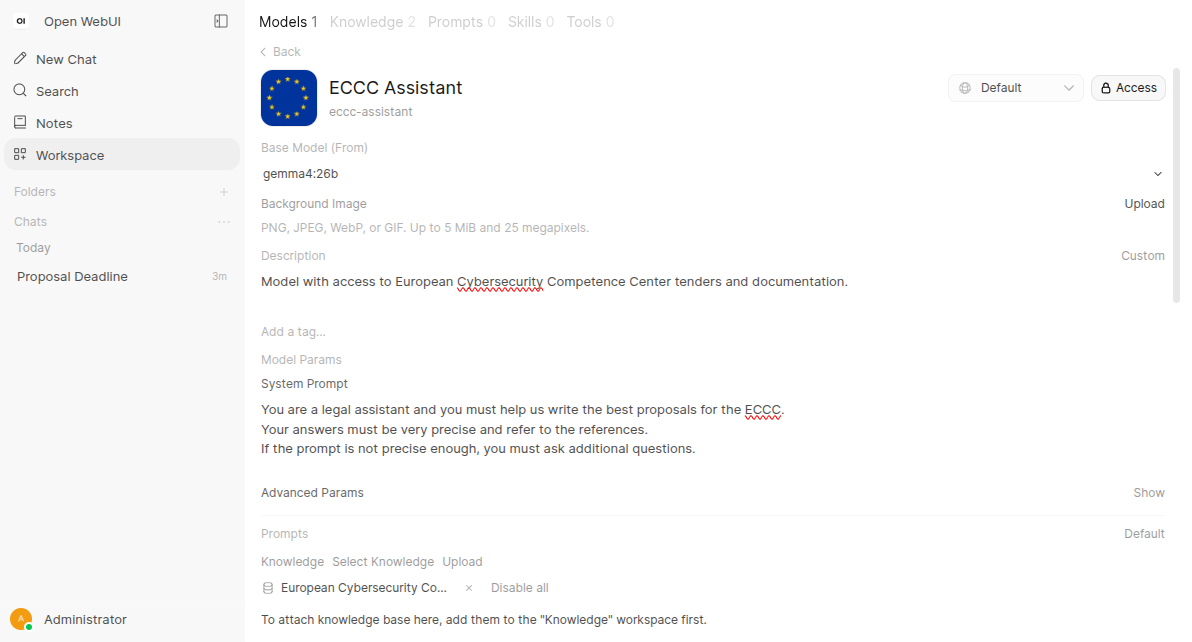
For a more streamlined experience, you can create a Custom Model.
In Workspace then Models, you can create a new model based on a generic base model (like gemma4:26b). You can pre-configure a custom System Prompt and attach specific Knowledge Bases permanently. This effectively creates a “specialized agent” that always has access to your documentation without needing to manually attach it every time.
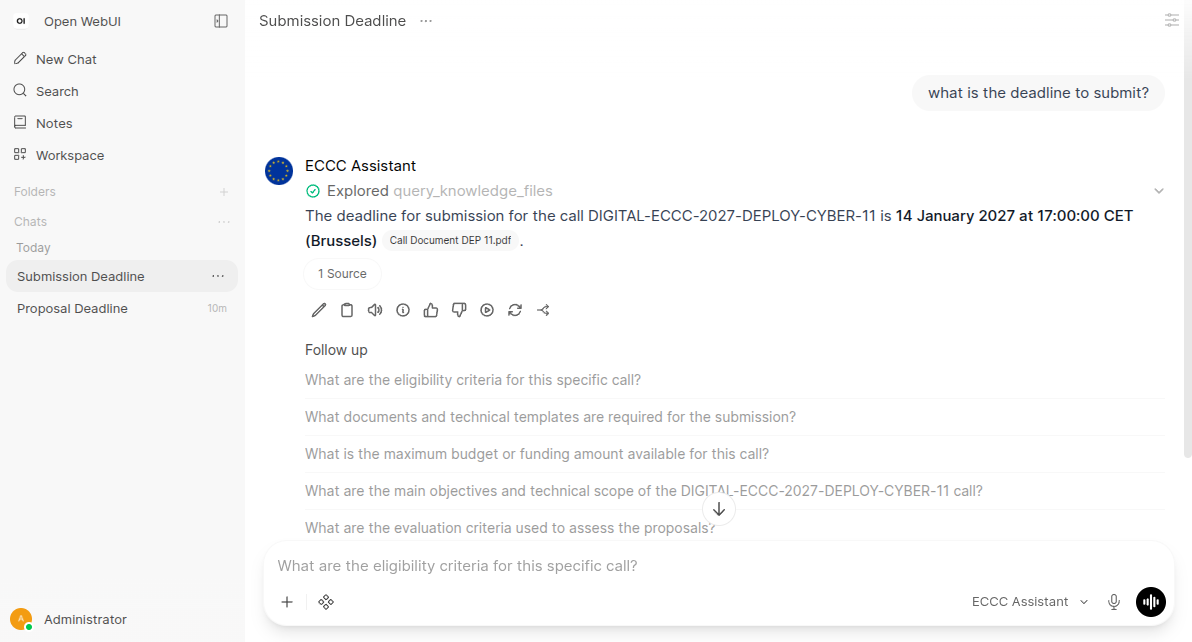
⚠ A Note on Permissions: If you choose to make a custom model Public for other users on your instance, you must also make the underlying Knowledge Base public. If the knowledge base remains private, other users will encounter a knowledge query failed error.
https://docs.openwebui.com/features/chat-conversations/rag/
This blog post is licensed under
CC BY-SA 4.0


