Dockerize your Laravel app
Jul 10, 2020 by Thibault Debatty | 5917 views
For this tutorial we will start with a very simple Laravel app that has no database, or that uses a sqlite database located in the storage directory. The main goal is to show you the main pitfalls to keep in mind when dockerizing a Laravel application.
Preparation
Before you can create your Docker image, you first have to get your app ready for deployment. This step is actually not trivial. In a nutshell, it means you have to :
- install composer dependencies and remove dev dependencies:
composer install --no-dev - optimize composer autoloader:
composer dump-autoload --optimize - build your js and css files:
npm run prod
The main objective when dockerizing an application is to keep the image as small as possible. Hence you should not run these steps in your Docker container! You have two options to prepare your app:
- on your host system or
- in another Docker container : this is called multi-stage build and will be the subject of another blog post
Building the image
So, for this blog post we assume you used your host system to prepare your app, which is now ready for deployment. To build the Docker image you need to create a filed called Dockerfile describing the steps required to build your image.
Here is a typical example:
FROM php:7.4-apache

### PHP

# we may need some other php modules, but we can first check the enabled modules with
# docker run -it --rm php:7.4-apache php -m
# RUN docker-php-ext-install mbstring


### Apache

# change the document root to /var/www/html/public
RUN sed -i -e "s/html/html/public/g" /etc/apache2/sites-enabled/000-default.conf

# enable apache mod_rewrite
RUN a2enmod rewrite


### Laravel application

# copy source files
COPY . /var/www/html

# these directories need to be writable by Apache
RUN chown -R www-data:www-data /var/www/html/storage /var/www/html/bootstrap/cache

# copy env file for our Docker image
COPY env.docker /var/www/html/.env

RUN php artisan config:cache

# only if you do NOT use anonymous functions in your routes:
RUN php artisan route:cache

### Docker image metadata

VOLUME ["/var/www/html/storage", "/var/www/html/bootstrap/cache"]
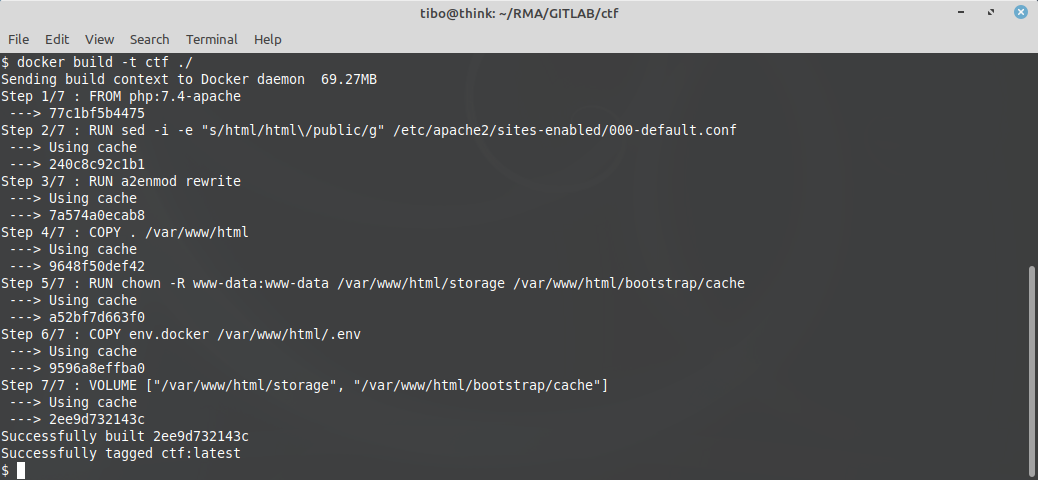
Now you can build the image with
docker build -t <myapp> ./
Running the image
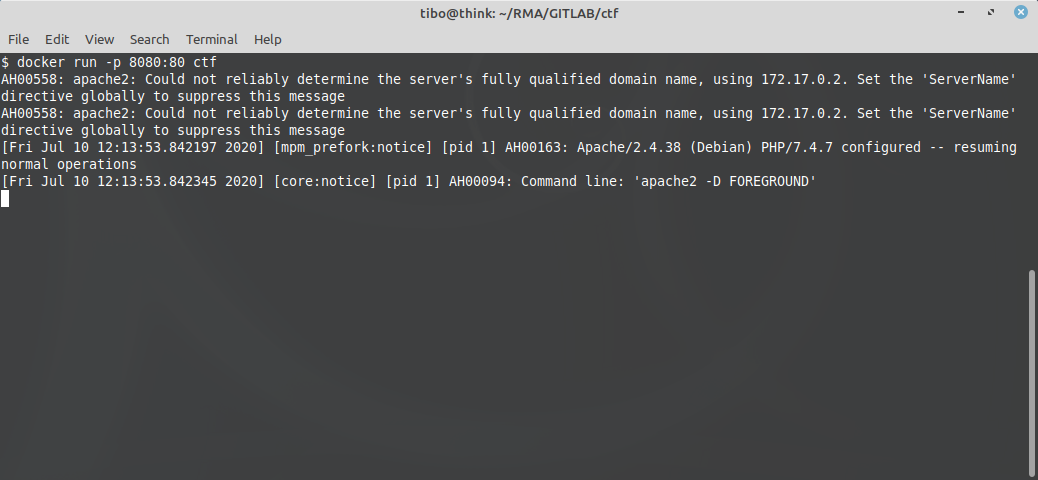
You can now run a new container with
docker run -p 8080:80 <myapp>
This will create a new container from your image, and map the port 8080 on your host to port 80 of the container (on which Apache is listening for incoming connections).
You can now test your dockerized app using your browser and heading to http://127.0.0.1:8080
Writable directories
There are two subtleties in our Dockerfile that have to do with writable directories. Laravel has to write files in the storage directory and in the boostrap/cache directory. This has two consequences.
First, these directories must be writable by the Apache web server. This is why we added the line RUN chown -R www-data:www-data /var/www/html/storage /var/www/html/bootstrap/cache
Second, Docker uses UnionFS to reduce the size of each image and container. An image does not contain a full filesystem. It only creates a few layers that keep the modifications (files modified or added) compared to the “base image” that you use (php:7.4-apache in our example). In the same way, a running container simply adds another layer on top of the image layers, to save the files that are created or modified by the running container. This drastically reduces the required disk space, but comes with a performance price.
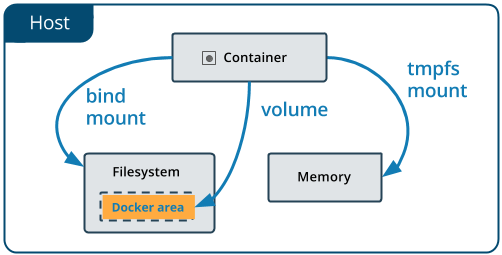
Hence directories that will contain modifications should be marked as volumes. These directories will automatically be mounted by docker from the host filesystem. So when Laravel writes logs and files, they are actually written to the host system, which is much faster…
.dockerignore
Finally, to further reduce the size of your Docker image, you should create a filed called .dockerignore that lists all files and directories that should not be included in the image. This includes node_modules (because you already compiled your js and css files) etc. Here is a typical example:
.git
node_modules
resources/js
resources/sass

# will be created when building the image
bootstrap/cache/*

# if you are using debugbar
storage/debugbar

storage/logs
storage/framework/cache/data
storage/framework/sessions/*
storage/framework/testing
This blog post is licensed under
CC BY-SA 4.0


