Laravel : Quickstart
Feb 4, 2020 by Thibault Debatty | 4366 views
Laravel is an extremely powerful PHP framework for building web applications, but the first steps can be quite intimidating. In this tutorial we guide you through the first steps to get you started as a breeze.

Installation
If you don’t have a laravel project yet, the easiest way to create a new laravel project is with composer:
composer create-project --prefer-dist laravel/laravel blog
Request routing
One of the most basic tasks of a web framework is to map request url’s to actions. In Laravel, this can be configured in the file /routes/web.php. For example:
## /routes/web.php

Route::get('/hello', function() {
    return "Hello!";
});

Route::get('/hello/{name}', function($name) {
    return "Hello $name";
});
Note that the second parameter accepts a parameter (name). For the complete list of possibilities, check Laravel documentation.
Builtin web server
Laravel comes with a command line tool called artisan, that you can use to quickly create boilerplate code. You can also use it to run a small testing server:
php artisan serve
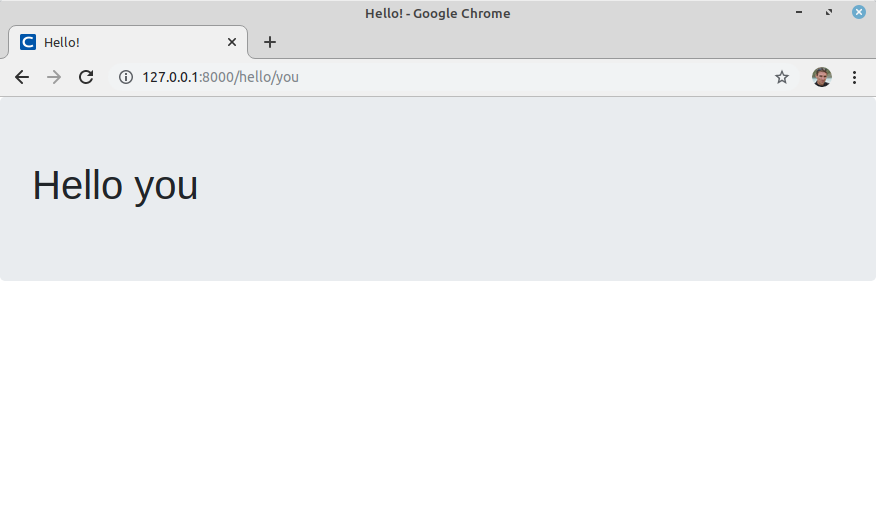
You can now test your new routes at http://127.0.0.1:8000/hello and http://127.0.0.1:8000/hello/you

Views
This is of course very basic. Most of your pages should be built using views and a template engine. In Laravel the template engine is called blade, and the views are located in /resources/views.
Here is an example of a view, that you should copy in /resources/views/hello.blade.php:
<!doctype html>
<html lang="en">
    <head>
        <meta charset="utf-8">
        <meta name="viewport" content="width=device-width, initial-scale=1">
        <link href="https://stackpath.bootstrapcdn.com/bootstrap/4.1.3/css/bootstrap.min.css"
                 rel="stylesheet" crossorigin="anonymous">
        <title>Hello!</title>
    </head>
    <body>
        <div class="jumbotron">
            <h1>Hello {{ $name }}</h1>
        </div>
    </body>
</html>
Basically, {{ mustaches }} are used to echo a variable, escaping special chars to avoid XSS attacks: {{ $value }}. Blade also supports all sorts of control structures like if, foreach, for etc.
<ul>
@foreach ($posts as $post)
    <li>{{ $post->title }}</li>
@endforeach
</ul>
You can find the rest on Blade Cheat Sheet or in the documentation of Laravel Blade.
To use the view, simply modify your routes. The first parameter of the view method is the name of the view (without extension), and the second parameter is an associative array listing the variables that should be provided to the view.
## /routes/web.php

Route::get('/hello/{name}', function($name) {
    return view("hello", ["name" => $name]);
});
Layouts
If your web app counts more than a single page, you should place all the HTML boilerplate (like head, menu and footer) in a separate layout file. Here is an example including Bootstrap and jQuery, that you should copy in /resources/views/layout.blade.php:
<!doctype html>
<html lang="{{ str_replace('_', '-', app()->getLocale()) }}">
<head>
    <meta charset="utf-8">
    <meta name="viewport" content="width=device-width, initial-scale=1">

    <!-- CSRF Token -->
    <meta name="csrf-token" content="{{ csrf_token() }}">

    <title>{{ config('app.name', 'Laravel') }}</title>

    <!-- Scripts -->
    <script src="https://code.jquery.com/jquery-3.4.1.slim.min.js" integrity="sha384-J6qa4849blE2+poT4WnyKhv5vZF5SrPo0iEjwBvKU7imGFAV0wwj1yYfoRSJoZ+n" crossorigin="anonymous"></script>
    <script src="https://cdn.jsdelivr.net/npm/popper.js@1.16.0/dist/umd/popper.min.js" integrity="sha384-Q6E9RHvbIyZFJoft+2mJbHaEWldlvI9IOYy5n3zV9zzTtmI3UksdQRVvoxMfooAo" crossorigin="anonymous"></script>
    <script src="https://stackpath.bootstrapcdn.com/bootstrap/4.4.1/js/bootstrap.min.js" integrity="sha384-wfSDF2E50Y2D1uUdj0O3uMBJnjuUD4Ih7YwaYd1iqfktj0Uod8GCExl3Og8ifwB6" crossorigin="anonymous"></script>

    <!-- CSS -->
    <link rel="stylesheet" href="https://stackpath.bootstrapcdn.com/bootstrap/4.4.1/css/bootstrap.min.css" integrity="sha384-Vkoo8x4CGsO3+Hhxv8T/Q5PaXtkKtu6ug5TOeNV6gBiFeWPGFN9MuhOf23Q9Ifjh" crossorigin="anonymous">
</head>
<body>
    <nav class="navbar navbar-expand-md navbar-light bg-white shadow-sm">
        <div class="container">
            <a class="navbar-brand" href="{{ url('/') }}">
                {{ config('app.name', 'Laravel') }}
            </a>
            <button class="navbar-toggler" type="button" data-toggle="collapse" data-target="#navbarSupportedContent" aria-controls="navbarSupportedContent" aria-expanded="false" aria-label="{{ __('Toggle navigation') }}">
                <span class="navbar-toggler-icon"></span>
            </button>

            <div class="collapse navbar-collapse" id="navbarSupportedContent">
                <!-- Left Side Of Navbar -->
                <ul class="navbar-nav mr-auto">
                    <li class="nav-item">
                        <a class="nav-link" href="/hello">Hello!</a>
                    </li>
                </ul>
            </div>
        </div>
    </nav>

    <main class="py-4">
        @yield('content')
    </main>
</body>
</html>
The important piece of this template is the @yield('content') directive, that will output the content block of your view. To use your template, modify the /resources/views/hello.blade.php view as follows:
@extends("layout")

@section("content")
<div class="jumbotron">
    <h1>Hello {{ $name }}</h1>
</div>
@endsection
Your view is now extremely simple:
- define the layout that is used with
@extends() - define the content of the different sections with
@section()
The other possibilities for defining and using templates can be found in the documentation of Laravel templates.
Controllers
When your application grows and starts having a few routes, it’s a good idea to start using controllers. They have two advantages:
- they allow to group routes in logical groups, which makes maintenance easier
- the code of controllers is cached, to speed-up execution.
Controllers are located in /app/Http/Controllers. The easiest way to create a controller is using artisan:
php artisan make:controller ExampleController
You can now open your new route /app/Http/Controllers/ExampleController.php and add the following method:
public function welcome()
{
    return view("welcome");
}
You still have to define the controller method in your /routes/web.php:
Route::get('/example/welcome', 'ExampleController@welcome');
And as usual, you can test your controller using the builtin web server: your new route will be available at http://127.0.0.1:8000/example/welcome
As you can see, controllers allow to simplify your /routes/web.php and group routes in a logical way.
URL of a controller method
Laravel provides a helper function, called action('Controller@method') that allows to get the URL of a controller method. You can use it to add an entry in the menu of your web application, for example in /resources/layout.blade.php:
<li class="nav-item">
    <a class="nav-link" href="{{ action('ExampleController@welcome') }}">
        Example controller
    </a>
</li>
This way, even if you modify your /routes/web.php, all URL’s will be automatically updated.
Controller methods with parameters
Controllers methods can also receive parameters. Here is an example /app/Http/Controllers/ExampleController.php:
public function hello(string $name)
{
    return view("hello", ["name" => $name]);
}
In /routes/web.php:
Route::get('/example/hello/{name}', 'ExampleController@hello');
As you can see, parameters are automatically identified and submitted to your controller method.
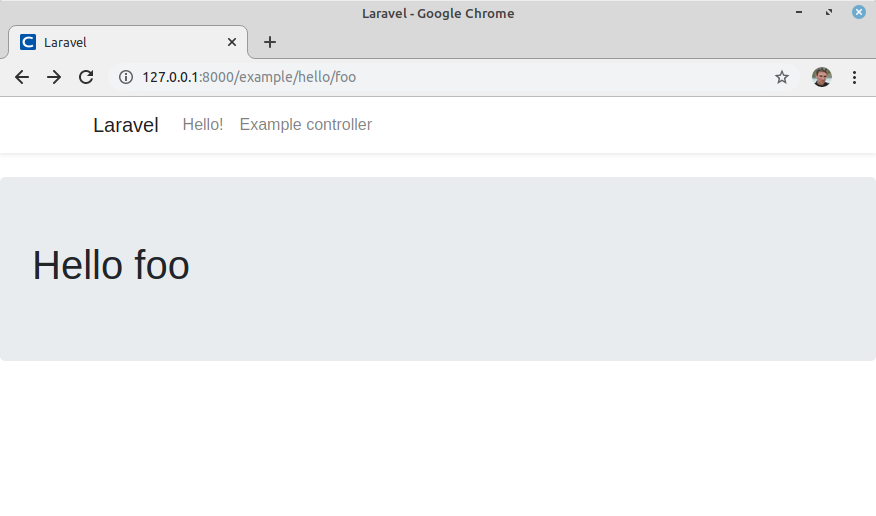
And to get the corresponding URL, you should use the action method this way:
action('ExampleController@hello', ['name' => 'Foo'])
All other controllers possibilities are described in the documentation page of Laravel controllers.
Going further
We have now covered all the basic components of Laravel, you can go further with:
- Using Laravel with a sqlite database
- Using the data model of Laravel
- Using Laravel resources
- User authentication and registration
- Laravel middleware
This blog post is licensed under
CC BY-SA 4.0


