Installing the cyrange Cyber Range platform
Feb 18, 2021 by Thibault Debatty | 5570 views
https://cylab.be/blog/132/installing-the-cyrange-cyber-range-platform
cyrange is a Cyber Range platform built on top of VirtualBox. Like some other tools, it has a web interface that allows to deploy and manage virtual machines.
But cyrange has some additional features dedicated to education and training:
- possibility to configure the guest system during deployment;
- possibility to perform bulk deployments, for all trainees of a class for example;
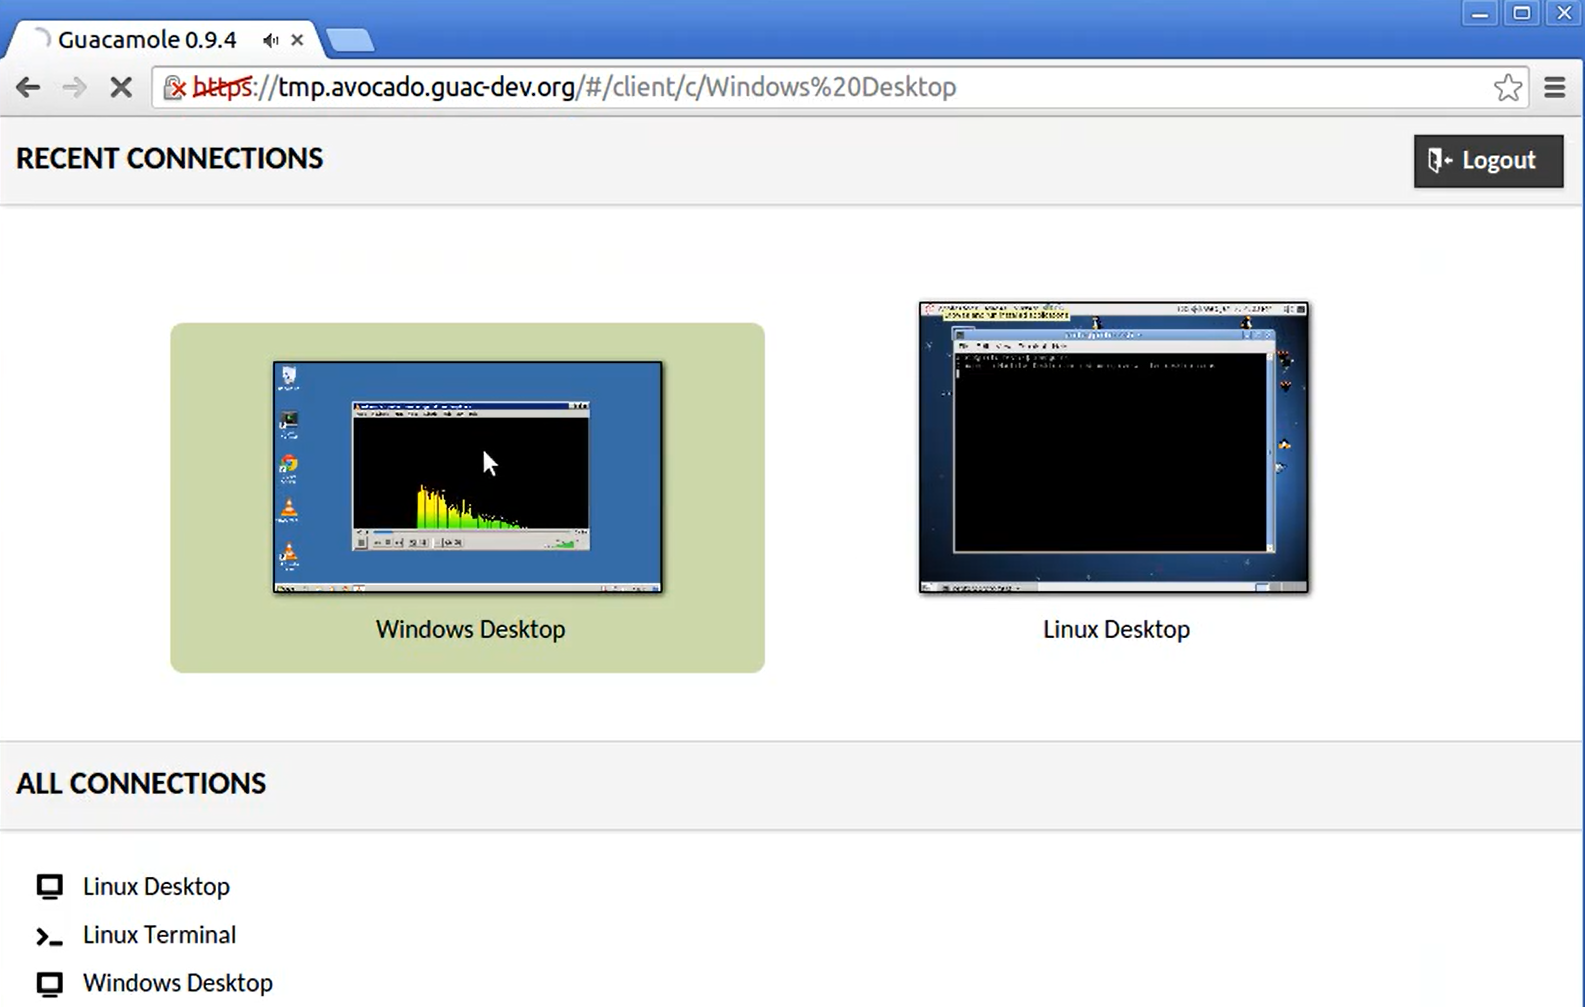
- built-in integration with Apache Guacamole web interface, which allows users to easily acces the screen and keyboard (mouse) of the virtual machines using a web browser.
The easiest way to install cyrange is using Docker and docker-compose. Hence in this tutorial we will walk the different steps required to run cyrange:
- install VirtualBox;
- install Docker and docker-compose;
- download and configure cyrange.
All this was tested on Ubuntu 20.04 server.
Updated December 2021 : this tutorial has been updated for the latest version of cyrange (1.0.0).
Architecture
First, a brief word about the architecture of cyrange, and how the different components interact.
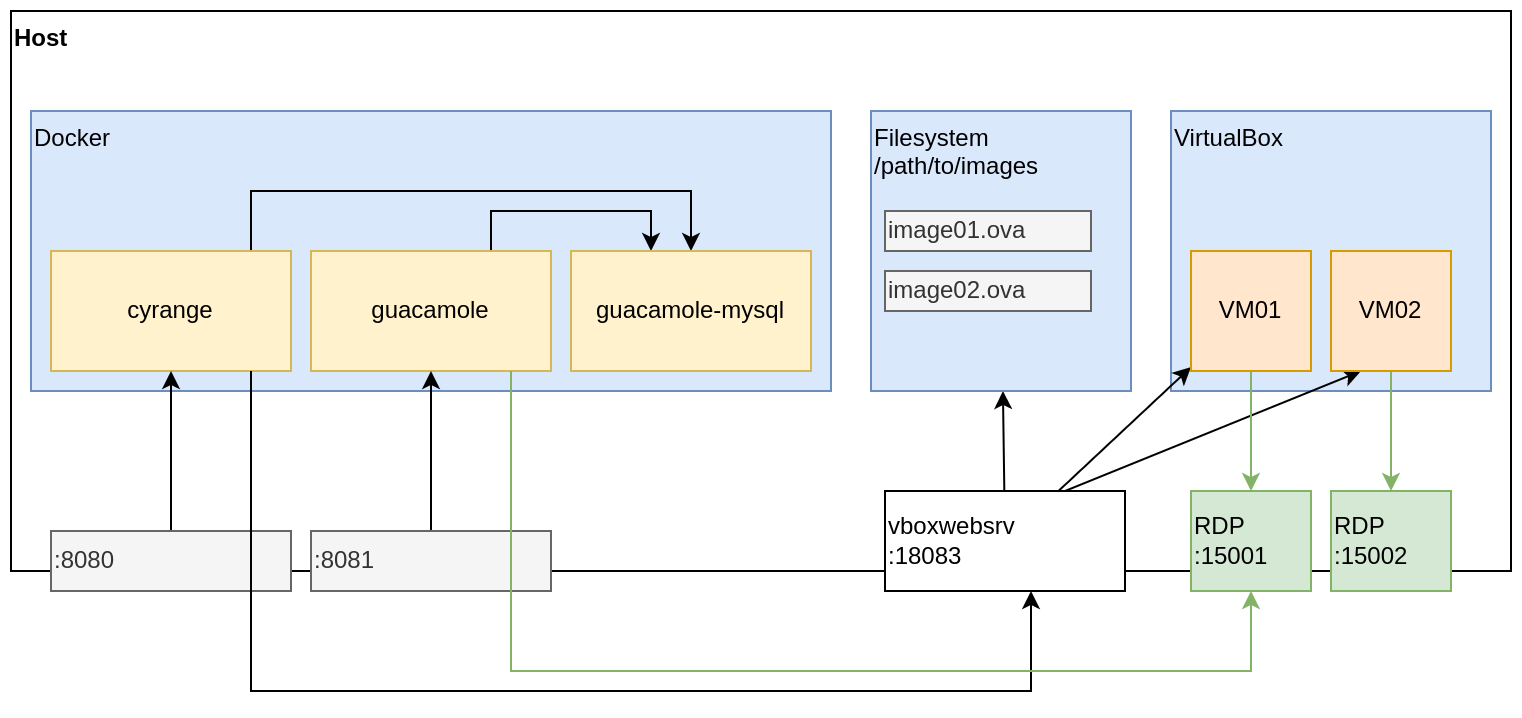
A working cyrange installation consists mainly of VirtualBox, plus 3 Docker containers:
- cyrange itself, exposed on port 8080;
- guacamole, exposed on port 8081;
- guacamole-mysql.
VirtualBox is installed directly on the host server, and is accessible using the VirtualBox webservice (vboxwebsrv), exposed by default on port 18083. The VirtualBox images (.ova) are also stored in a directory on the host server.
When a new virtual machine must be deployed:
- cyrange connects to vboxwebsrv to deploy the appropriate image (
image01.ova) and configure the VM; - the screen of the VM is exposed using RDP, on a port in the range 15000-16000;
- cyrange connects to the database of guacamole (guacamole-mysql) to create the corresponding user account and configuration;
- finally, cyrange can send an email to the user with required credentials.
As mentioned earlier, cyrange supports bulk deployment, so for example the entries configured in the guacamole database could look like:
- student.01@university.org is allowed to connect to VM01, exposed on port 15001;
- another.student@university.org is allowed to connect to VM02, exposed on port 15002;
- etc.
VirtualBox
Download and install VirtualBox and dependencies:
## install required packages
sudo apt-get install build-essential dkms

 ## downaload and install
wget https://download.virtualbox.org/virtualbox/6.1.18/virtualbox-6.1_6.1.18-142142~Ubuntu~eoan_amd64.deb
sudo dpkg -i virtualbox-6.1_6.1.18-142142~Ubuntu~eoan_amd64.deb

## install dependencies
sudo apt install -f
Download and install VirtualBox extension pack:
wget https://download.virtualbox.org/virtualbox/6.1.18/Oracle_VM_VirtualBox_Extension_Pack-6.1.18.vbox-extpack
sudo vboxmanage extpack install Oracle_VM_VirtualBox_Extension_Pack-6.1.18.vbox-extpack
Updated January 2022: since version 1.0.11 cyrange allows to export a VM to a file. This feature requires vbox-web service to run as user www-data (the same user running the web interface):
## create a password (and write it down)
sudo passwd www-data

## create the home directory for www-data
sudo mkdir /var/www
sudo chown www-data:www-data /var/www

## add www-data to the users allowed to run virtualbox
sudo adduser www-data vboxusers
To enable virtualbox-webservice, create the file /etc/default/virtualbox with following content:
VBOXWEB_USER=www-data
VBOXWEB_TIMEOUT=600
VBOXWEB_HOST=0.0.0.0
Start virtualbox-webservice and check it is correctly running:
sudo service vboxweb-service start
sudo ss -ltpn | grep vbox
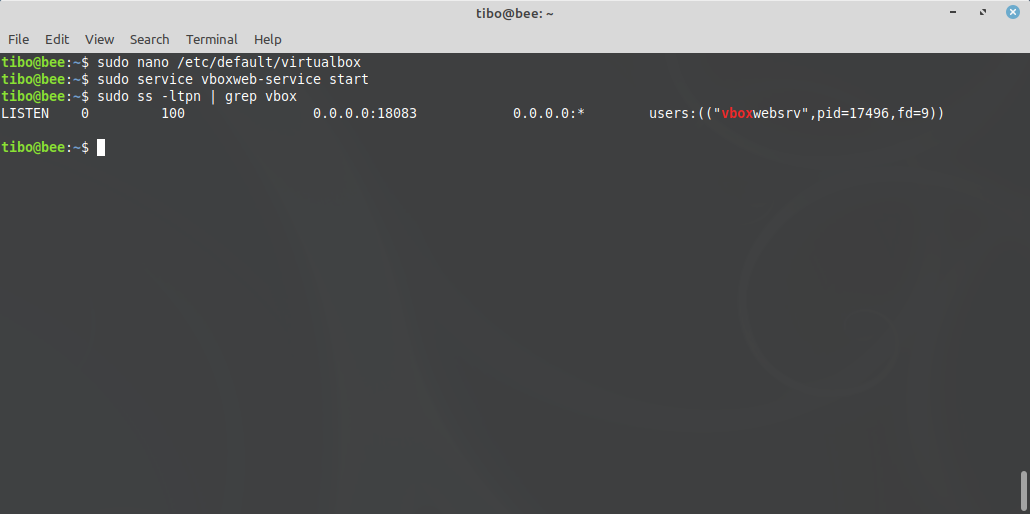
If vboxwebsrv does not appear, you can simply try to restart the service:
sudo service vboxweb-service restart
Docker
sudo apt-get update
sudo apt-get install apt-transport-https ca-certificates
    curl gnupg-agent software-properties-common
curl -fsSL https://download.docker.com/linux/ubuntu/gpg | sudo apt-key add -
sudo apt-key fingerprint 0EBFCD88
sudo add-apt-repository
   "deb [arch=amd64] https://download.docker.com/linux/ubuntu
   $(lsb_release -cs)
   stable"
sudo apt-get update
sudo apt-get install docker-ce docker-ce-cli containerd.io
sudo adduser `whoami` docker
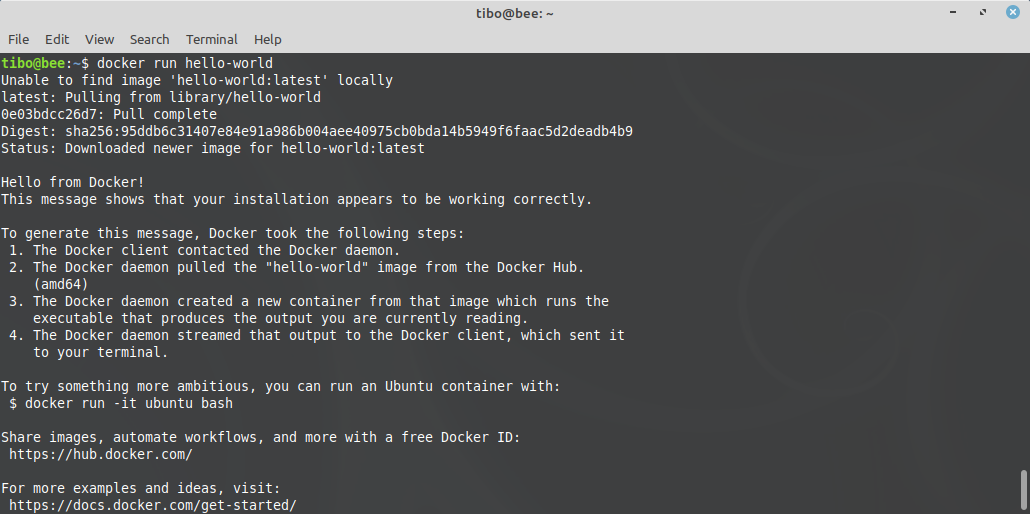
After login out and back in, you can test docker is correctly installed:
docker run hello-world
Download and install docker-compose:
wget https://github.com/docker/compose/releases/download/1.28.3/docker-compose-Linux-x86_64
mv docker-compose-Linux-x86_64 docker-compose
chmod +x docker-compose
sudo mv docker-compose /usr/bin/
cyrange
Finally, we can download the docker-compose.yml file that will run the different containers of cyrange:
sudo apt install unzip
sudo mkdir /home/cyrange
sudo chown `whoami` /home/cyrange
cd /home/cyrange
wget https://artifacts.cylab.be/cyrange-web/latest/cyrange.zip
unzip cyrange.zip
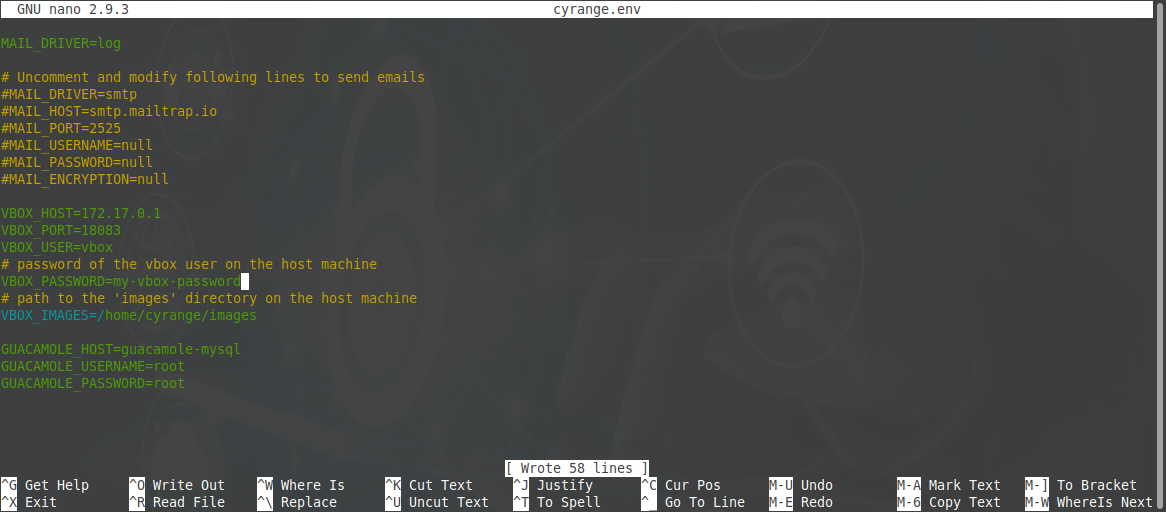
Now open and modify the file env.cyrange. At the minimum, you should modify:
- APP_URL to indicate the IP or domain name of your server (
http://127.0.0.1:8080is good if you installed cyrange on your own machine); - VBOX_PASSWORD to indicate the password of the
www-datauser you set earlier; - VBOX_IMAGES to indicate the path to the VirtualBox images on the host. In our example this will be
/home/cyrange/images.
Now you can start the containers:
docker-compose up

First steps
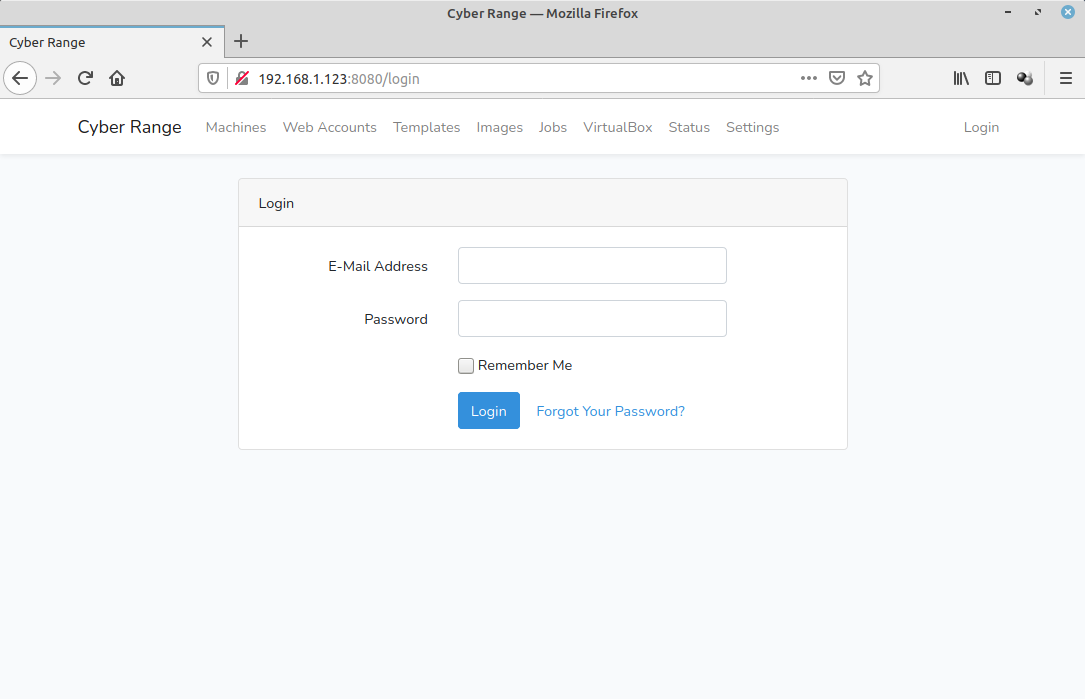
After a few seconds, the web interface will be available on port 8080. The default credentials are:
- E-mail:
cyrange@example.com - Password:
admin
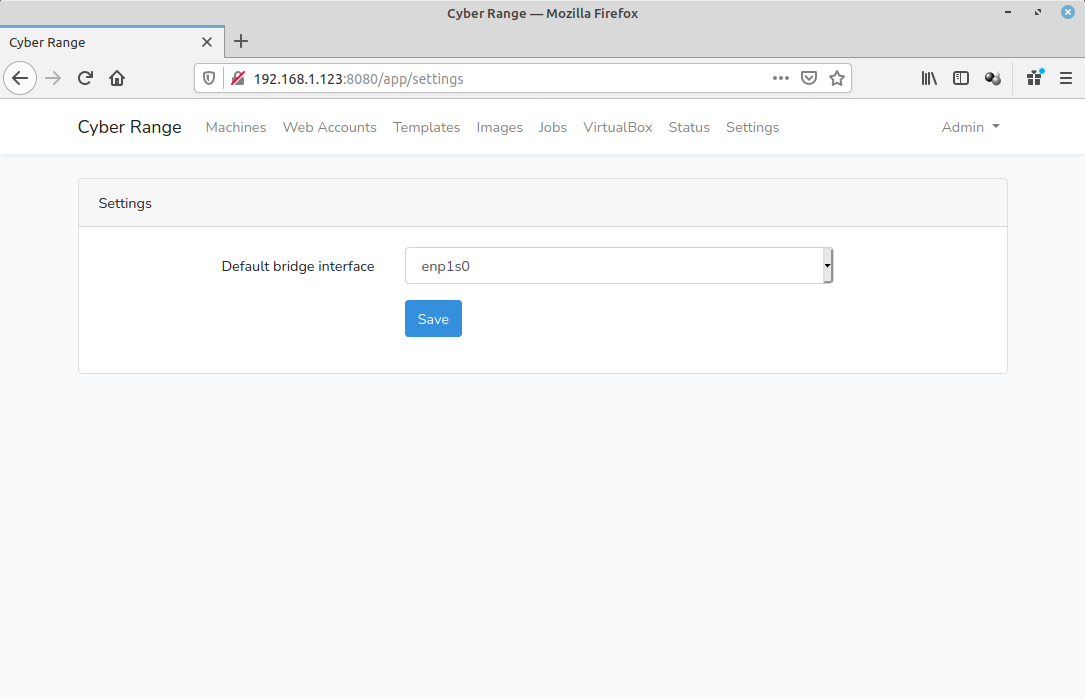
As first, you should head to the Settings page and select the default network interface on which the virtual machines will be deployed.
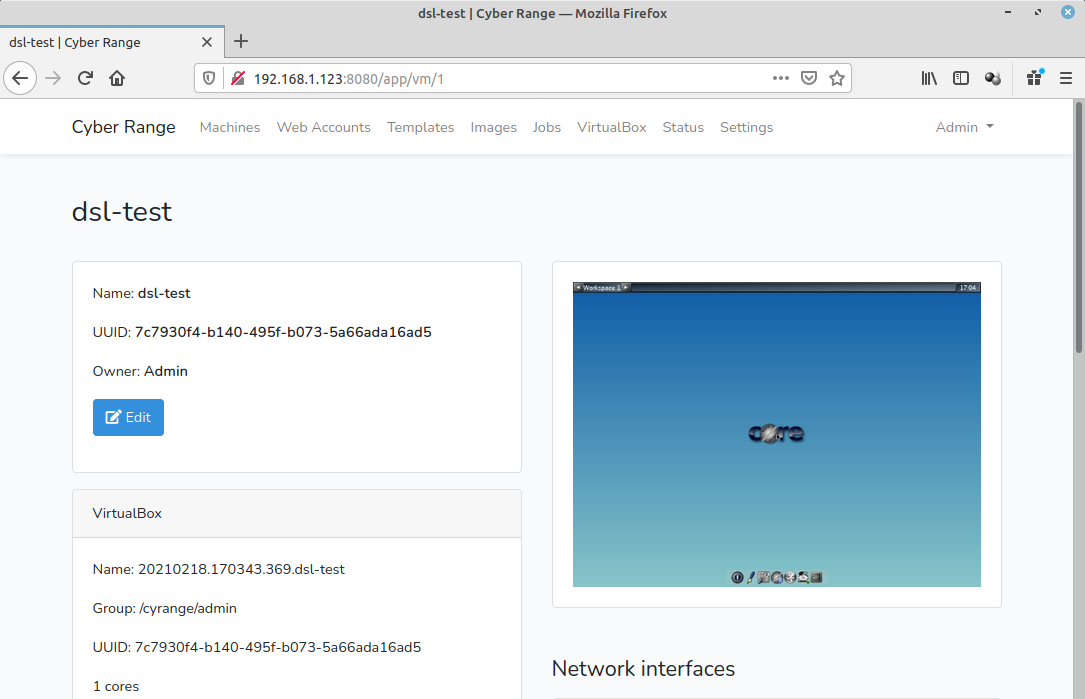
To test your installation, you can now import your first image. For example, you can use our Damn Small Linux image: https://cloud.cylab.be/s/EYHMd9N3Y3dJZNZ/download

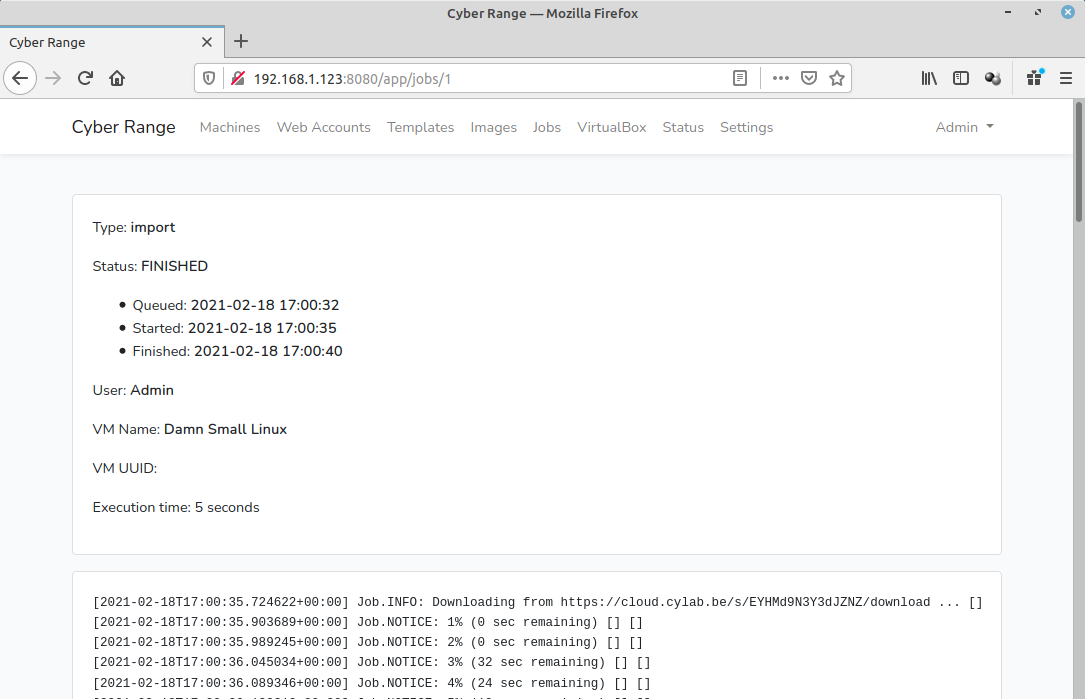
Once the image is downloaded, you can create a template based on this image
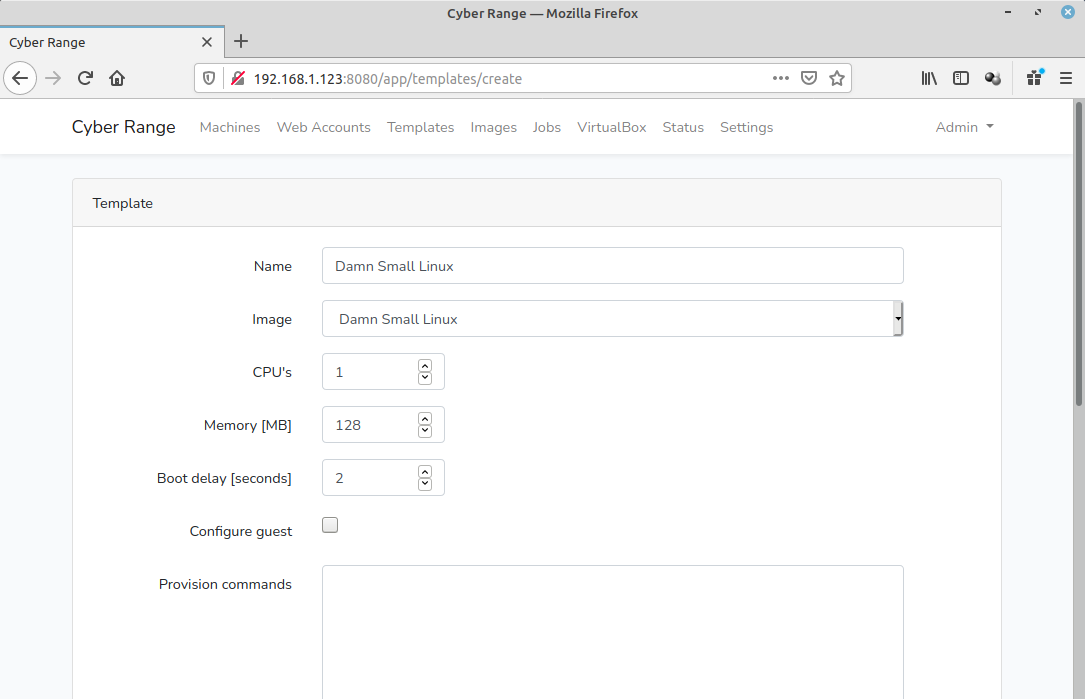
Once the template is ready, you can deploy a virtual machine.
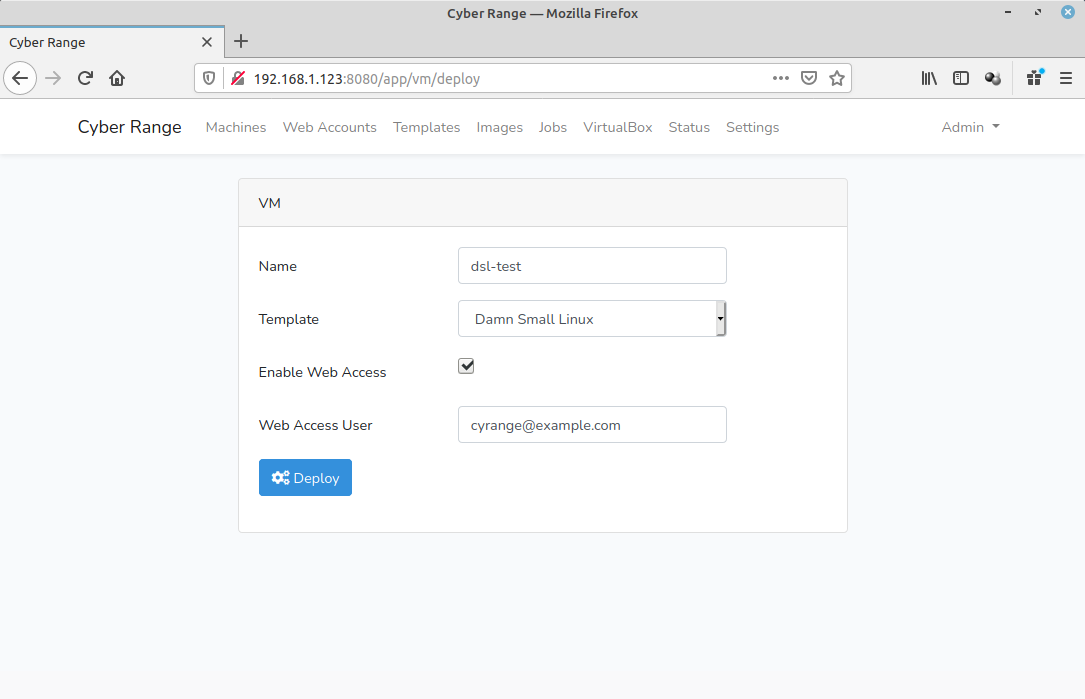
Once again, after a few seconds, the machine will be up and running.
![]()
Upgrade
Upgrading cyrange usually requires only to download the latest docker-compose.yml:
CWD=$(pwd)
mkdir /tmp/cyrange
cd /tmp/cyrange
wget https://artifacts.cylab.be/cyrange-web/latest/cyrange.zip
unzip cyrange.zip
mv docker-compose.yml /home/cyrange/docker-compose.yml
cd $CWD
rm -Rf /tmp/cyrange
Then download and run the latest images:
cd /home/cyrange
docker-compose up -d
This blog post is licensed under
CC BY-SA 4.0


