Run your Laravel application on Kubernetes
May 15, 2021 by Thibault Debatty | 16281 views
https://cylab.be/blog/146/run-your-laravel-application-on-kubernetes
In this blog post series we will present how to deploy a Laravel app on Kubernetes. In this first tutorial, we start with a simple setup, and leave horizontal scaling and high-availability for a follow-up post…
Assumptions and architecture
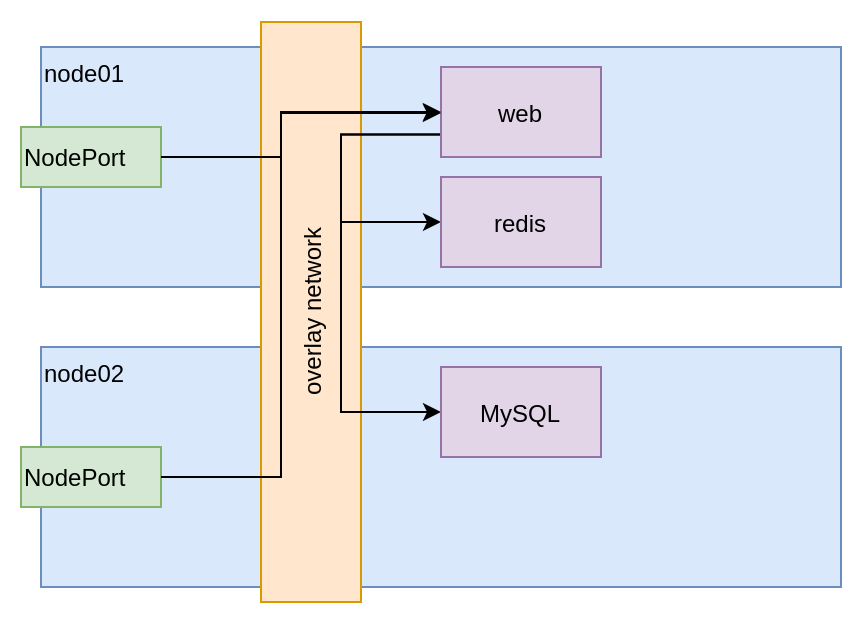
For this tutorial we assume you have already dockerized your Laravel application. So we will focus on deploying the app to a Kubernetes cluster. Moreover, we will describe here a simple setup:
- the setup will consist of 1 Laravel web pod, 1 redis pod and 1 MySQL database pod;
- hence we won’t handle queues and scheduled jobs (this will be covered in a following blog post);
- the application will be exposed using a simple NodePort, so we won’t cover Ingress here;
- we will use Kubernetes Deployment to describe the pods as Deployments allow to easily rollout updates.
Persistent Volumes
The Laravel web pod and the mysql pod will need to store persistent data:
- the mysql pod must store the content of the database;
- the Laravel web pod must store files saved in the
storagedirectory.
Hence they both will use a PersistentVolumeClaim. If you Kubernetes cluster is configured with Dynamic Volume Provisioning, Kubernetes will automatically create the appropriate PersistentVolumes.
However, if your cluster does not have dynamic volume provisioning, you must create the volumes manually, for example HostPath volumes:
#
# myapp-volumes.yaml
# used to create HostPath volumes, if your cluster is not configured with
# dynamic volume provisioning.
# for testing purposes only!
#
---
apiVersion: v1
kind: PersistentVolume
metadata:
  name: myapp-vol01
  labels:
    app: myapp
    type: local
spec:
  accessModes:
    - ReadWriteOnce
  capacity:
    storage: 1Gi
  hostPath:
    path: "/mnt/data/myapp/vol01"

---
apiVersion: v1
kind: PersistentVolume
metadata:
  name: myapp-vol02
  labels:
    app: myapp
    type: local
spec:
  accessModes:
    - ReadWriteOnce
  capacity:
    storage: 1Gi
  hostPath:
    path: "/mnt/data/myapp/vol02"
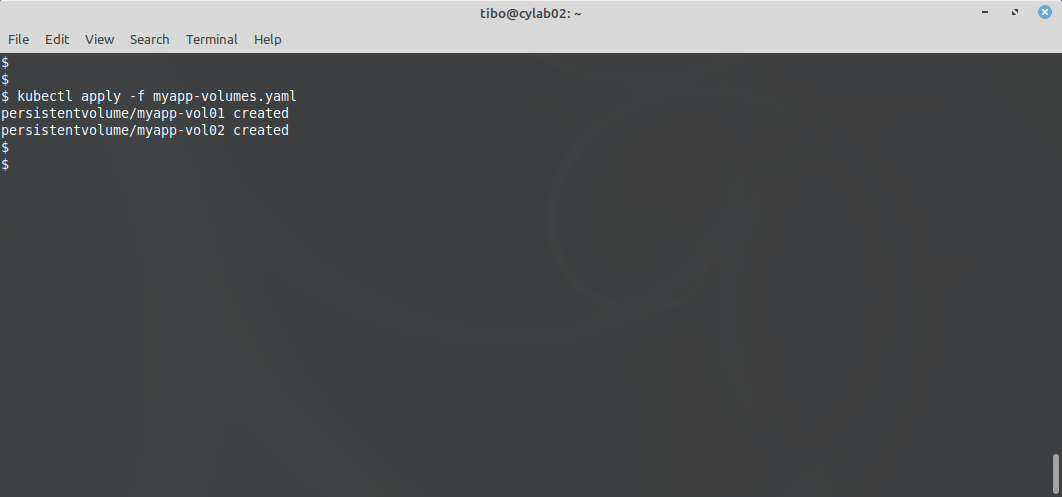
Then you can create the volumes with:
kubectl apply -f app-volumes.yaml
Pay attention though, HostPath volumes is a simple directory allocated directly on the node. Data saved in a HostPath volume will be lost if the node crashes.
Services and Deployments
We can now create the deployments and services for our app. It will contains:
- a ConfigMap to keep the configuration of our app (which will override the content of
.env); - a Service, a VolumeClaim and a Deployment for the MySQL server;
- a Service and a Deployment for the Redis server;
- a Service, a VolumeClaim and a Deployment for our Laravel web application.
The Laravel web Deployment actually describes 2 containers:
- the regular container for the web application itself;
- an InitContainer that will be executed before the regular container, to perform the database migrations and to cache the configuration:
#
# myapp.yaml
#
# configuration that will be used by the Laravel web pod
# this will override the content of .env
#
apiVersion: v1
kind: ConfigMap
metadata:
  name: myapp-laravel
data:
  APP_DEBUG: "false"
  APP_ENV: production
  APP_KEY: base64:nQKCOivp3DJkaRqGmYfEBPu++2gCy3wUrADJn8crvfI=
  APP_LOG_LEVEL: debug
  APP_NAME: "My App"
  APP_URL: http://myapp.com
  DB_CONNECTION: mysql
  DB_DATABASE: laravel
  DB_HOST: myapp-mysql
  DB_PASSWORD: IAqw8yE1mAwhJt59AEVV
  DB_PORT: "3306"
  DB_USERNAME: laravel
  CACHE_DRIVER: redis
  QUEUE_CONNECTION: redis
  SESSION_DRIVER: redis
  REDIS_HOST: myapp-redis
  REDIS_PORT: "6379"


---
#
# MySQL server
#

apiVersion: v1
kind: Service
metadata:
  name: myapp-mysql
  labels:
    app: myapp
    tier: mysql
spec:
  ports:
    - port: 3306
  selector:
    app: myapp
    tier: mysql
  clusterIP: None


---
apiVersion: v1
kind: PersistentVolumeClaim
metadata:
  name: mysql-pv-claim
  labels:
    app: myapp
    tier: mysql
spec:
  accessModes:
    - ReadWriteOnce
  resources:
    requests:
      storage: 1Gi


---
apiVersion: apps/v1
kind: Deployment
metadata:
  name: myapp-mysql
  labels:
    app: myapp
    tier: mysql
spec:
  selector:
    matchLabels:
      app: myapp
      tier: mysql
  template:
    metadata:
      labels:
        app: myapp
        tier: mysql
    spec:
      containers:
      - image: mysql:5.7
        name: mysql
        env:
        - name: MYSQL_RANDOM_ROOT_PASSWORD
          value: "true"
        - name: MYSQL_USER
          value: laravel
        - name: MYSQL_DATABASE
          value: laravel
        - name: MYSQL_PASSWORD
          # read the password from the ConfigMap
          # so we are sure laravel and MySQL use the same
          valueFrom:
            configMapKeyRef:
              name: myapp-laravel
              key: DB_PASSWORD
        ports:
        - containerPort: 3306
          name: mysql
        volumeMounts:
        - name: mysql-persistent-storage
          mountPath: /var/lib/mysql
      volumes:
      - name: mysql-persistent-storage
        persistentVolumeClaim:
          claimName: mysql-pv-claim


---
#
# Redis server
#

apiVersion: v1
kind: Service
metadata:
  name: myapp-redis
  labels:
    app: myapp
    tier: redis
spec:
  ports:
  - port: 6379
    targetPort: 6379
  selector:
    app: myapp
    tier: redis

---
apiVersion: apps/v1
kind: Deployment
metadata:
  name: myapp-redis
  labels:
    app: myapp
    tier: redis
spec:
  selector:
    matchLabels:
      app: myapp
      tier: redis
  template:
    metadata:
      labels:
        app: myapp
        tier: redis
    spec:
      containers:
      - name: redis
        image: redis
        ports:
        - containerPort: 6379

---
#
# Laravel - web
#

apiVersion: v1
kind: Service
metadata:
  name: myapp-web
  labels:
    app: myapp
    tier: web
spec:
  type: NodePort
  selector:
    app: myapp
    tier: web
  ports:
    - port: 80
      # NodePort will be automatically assigned

---
apiVersion: v1
kind: PersistentVolumeClaim
metadata:
  name: web-pv-claim
  labels:
    app: myapp
    tier: web
spec:
  accessModes:
    - ReadWriteOnce
  resources:
    requests:
      storage: 1Gi

---
apiVersion: apps/v1
kind: Deployment
metadata:
  name: myapp-web
  labels:
    app: myapp
    tier: web
spec:
  selector:
    matchLabels:
      app: myapp
      tier: web
  template:
    metadata:
      labels:
        app: myapp
        tier: web
    spec:
      # Init Containers are executed before the actual containers start
      # https://kubernetes.io/docs/concepts/workloads/pods/init-containers/
      # - perform migration
      # - cache config
      # - copy directory structure to persistent volume
      initContainers:
       - name: artisan
         image: <myapp>
         args:
           - /bin/bash
           - -c
           - php artisan migrate --force && php artisan config:cache && cp -Rnp /var/www/html/storage/* /mnt
         envFrom:
           - configMapRef:
               name: myapp-laravel
         volumeMounts:
           - name: web-persistent-storage
             mountPath: /mnt
      containers:
       - name: web
         image: <myapp>
         envFrom:
          - configMapRef:
             name: myapp-laravel
         ports:
          - containerPort: 80
         volumeMounts:
          - name: web-persistent-storage
            mountPath: /var/www/html/storage
      volumes:
       - name: web-persistent-storage
         persistentVolumeClaim:
           claimName: web-pv-claim
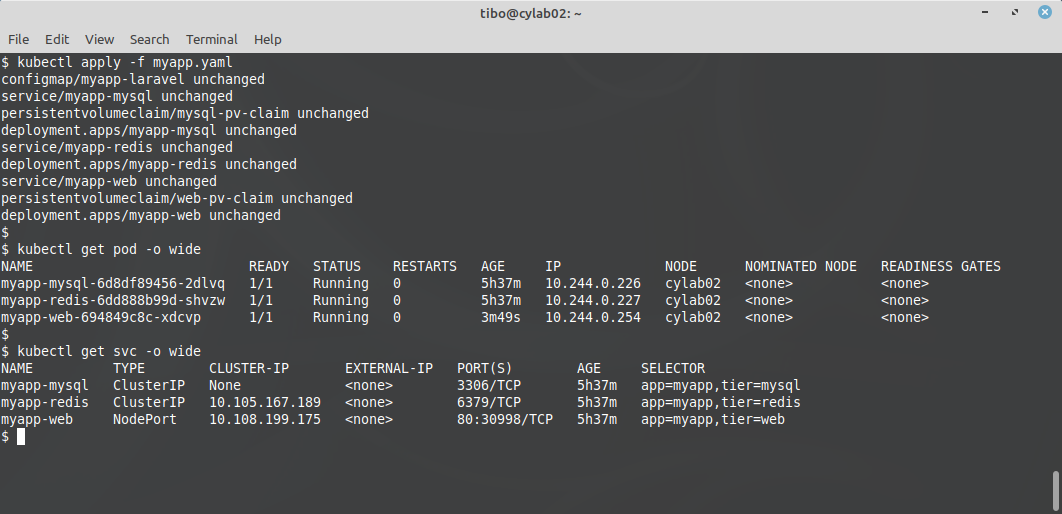
As usual, you can apply this configuration with
kubectl apply -f myapp.yaml
And you can find the NodePort that was automatically assigned with:
kubectl get svc -o wide
Debugging
As usual, you can list the running pods with:
kubectl get pods -o wide
Get more information about a single pod with:
kubectl describe pod <pod>
Read the logs of the pod:
kubectl logs <pod>
As the web pod contains 2 containers (the artisan and the regular), you can read the logs of the artisan container with:
kubectl logs <pod> -c artisan
To access the logs of the Laravel application itself, you will have to run a bash prompt inside the container:
kubectl exec -it <pod> -- bash
Availability
So what can we expect with a setup like this one regarding availability?
If one of the nodes (servers) crashes, the pods will be rescheduled by Kubernetes on another node, and after a few seconds your application will automatically be back online. But attention, this is only true if your are using dynamic persistent volumes. If you are using a HostPath volume, like in the example above, your data is stored locally on the node, and it will disappear if the node crashes.
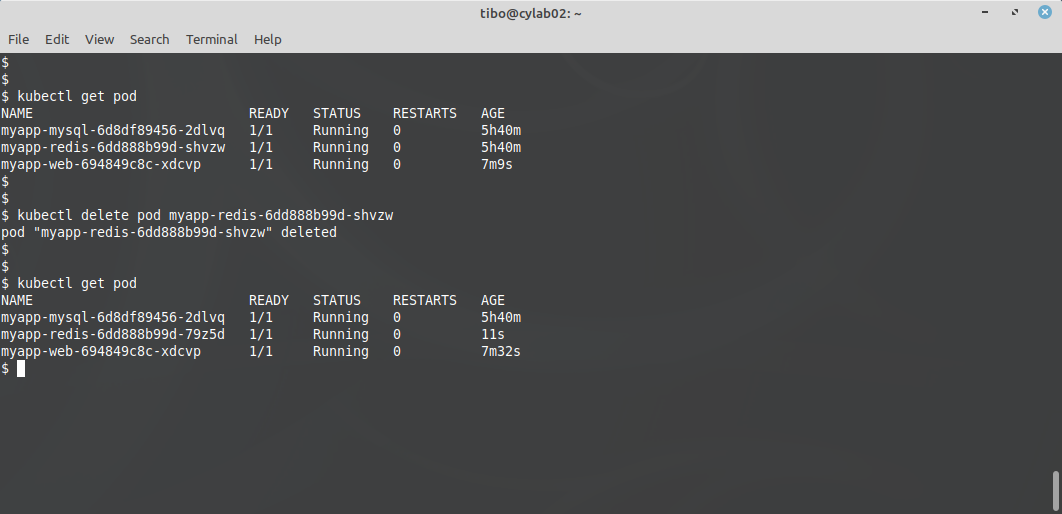
If one of the pods crashes for some reason, it will be restarted by Kubernetes and after a few seconds your application will be running again.
So we don’t achieve real high-availability here: in both cases the application will be unavailable, for at least a few seconds…
Horizontal scaling
The same goes for horizontal scaling. This is a simple setup that is not designed for horizontal scaling:
- the Laravel web pod has its own
storagepersistent volume, so it cannot scale horizontally; - the MySQL pod is not meant for sharding.
The redis pod could be scaled, but this would have some drawbacks. In this situation, the redis service would distribute the load between the pods, but there would be no synchronization between the redis pods, hence:
- the same value would eventually be cached multiple times (once on each pod), which is a waste of memory;
- a value could be cached on one pod, but not (yet) on another, which would result in a lower hit ratio;
- a cached value might be invalidated on one redis pod, but not on the others, which would result in an inconsistent state of the application!
Final words
In this post we presented here a simple setup that allows to run a Laravel app on Kubernetes. A more complex setup, that allows horizontal scaling and job queues will be presented in a following post…
This blog post is licensed under
CC BY-SA 4.0


