Recovering deleted files with Foremost
Sep 14, 2023 by Georgi Nikolov | 9121 views
https://cylab.be/blog/283/recovering-deleted-files-with-foremost
Sometimes it happens that files we did not want to delete are removed from the computer or external drives, or in the case of forensics analysis, we want to look for files that were previously on the system, but now are gone. Luckily, there are still ways to recover such data with relative ease!
Most operating systems work on the principle of “Used” and “Free” space. The used space on a given partition is where we can find our photos, videos, documents and programs. The Free space is what is left and can still be used to write new data to. When we delete a file, the space it previously occupied is flagged as “Free”, but that does not mean that the data disappears. In most cases, the data will remain there until new files are saved to the disk and overwrite the old ones. In simple terms, when we delete a piece of data from our machine or external drive, we remove any references to the files, but the files persist. The only way they will be removed completely is if they are overwritten by new information or we wipe the disk. This is very useful when we want to recover information we might have deleted by mistake, or in the case of forensic analysis, recover possible evidences of malicious activity on the system.
The Foremost tool
Foremost is a Linux based forensic program for the recovery of files based on their headers, footers, and internal structure. It’s quite powerful as it can be used directly on a drive or disk image files, such as those generated by dd, Encase and others. The tool has a list of supported files, such as jpg, mov, doc and zip. A full list of supported files can be found on the Foremost man page. Sadly Foremost does not run on Windows, but alternatives are available.
Installation
Installing Foremost is straightforward, we can use the apt manager to install the tool.
- Install size:
102 KB - Installation command:
sudo apt install foremost - Dependencies:
libc6
Usage
Running Foremost is quite easy, we can run it directly from the command line, providing it with couple of parameters.
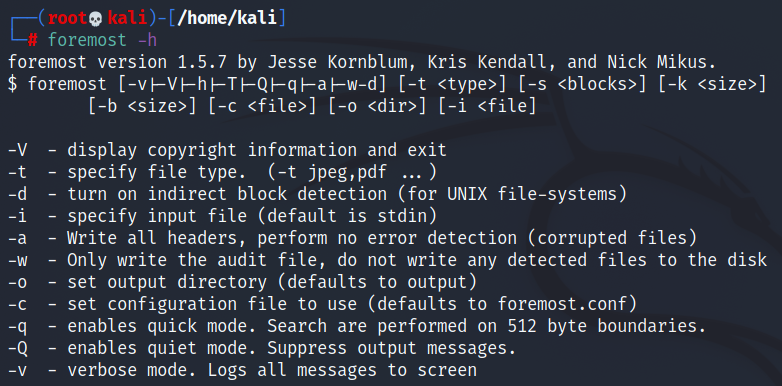
- By providing the
-tparameter we can list which file extensions we want to look for, or if we omit it the tool will look for all files it can recuperate. - We use the
-qparameter for a quicker search using the 512-byte boundaries of current disk sectors. - We can provide an output directory with the
-oparameter. - The image or drive we want to analyze are given through the use of the
-iparameter.
Our final command will look like this:
root@kali:~# foremost -t <file extensions> -q -o <output directory> -i <disk image/drive>
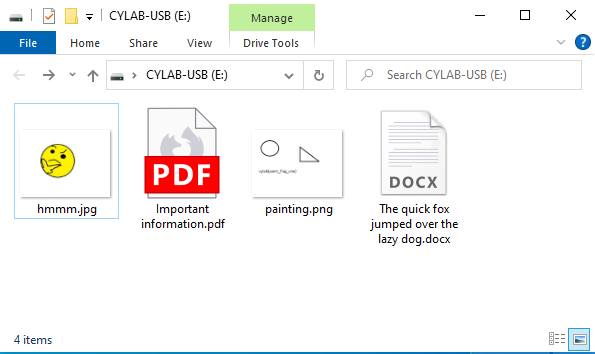
Example
To show a quick example of how the foremost forensic tool works, I created couple of files and saved them on a formatted USB stick. I created a *.docx, *.jpg, *.png and *.pdf files.
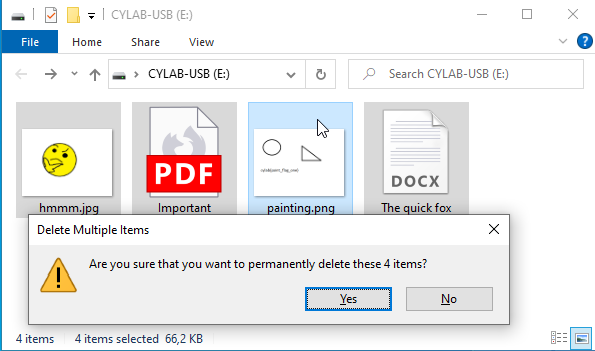
Afterwards I deleted them permanently from the drive.
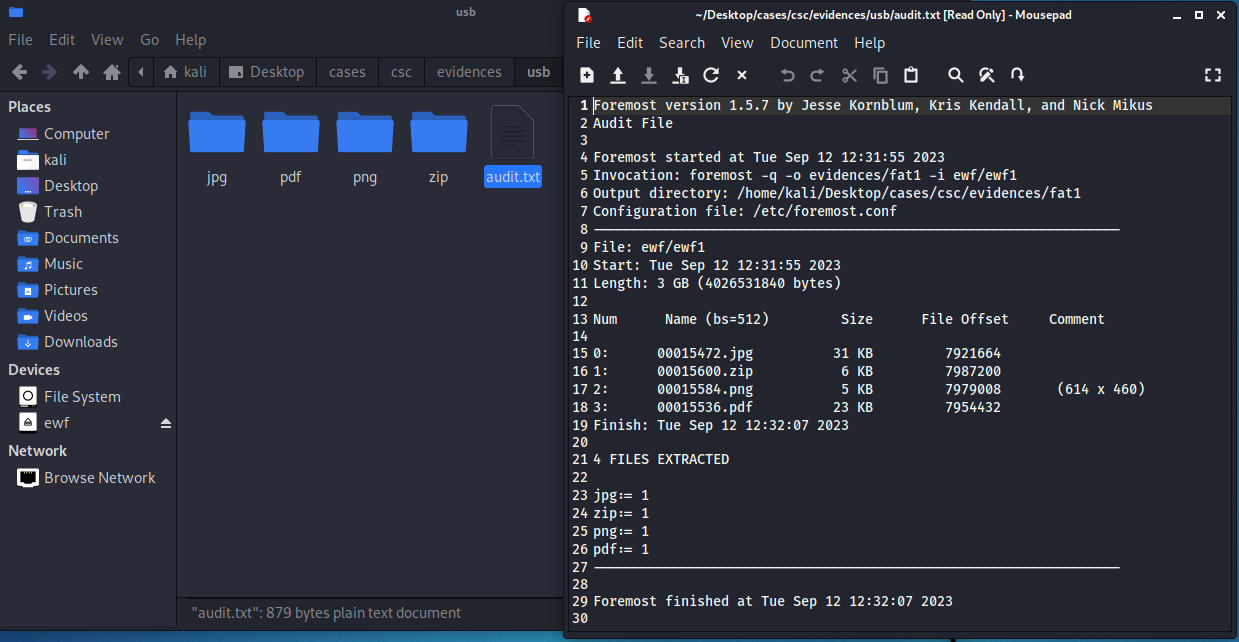
I took an image of the USB stick using FTKImager, which I was also running from an USB stick as I have described in a previous blog. Finally I moved the Encase image of the USB to my Kali machine and mounted it using ewfmount. Next I could run Foremost, looking for all possible files it could recover from the USB key.
root@kali:~# foremost -q -o evidences/usb -i ewf/ewf1
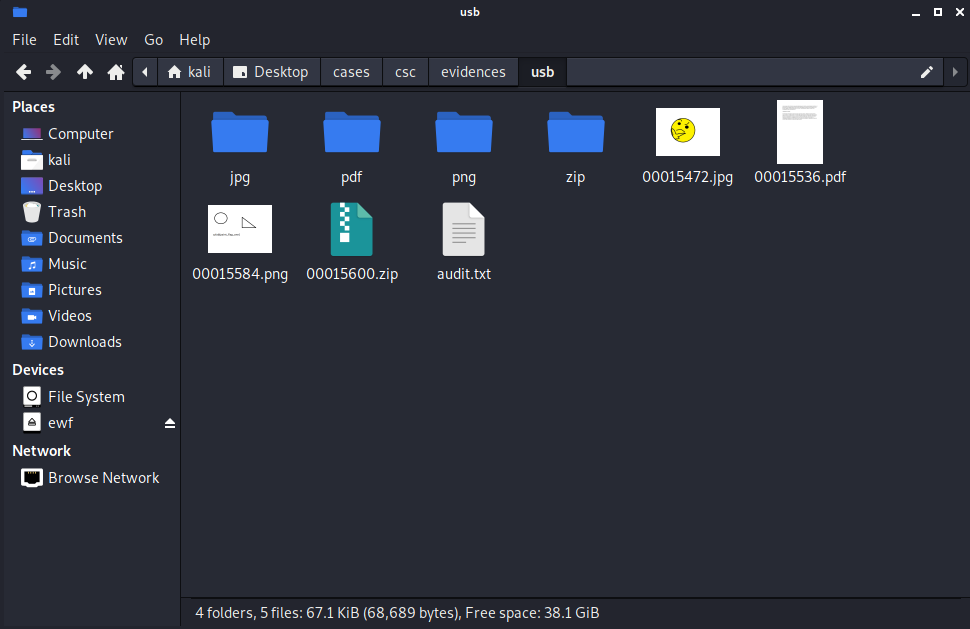
Foremost creates a nice little audit.txt file, which summarizes the analysis process and what was found during. As we can see in the screenshot, four files were found: a jpg, pdf, png and zip file. Contrary to what we might have expected, we did not recover a docx file, but instead a zip file. With versions of Windows and Microsoft Word, the Office documents generated are actually a complex type of zipped files, where multiple different files within describe the metadata, content and other properties of the documents.
 !
!
One thing to note is that the files have lost their original name, but we can still open them and recover any content they had.
!IMPORTANT Because we mounted the image with root privileges, and in my case, ran foremost as root, if we try to open the files as a normal user, we won’t be able to view the contents. This is easily remedied by opening the Linux file explorer as root!
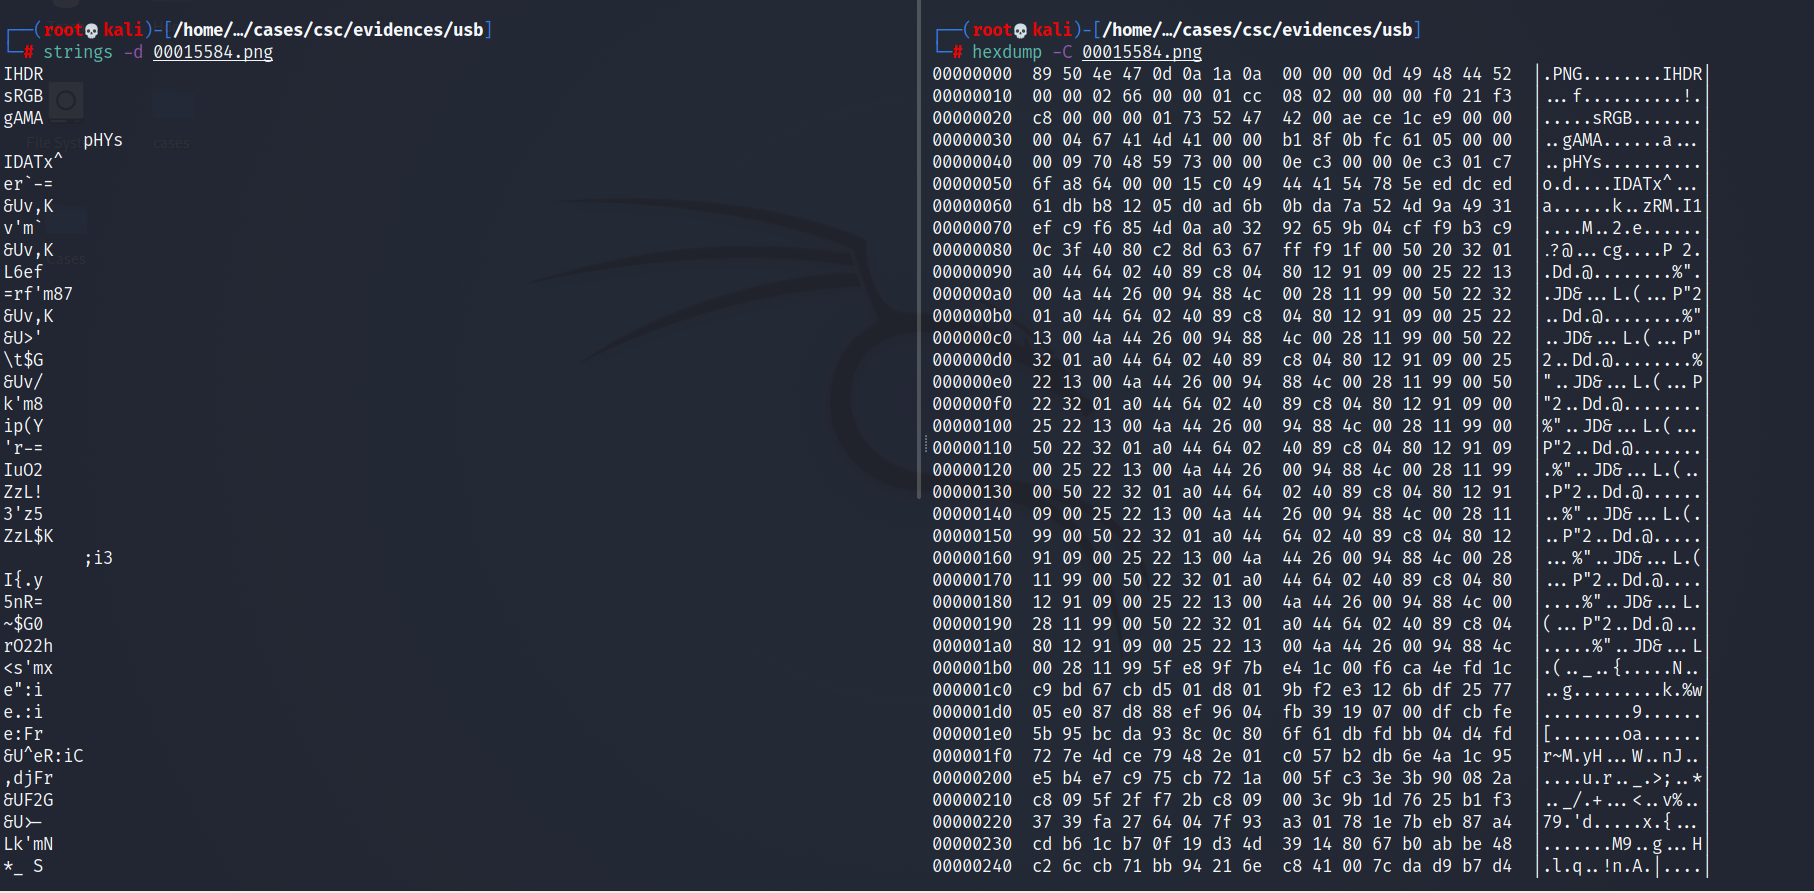
Luckily, none of the sectors the files were stored in were overwritten, so we could recover the full files and we also have only 4 items to recover. In a real world scenario, we might recover hundreds of files and some only fragments as the space they occupied might have been overwritten with more recent data. In such cases, we might be interested to look at the contents of the recovered files with tools such as strings or hexdump.
Another option for recovery of deleted files is using the Sleuthkit suit of tools and more specifically blkls, but this method demands a bit more in-depth knowledge and we will leave for another a future blog post!
This blog post is licensed under
CC BY-SA 4.0


