Network boot for UEFI devices with iPXE
Jan 28, 2024 by Thibault Debatty | 18097 views
https://cylab.be/blog/321/network-boot-for-uefi-devices-with-ipxe
In a previous blog post, we have seen how PXE network boot works, and how to implement PXE boot for devices with a (classical) BIOS. For this purpose, we used SYSLINUX/PXELINUX. However, SYSLINUX/PXELINUX is usually not working well with modern UEFI devices. Hence in this blog post, we will show how to use iPXE to implement network boot for UEFI devices.
In a nutshell
As a reminder from the previous blog post, here is how PXE network booting usually works, and also the different steps of this blog post:
- The PXE stack (integrated in the network card) searches for a DHCP server and looks for boot server information in the DHCPACK message.
- PXE connects to the server using TFTP protocol, downloads and try to execute the (binary) file. This file is usually an ‘intermediate’ bootloader, with more functionalities than PXE.
- The intermediate bootloader downloads a configuration file from the TFTP server, to show a menu to the user with different options.
- The intermediate bootloader downloads the appropriate kernel image and root filesystem, and starts executing the kernel.
1. DHCP server
The first step is to configure your DHCP server to transmit required information. We show this below for ISC DHCP server (the default DHCP server on a Ubuntu server). If not done yet, install the DHCP server:
sudo apt install isc-dhcp-server
Then modify the configuration file /etc/dhcp/dhcpd.conf and configure your subnet according to your needs:
subnet 192.168.1.0 netmask 255.255.255.0 {
 range 192.168.1.100 192.168.1.199
  option routers 192.168.1.1;
  option domain-name-server 9.9.9.9;

  # TFTP server
  option tftp-server-name "192.168.1.10";

  # bootloader
  option bootfile-name "ipxe.efi";
  # in some situations, you may have to use snponly.efi (see below)
  #option bootfile-name "snponly.efi";
}
In this example, 192.168.1.10 is the address of the TFTP server. Don’t forget to restart the server:
sudo service isc-dhcp-server restart
2. TFTP server
We can now install the tftp server:
sudo apt install tftpd-hpa
You should also increase the verbosity by modifying the config file /etc/default/tftpd-hpa and and the option --verbose:
TFTP_OPTIONS="--secure --verbose"
And don’t forget to restart the server:
sudo service tftpd-hpa restart
As you could also see from the file, the root directory for serving files is /srv/tftp.
3. iPXE
iPXE [6] aims to implement an improved version of PXE directly on network cards. However, at the time of writing iPXE is not integrated in existing network cards, which means you have to flash the PXE ROM on your network card yourself. Once done, you typically don’t need an intermediate bootloader anymore.
You can also chainload into iPXE to obtain the features of iPXE without the hassle of reflashing. This means you are using iPXE as intermediate bootloader…
Artifacts
When compiling iPXE, different artifacts are produced [3]:
ipxe.efiis the main artifact that contains all UEFI drivers, and is the most commonly used;snponly.efican also be used for chainloading boot, ifipxe.efiis not working (in my experience, it was the case when running test using VirtualBox). It uses different networking functionalities from UEFI, namely SNP (Simple Network Protocol) or NII (Network Interface Identifier Protocol). It will only find and boot the specific NIC device it was chained from;snp.efiis the same assnponly.efibut tries to boot all devices and not just the one it was chained via;undionly.kpxeis the equivalent ofsnponly.efi, but for BIOS devices.
As mentioned, ipxe.efi is the main iPXE artifact, but we will also download snponly.efi in case we need it for our devices:
curl -O http://boot.ipxe.org/ipxe.efi
curl -O http://boot.ipxe.org/snponly.efi

sudo cp ipxe.efi /srv/tftp
sudo cp snponly.efi /srv/tftp
Breaking the loop
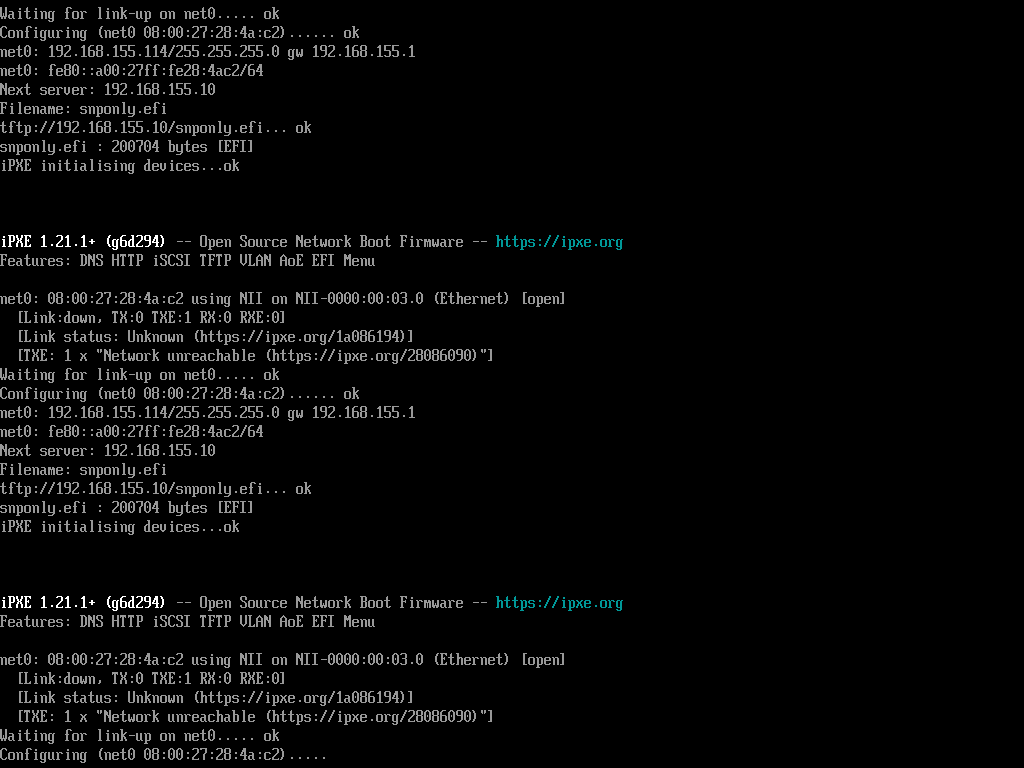
We can now test the current configuration… but there is a catch! Remember that iPXE is meant to replace the PXE stack on network cards, so it starts by contacting a DHCP server, then download and execute the indicated file. So this causes an infinite loop where iPXE keeps downloading and executing iPXE.
There are 2 ways to break this loop:
- recompile iPXE with an embedded script that directs iPXE to boot from a fixed URL [1];
- configure the DHCP server to hand out iPXE only for the first DHCP request; the second DHCP request will return the “real” boot configuration [2].
Indeed, when DHCP client send a DHCP request message, they also provide information about themselves. So here is how to configure ISC DHCP server for this purpose. Edit /etc/dhcp/dhcpd.conf and change the tftp section to:
# TFTP server
option tftp-server-name "192.168.1.10";

if exists user-class and option user-class = "iPXE" {
      filename "tftp://192.168.1.10/menu.ipxe";
} else {
      option bootfile-name "ipxe.efi";
}
Boot script
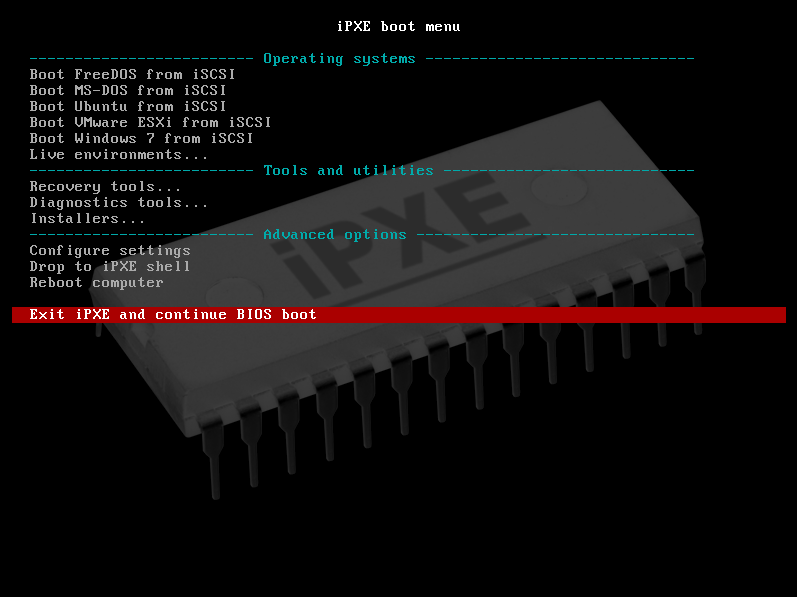
We can now create the actual boot script for iPXE /srv/tftp/menu.ipxe. Here is an example :
#!ipxe

set server_ip  192.168.1.10
set root_path  /pxeboot

menu Select an OS to boot

item ubuntu-22.04-server         Install Ubuntu 22.04 Server
item exit                         Exit iPXE and continue BIOS boot
item reboot                       Reboot computer

choose --default exit --timeout 10000 option && goto ${option}

:ubuntu-22.04-server
set os_root os-images/ubuntu-22.04
kernel http://${server_ip}/${os_root}/vmlinuz
initrd http://${server_ip}/${os_root}/initrd
imgargs vmlinuz initrd=initrd root=/dev/ram0 ip=dhcp cloud-init=disabled url=https://releases.ubuntu.com/jammy/ubuntu-22.04.3-live-server-amd64.iso
boot

:reboot
reboot

:exit
exit
As you can see, iPXE is able to download the kernel and initramfs from a HTTP server. You can find the semantics and other possibilities on the website of iPXE [7].
References
- https://ipxe.org/howto/chainloading
- https://ipxe.org/howto/dhcpd#pxe_chainloading
- https://ipxe.org/appnote/buildtargets
- https://ipxe.org/appnote/ubuntu_live
- https://www.barebox.org/doc/latest/boards/efi.html#simple-network-protocol-snp
- https://ipxe.org
- https://ipxe.org/scripting
This blog post is licensed under
CC BY-SA 4.0


