Exploring AUTOMATIC1111 Stable Diffusion
May 23, 2025 by Thibault Debatty | 5918 views
https://cylab.be/blog/419/exploring-automatic1111-stable-diffusion
Artificial intelligence has revolutionized the way we create and interact with visual content. One of the most exciting applications of AI art is Stable Diffusion, a powerful tool that enables users to generate stunning images using text prompts.
In a previous post I showed how to install Stable Diffusion locally using Automatic1111. In this post, we’ll cover everything you need to know to unlock the full potential of Stable Diffusion and create breathtaking works of art.
The examples were executed on a virtual machine from Scaleway equipped with a L4 GPU (24GB of GPU memory).
Installation and run
First of all don’t forget to install the latest update:
sudo apt update
sudo apt upgrade
And reboot:
sudo reboot
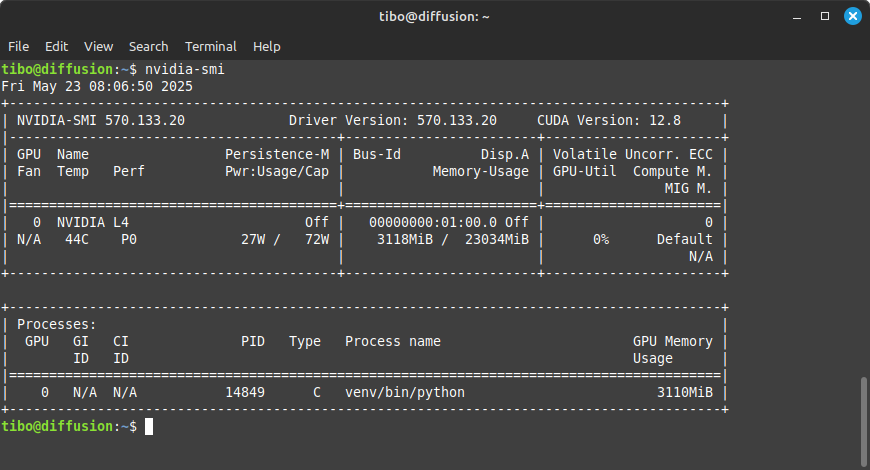
Make sure NVidia GPU is correctly detected:
nvidia-smi
Installation: https://cylab.be/blog/358/run-a-local-instance-of-stable-diffusion-and-use-ai-to-generate-images
SSH tunnel
Create a SSH tunnel to the server:
ssh -L 7860:127.0.0.1:7860 ip.of.server
Now you can reach the web interface at http://127.0.0.1:7860
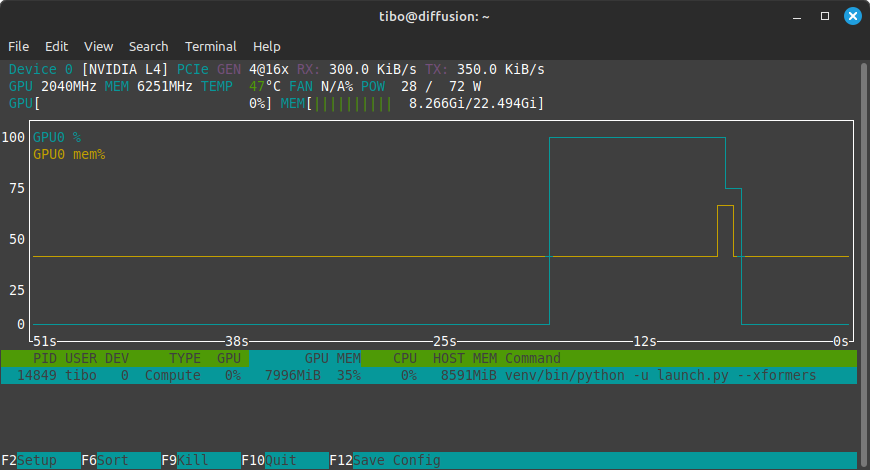
While generating, you can check GPU and GPU memory usage with:
nvtop
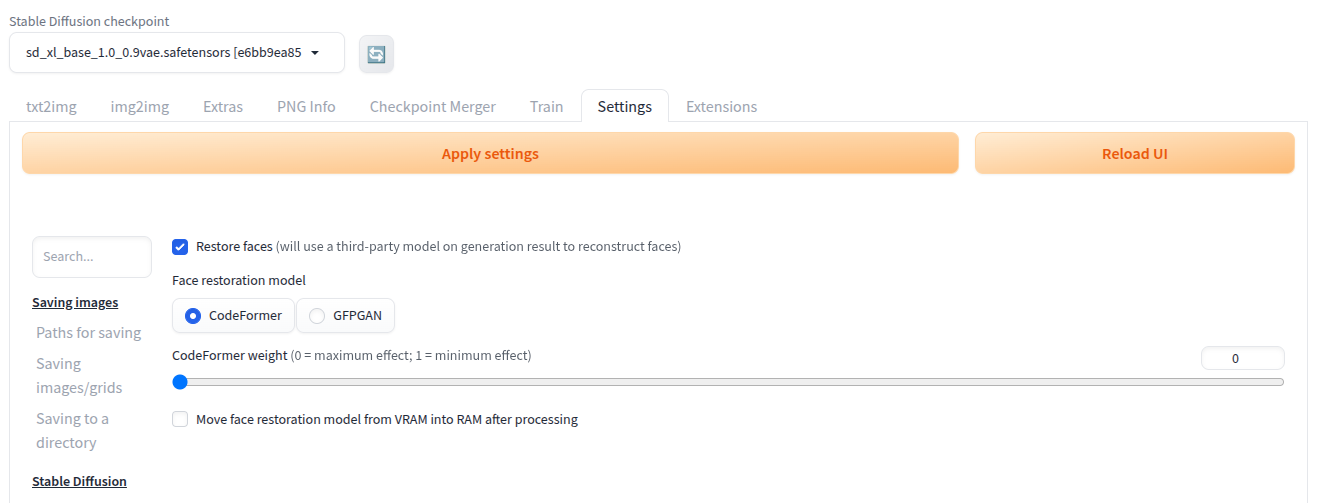
Restore faces
Use an additional model to improve or restore faces after the image is generated:
- Go to
Settings>Restore faces(at the bottom) - Enable face restoration and select strength
https://stable-diffusion-art.com/automatic1111/#Restore_faces
(Negative) prompt
Negative prompts allow allow to describe what we don’t want in an image. They actually have a large impact on the quality of the final result.
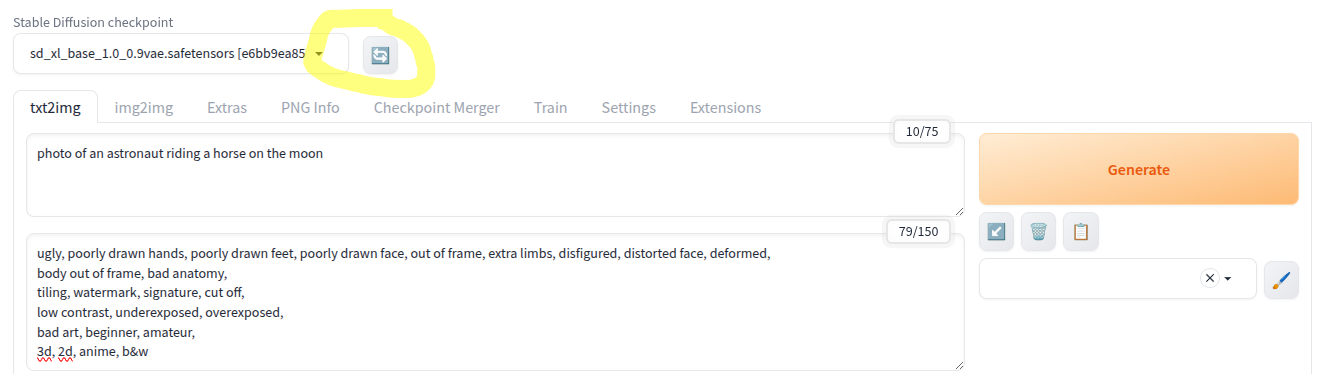
As a starting point, here is a ‘standard’ negative prompt:
ugly, poorly drawn hands, poorly drawn feet, poorly drawn face, out of frame, extra limbs, disfigured, distorted face, deformed,
body out of frame, bad anatomy,
tiling, watermark, signature, cut off,
low contrast, underexposed, overexposed,
bad art, beginner, amateur,
3d, 2d, anime, b&w
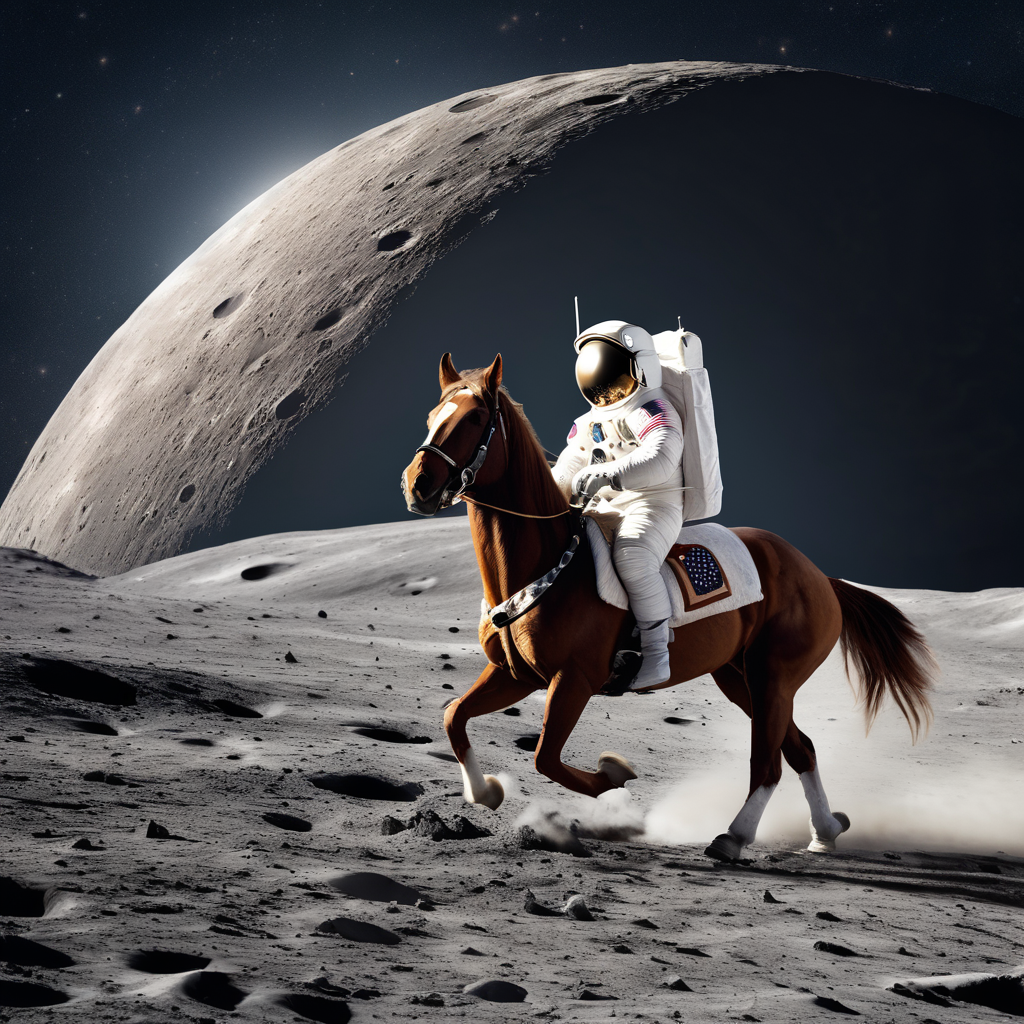
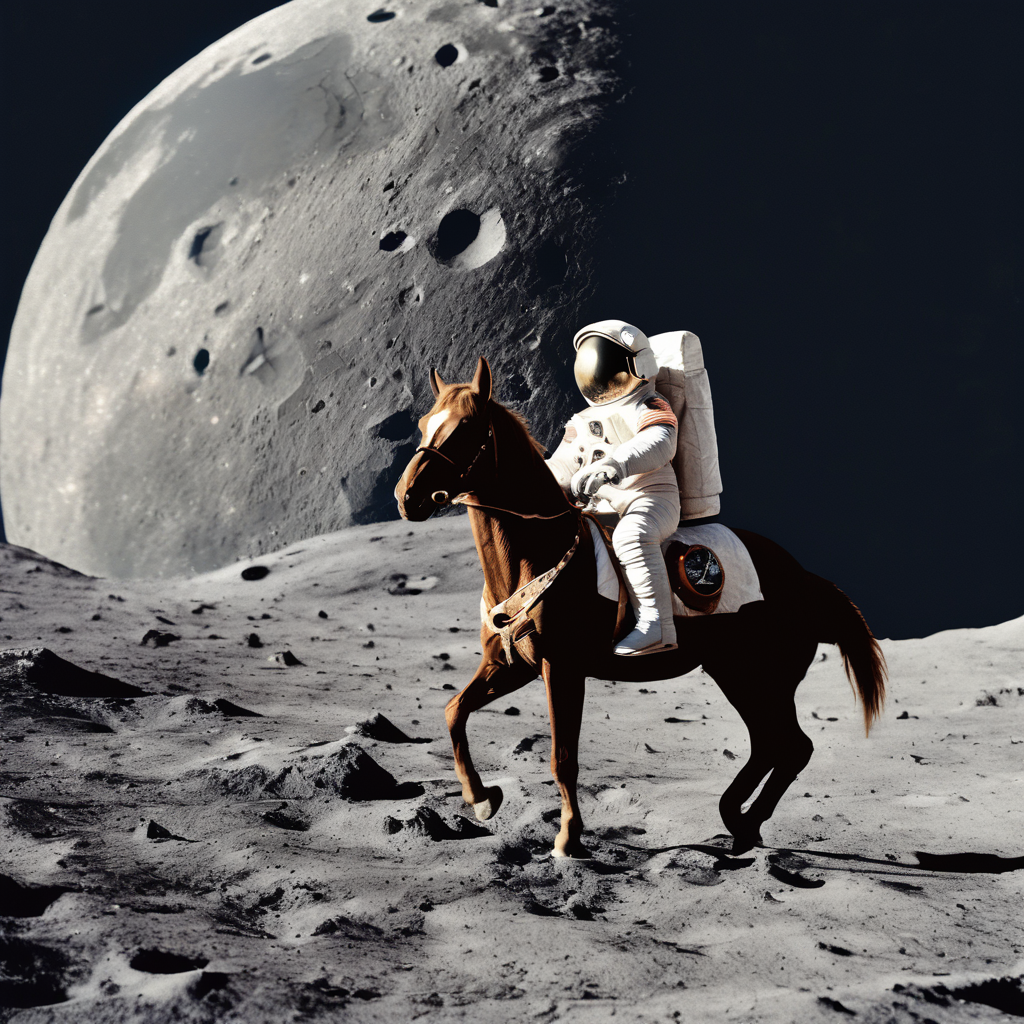
Here is an example of a generated image without negative prompt
And the same image (same seed and parameters) but with negative prompt:
In the classical prompt, it’s also a good idea to add some hints to improve the quality of generated images, like:
RAW photo, 8k uhd, dslr, soft lighting, high quality, film grain, Fujifilm XT3
Models
To use another model you must simply download the model parameters (.safetensors), typically from HuggingFace, to the directory models/Stable-diffusion.
Stable Diffusion XL (SDXL)
SDXL is an upgraded version of the ‘default’ model v1.5.
SDXL actually comes in 2 flavors: the smaller base model and the refiner model which adds finer details:
- https://huggingface.co/stabilityai/stable-diffusion-xl-base-1.0
- https://huggingface.co/stabilityai/stable-diffusion-xl-refiner-1.0
However, in my experiments the base model was giving better results than the refiner. So don’t hesitate to test by yourself…
To directly install the models:
cd models/Stable-diffusion

# base model
wget https://huggingface.co/stabilityai/stable-diffusion-xl-base-1.0/resolve/main/sd_xl_base_1.0_0.9vae.safetensors

# refiner model
wget https://huggingface.co/stabilityai/stable-diffusion-xl-refiner-1.0/resolve/main/sd_xl_refiner_1.0_0.9vae.safetensors
A Variational Autoencoder (VAE) is a type of neural network architecture that connects an encoder network to a decoder through a probabilistic latent space. During the learning process, the encoder in a VAE maps each image to a distribution within the latent space, rather than to a single point. The decoder then maps from the latent space back to the input space, typically reconstructing the original data.
Once downloaded,
- get back to the web interface
- click on the ‘Refresh’ arrows at the top of interface and
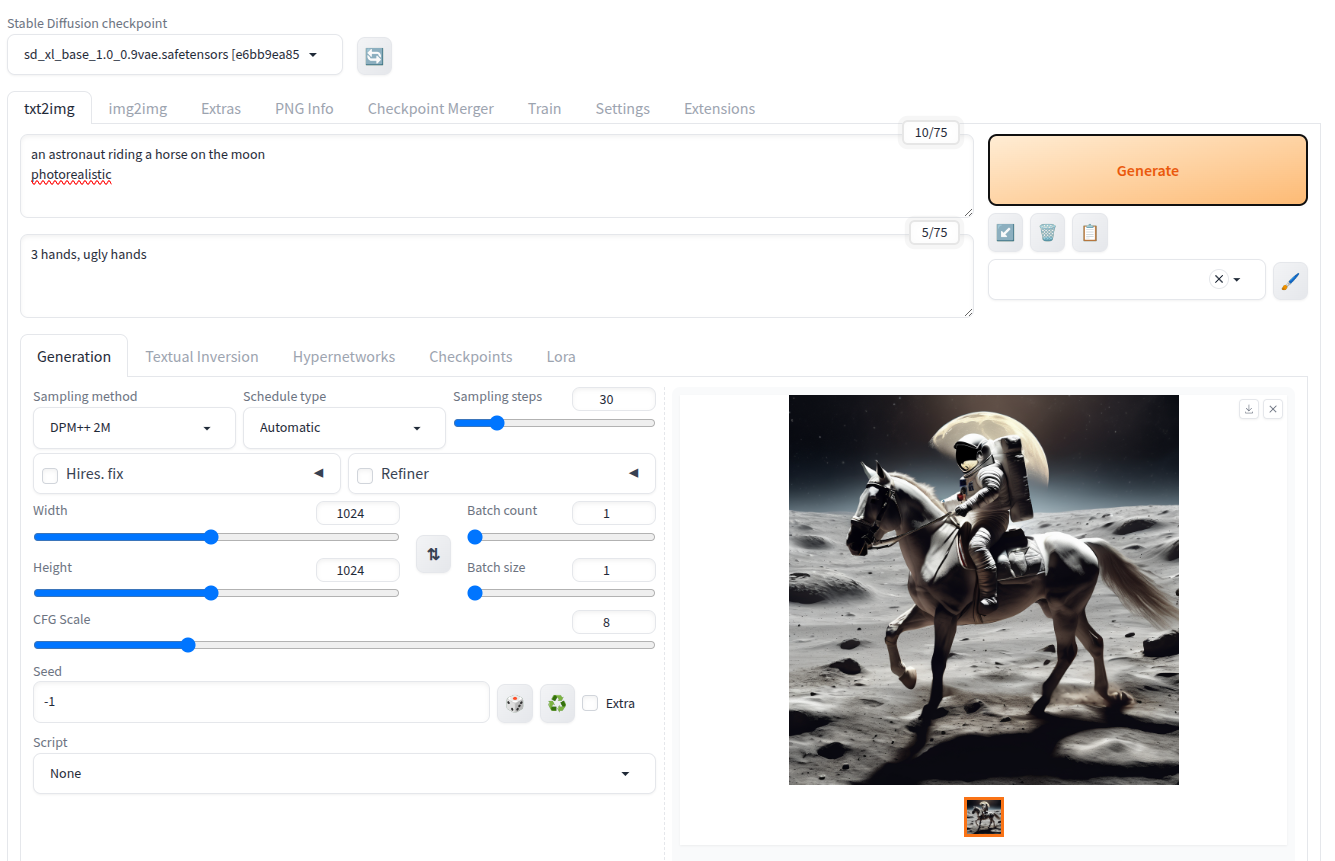
- select the desired model
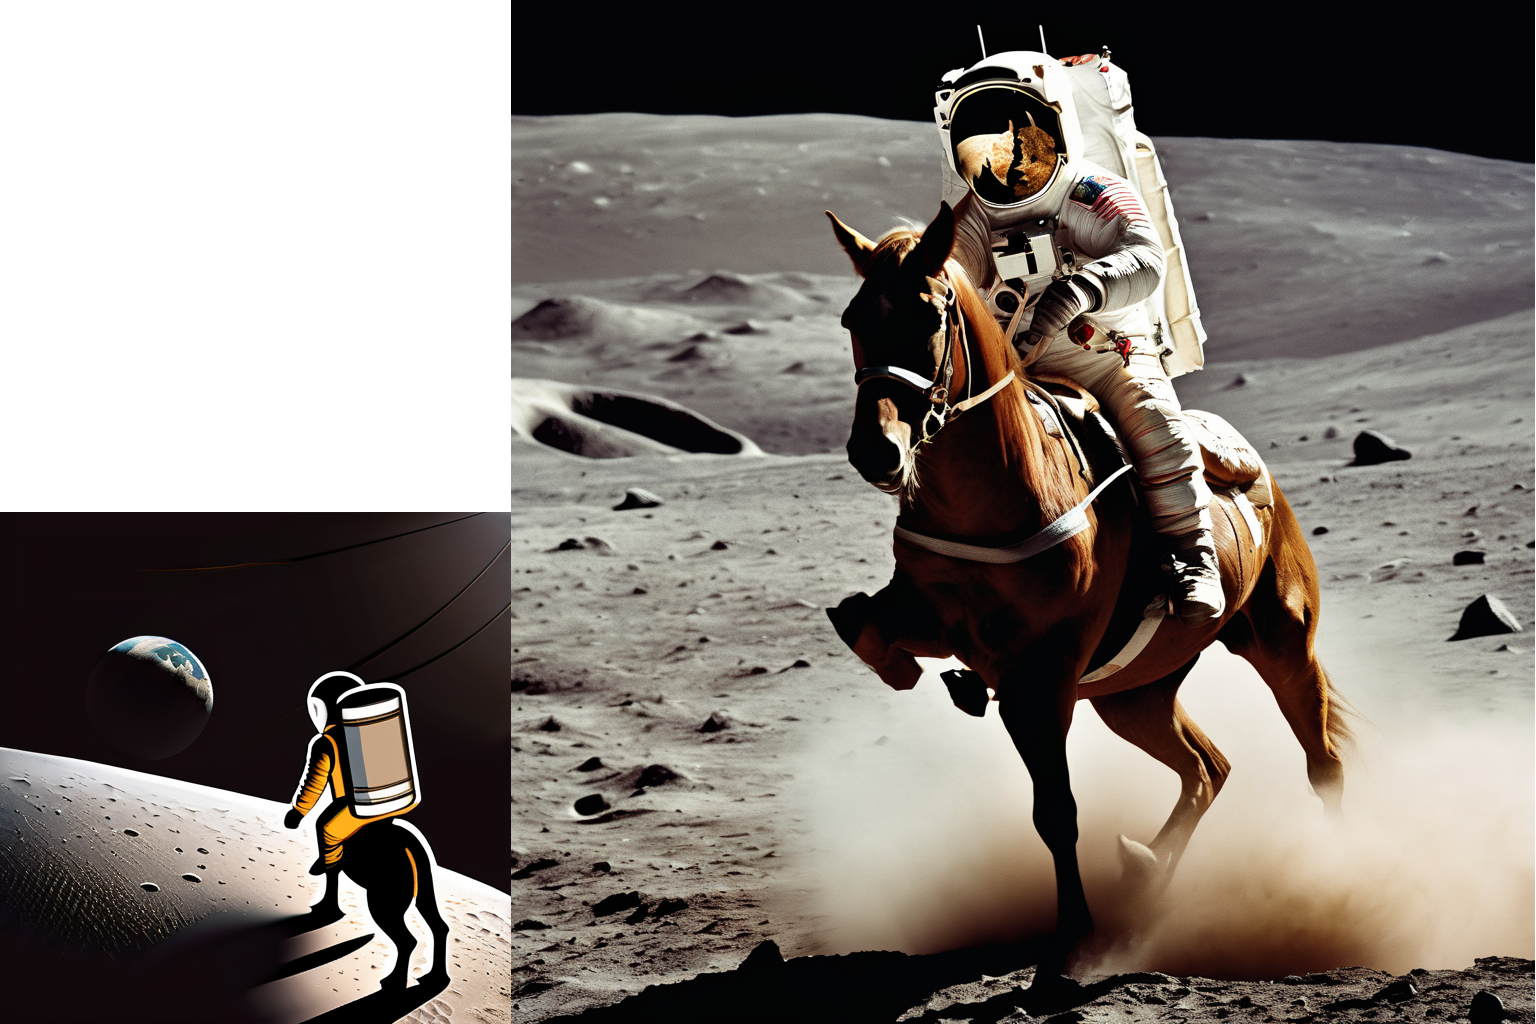
⚠ The default image size of SDXL models is 1024×1024, so make sure you select this size in the interface!
The image below shows an astronaut on a horse generated using SDXL, on the left with a size of 512px and on the right with the same parameters and seed, but a size of 1024px. I’ll let you judge by yourself!
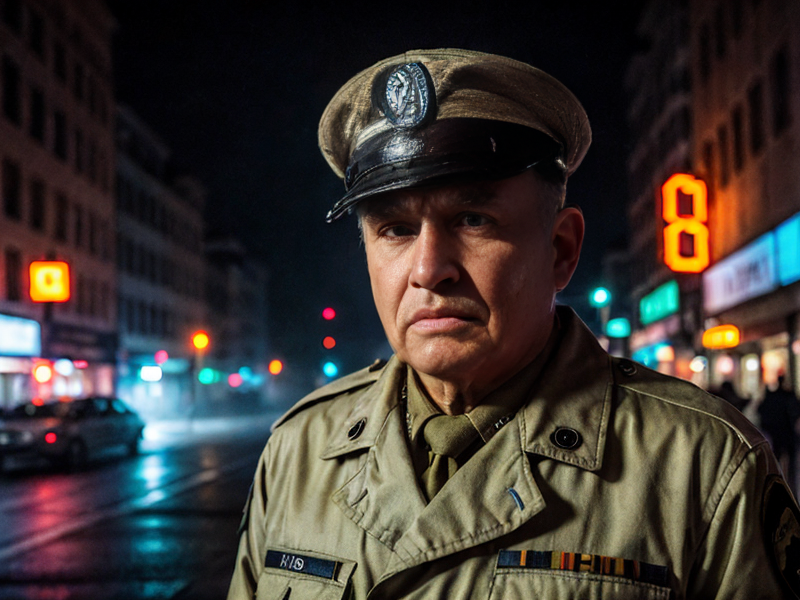
Realistic Vision
Realistic Vision is a set of models trained specifically to create real portraits and people.
- https://huggingface.co/SG161222/Realistic_Vision_V5.1_noVAE
- https://huggingface.co/SG161222/Realistic_Vision_V6.0_B1_noVAE
Installation:
# v5.1
wget https://huggingface.co/SG161222/Realistic_Vision_V5.1_noVAE/resolve/main/Realistic_Vision_V5.1.safetensors

# v6.0
wget https://huggingface.co/SG161222/Realistic_Vision_V6.0_B1_noVAE/resolve/main/Realistic_Vision_V6.0_NV_B1.safetensors
This blog post is licensed under
CC BY-SA 4.0


