Create & Deploy a Discord Bot (Part 2/3 - Bot Features)
May 24, 2022 by Zacharia Mansouri | 12143 views
https://cylab.be/blog/217/create-deploy-a-discord-bot-part-23-bot-features
There are times when you need to manage a community. Mailing lists are still in use nowadays but there exists other modern ways like creating a Discord server to chat with a bot that can fulfill many tasks for you and your community!
Now that we have added a bot on our server in Part 1, let’s use it! For the following instructions, it is assumed that you already installed Python3 and are familiar with it. The purpose of this blog post is to:
- Setup discord.py
- Create the Python bot script
- Restrict the admins channel with roles
Setup discord.py
The first step is to install the discord.py module via pip:
python3 -m pip install discord.py
You can also directly use pip3 if you installed it:
pip3 install discord.py
Note that you can find the docs in the discord.py API.
Create the Python bot script
Now create a file called bot.py that will serve as the script of your bot. Here is the basic code you should add to that file:
from discord.ext import commands

DISCORD_TOKEN  = "{YOUR-DISCORD-BOT-APPLICATION-TOKEN}"
DISCORD_SERVER = "EventServer"
bot = commands.Bot(command_prefix="!")

@bot.event
async def on_ready():
    if DISCORD_SERVER not in map(lambda x: x.name, bot.guilds):
        print(f"{DISCORD_SERVER} not found in the bot's guilds")
    else:
        print(f"{bot.user.name} bot successfully logged into the {DISCORD_SERVER} server.")

bot.run(DISCORD_TOKEN)
Here is what the above code does:
- import the commands folder from the discord.py module. This will allow us to create a command-based bot.
- create a bot with the Bot class. The ! value of the command_prefix argument will make the bot consider all the messages starting by an exclamation point as being commands.
- the @bot.event is a Python decorator (note that bot is the variable name of the bot defined above) that will allow you to overwrite event functions, like on_ready that is called when the Python script successfully connected to the real Discord bot application. The content of the on_ready function checks if the bot successfully logged in and has access to the EventServer server.
- The run method called on the bot makes it use the token previously stored (see Part 1) to connect to the bot and then wait for commands.
A note about guilds. As seen in the above piece of code, the bot script uses an attribute called guilds. This is another name for servers since the guilds are the servers the bot is linked to. Guild is therefore only the synonym of server and is used by the discord.py API.
Now you may launch the bot.py script in a terminal:
python3 bot.py
In order to apply any future updates, do not forget to stop and relaunch your bot.py script. If everything went correctly, the following message should appear after a while:
CylabBot bot successfully logged into the EventServer guild.
Here we defined what happens when the bot is ready. This is an event, recognized by Python thanks to the @bot.event decorator. The bot also reacts to commands, answering by launching functions decorated with @bot.command(name=cmd_name) where cmd_name is the name of the command typed in the Discord chat of a channel (e.g. !command_name). Let’s start with a command that says ‘Hello’ to a user. Just add the following function to the script (before the bot.run(DISCORD_TOKEN) line):
@bot.command(name="hello")
async def hello(ctx):
if ctx.author.id == bot.user.id: # the bot does not reply to itself
return
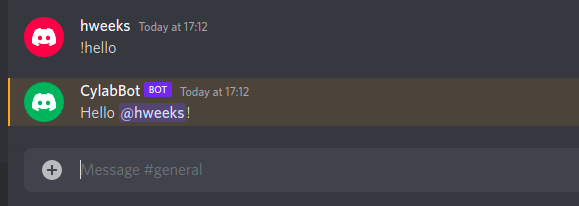
await ctx.send(f"Hello {ctx.author.mention}!")
The ctx context variable contains all what you need to react to a message posted by a user in the channel of a server. Here, the user who wants to be mentioned by launching the !hello command is retrieved with ctx.author.mention. A message is sent to that user with the method send called on the context. Note that the communication between the server and the clients being asynchronous, all the Python functions we create are preceded by the async keyword and the methods called on ctx are preceded by the keyword await since our script is suspended until it receives an answer from the Discord server. Use the !hello command in the general channel of the EventServer and see what happens:
Let’s create another feature that allows a user to delete a certain number of last messages from a channel. Note that this requires a permission to read the channel’s text history (and we already defined it in the Part 1 when selecting the bot permissions):
@bot.command(name="del")
async def delete(ctx, number: int):
   messages = await ctx.channel.history(limit=number + 1).flatten()
   for each_message in messages:
       await each_message.delete()
Run !del 1 and observe the last message being deleted. The attributes and methods used in the delete function are self-explanatory: you retrieve the tail of messages history and delete each of the messages constituting it. Note that limit=number+1 ensures that the !del 1 command is also deleted.
Let’s now dive a bit more into discord.py to add a more complex feature: creating a poll for an event using a command typed from the admins channel and sending a message to the users having access to the events channel. Here are a few attributes/methods that will help us achieving the feature:
# Retrieve the name of the channel the user's message has
# been sent to:
ctx.channel.name
# Retrieve the object containing the message sent by the bot:
message = await ctx.send("whatever")
# Retrieve the object containing the channel with the name
# "events" using the discord's utils module:
from discord import utils as discord_utils
events_channel = discord_utils.get(ctx.guild.channels, name="events")
# Retrieve the object containing the message sent by the bot
# to the specific "events" channel:
message = await events_channel.send("whatever")
# Add a reaction to the retrieved message (here it is the unicode "check"
# emoji):
await message.add_reaction('U00002705')
Let’s build our poll feature from what we already know:
from discord.ext import commands
from discord import utils as discord_utils

# ...
# TOKENS
# Bot creation
# on_ready event
# hello/del commands
# ...

@bot.command("poll")
async def show_poll(ctx, *args):
    # polls can only be sent from the 'admins' channel
    if ctx.channel.name != "admins":
        return
    # poll command:
    # !poll event_name event_date
    event_name = args[0]
    event_date = args[1]
    # retrieving the 'events' channel
    events_channel = discord_utils.get(ctx.guild.channels, name="events")
    # sending the poll
    message = await events_channel.send(f"@everyone
Will you come to the **{event_name}** event the **{event_date}**?")
    # adding reactions to the poll
    await message.add_reaction('U00002705')
    await message.add_reaction('U0000274C')

bot.run(DISCORD_TOKEN)
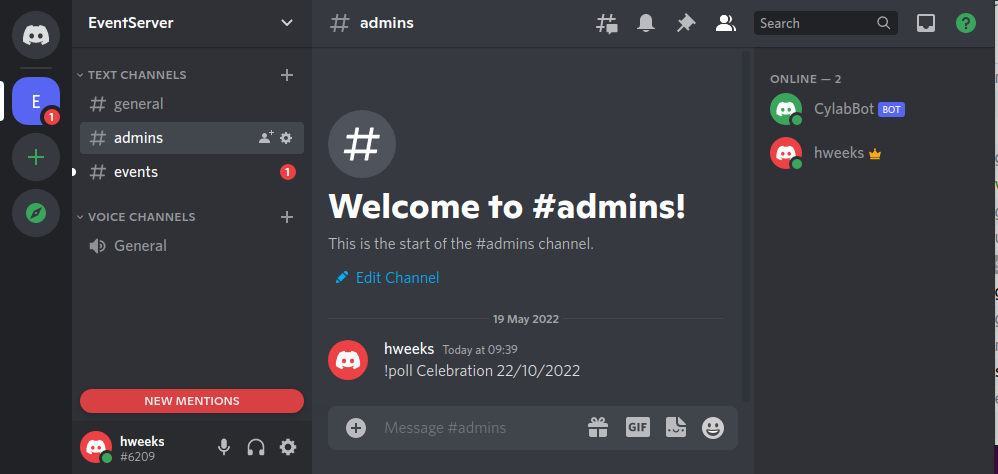
Do not forget to add the discord_utils import (second line). Relaunch the bot.py script and create a poll with the !poll in the admins channel (here we write !poll Celebration 22/10/2022):
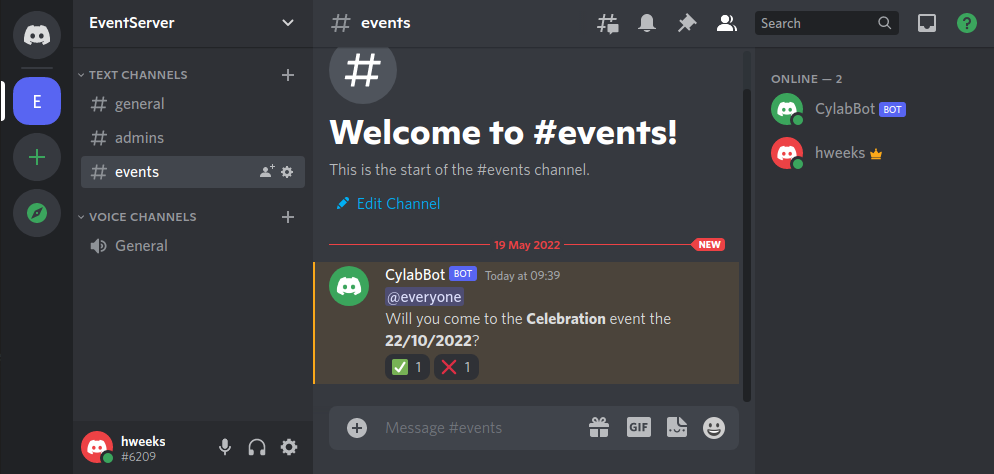
Click on the events channel to visualize the new poll:
Here is the full code containing all the bot features that have been added:
from discord.ext import commands
from discord import utils as discord_utils

DISCORD_TOKEN  = "{YOUR-DISCORD-BOT-APPLICATION-TOKEN}"
DISCORD_SERVER = "EventServer"
bot = commands.Bot(command_prefix="!")

@bot.event
async def on_ready():
    if DISCORD_SERVER not in map(lambda x: x.name, bot.guilds):
        print(f"{DISCORD_SERVER} not found in the bot's guilds")
    else:
        print(f"{bot.user.name} bot successfully logged into the {DISCORD_SERVER} guild.")

@bot.command(name="hello")
async def hello(ctx):
    if ctx.author.id == bot.user.id: # the bot does not reply to itself
        return
    await ctx.send(f"Hello {ctx.author.mention}!")

@bot.command(name="del")
async def delete(ctx, number: int):
    messages = await ctx.channel.history(limit=number + 1).flatten()f
    for each_message in messages:
        await each_message.delete()

@bot.command("poll")
async def show_poll(ctx, *args):
    # polls can only be sent from the 'admins' channel
    if ctx.channel.name != "admins":
        return
    # poll command:
    # !poll event_name event_date
    event_name = args[0]
    event_date = args[1]
    # retrieving the 'events' channel
    events_channel = discord_utils.get(ctx.guild.channels, name="events")
    # sending the poll
    message = await events_channel.send(f"@everyone
Will you come to the **{event_name}** event the **{event_date}**?")
    # adding reactions to the poll
    await message.add_reaction('U00002705')
    await message.add_reaction('U0000274C')

bot.run(DISCORD_TOKEN)
Restrict the admins channel with roles
Ok, that’s nice but we still need to do a little something… Which is ensuring that only the users you chose as administrators are able to see and use commands in the admins channel. This can be done by adding new bot permissions and implementing more bot features… but there is also this simple way using the Discord interface.
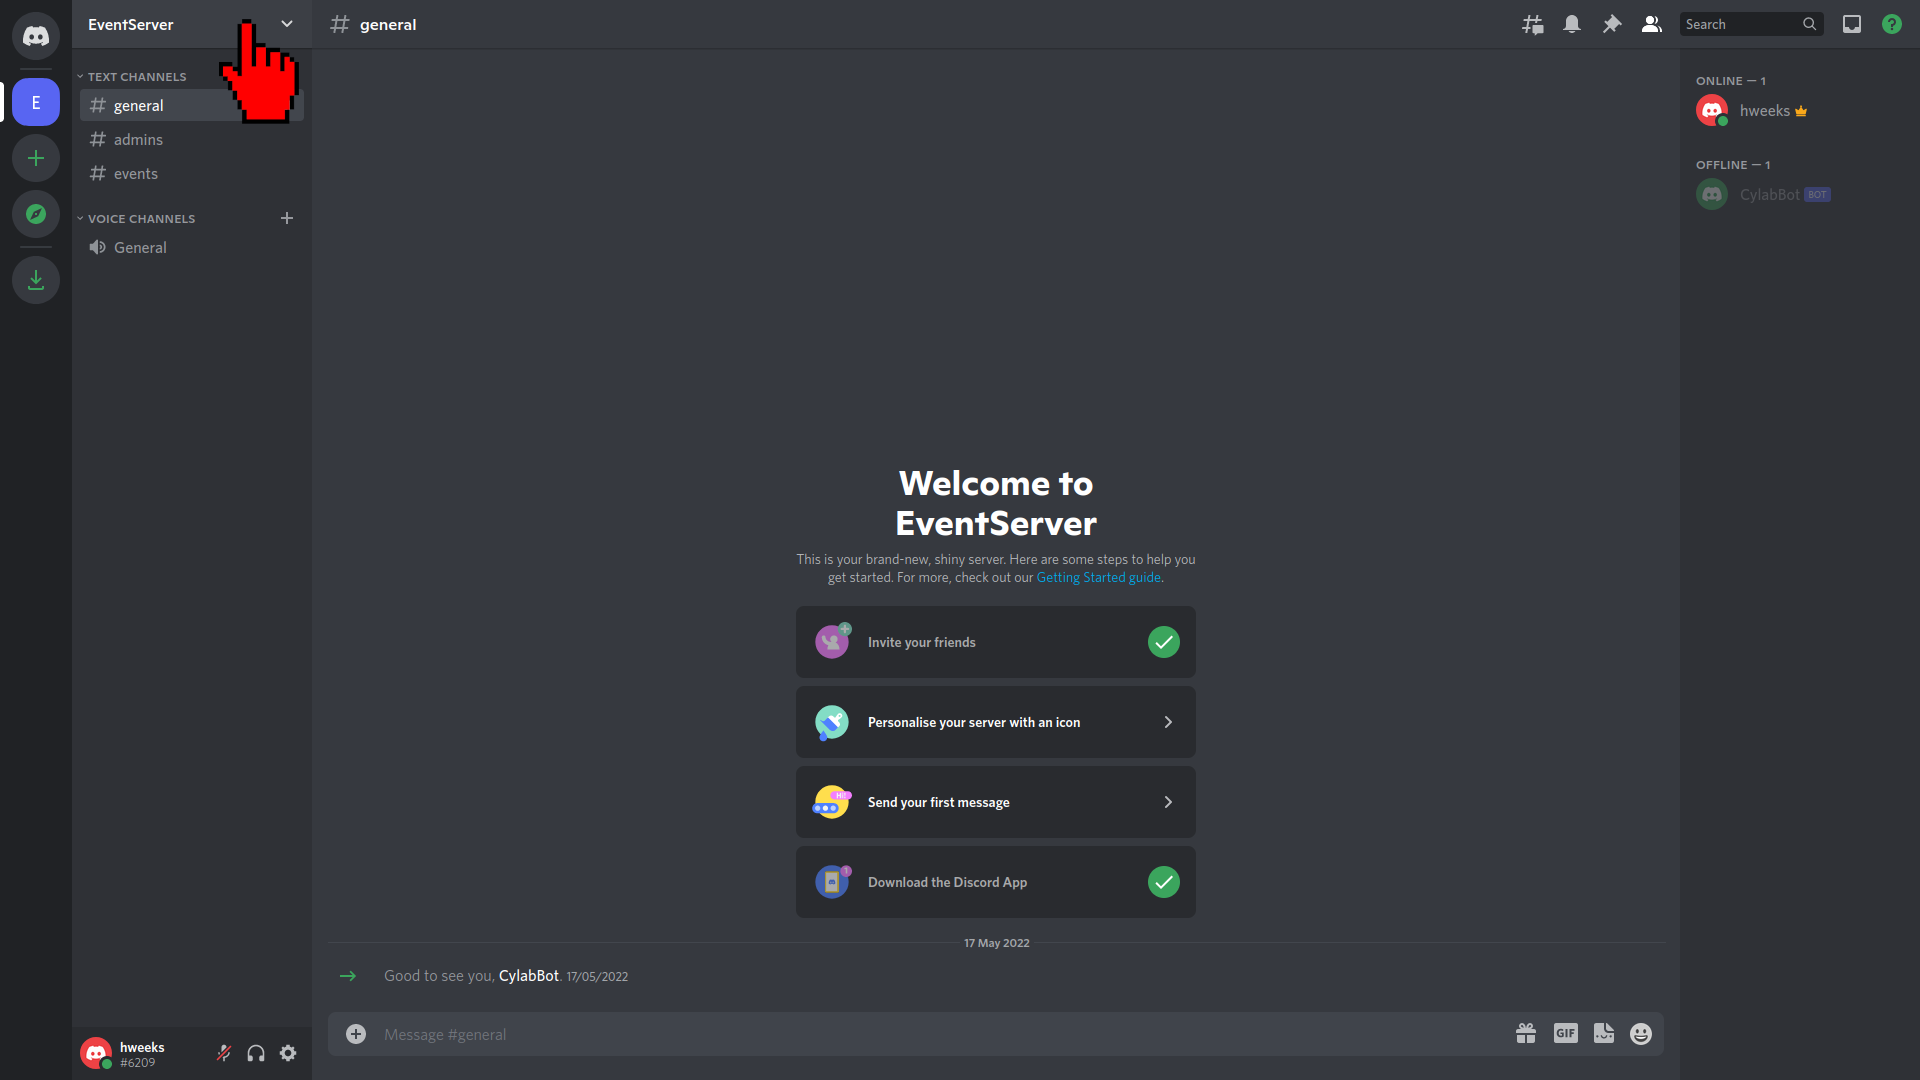
First click on the server name on the top left:
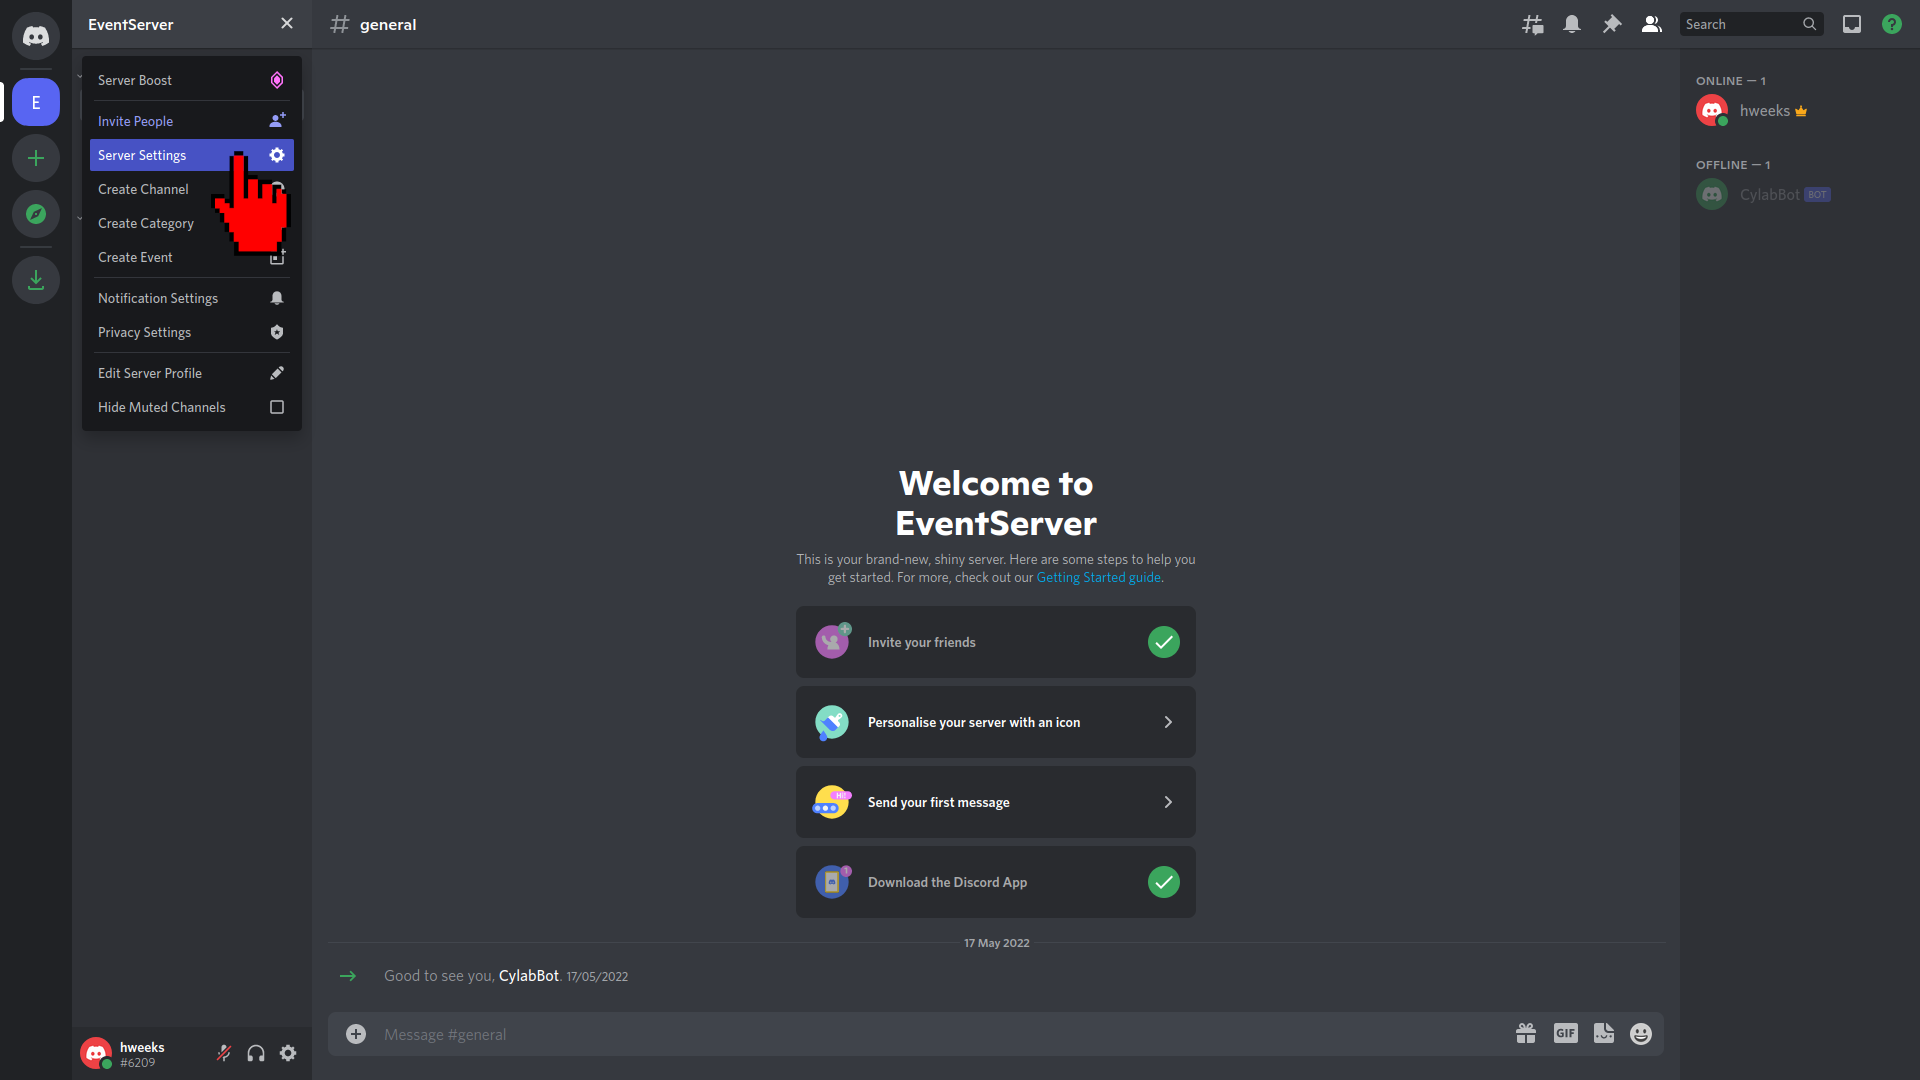
Then go in the Server Settings:
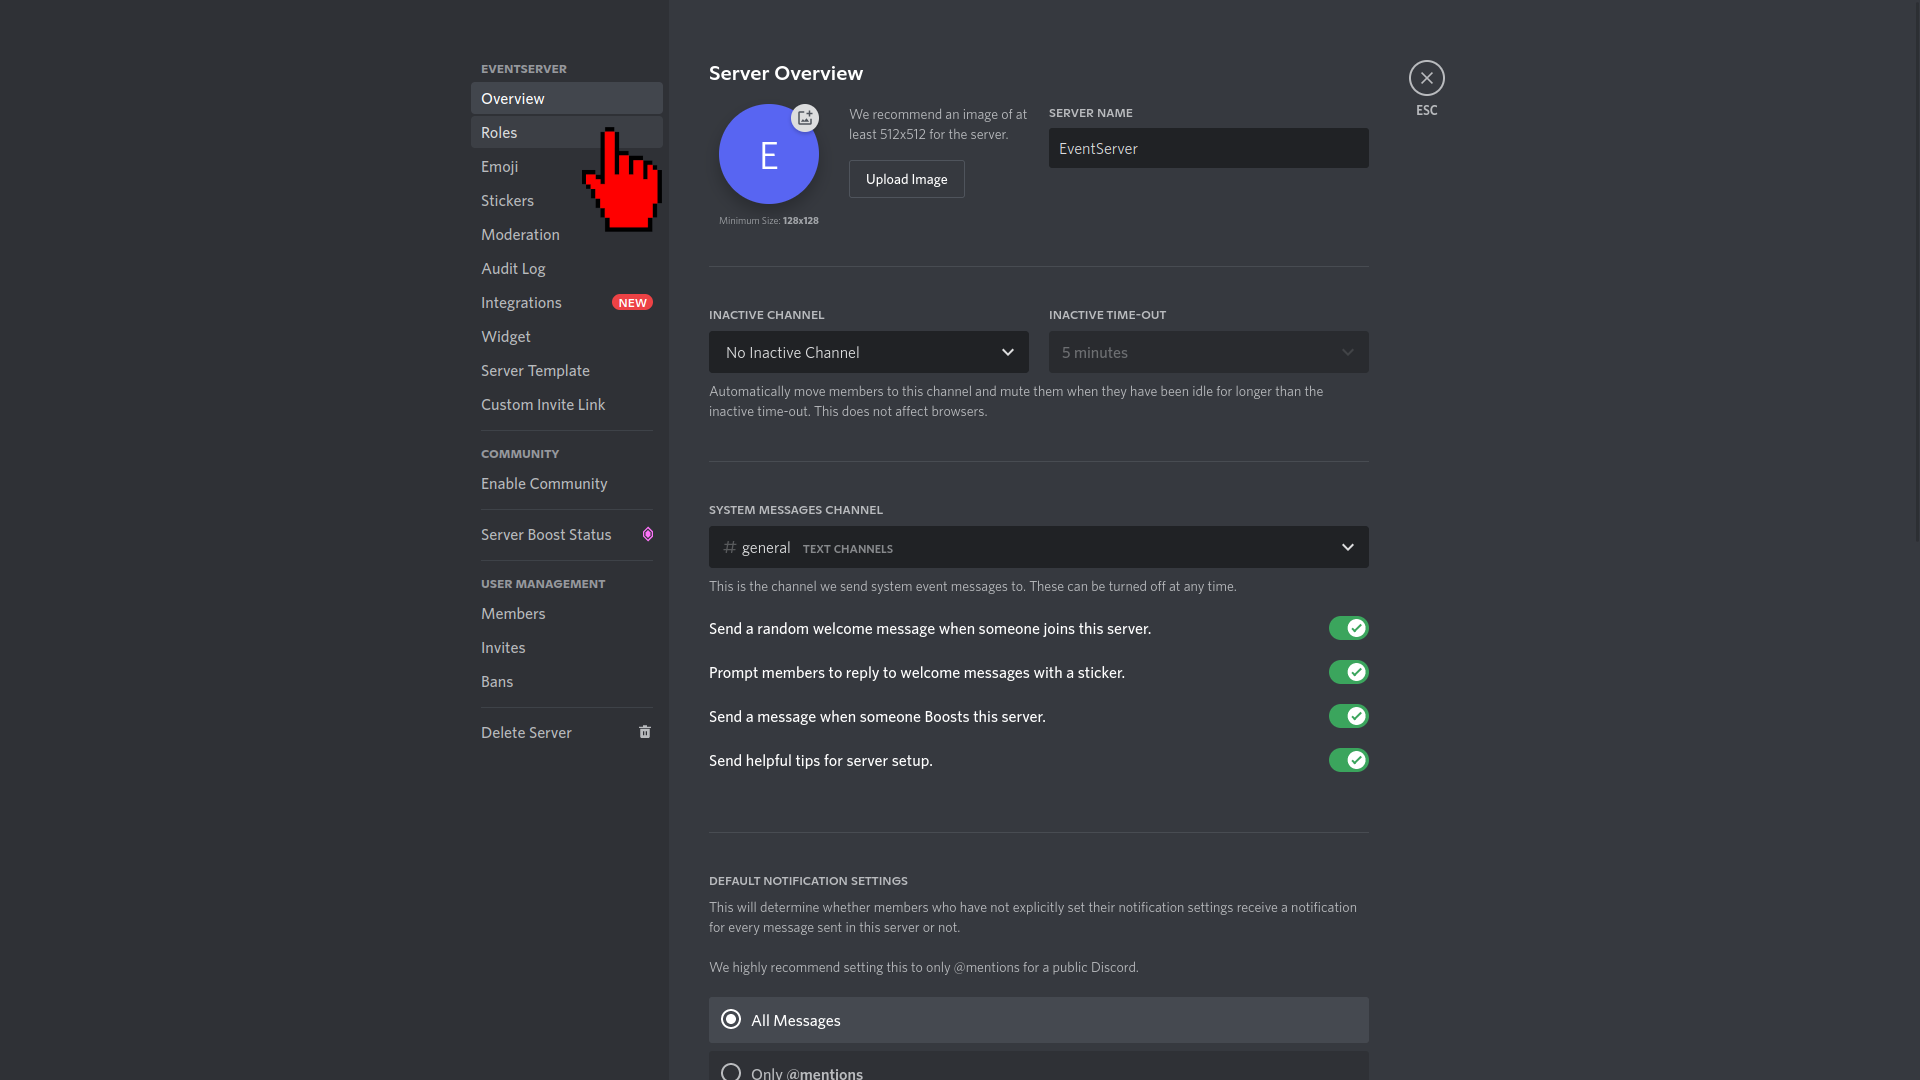
Among the tabs that are visible on the left, click on the Roles:
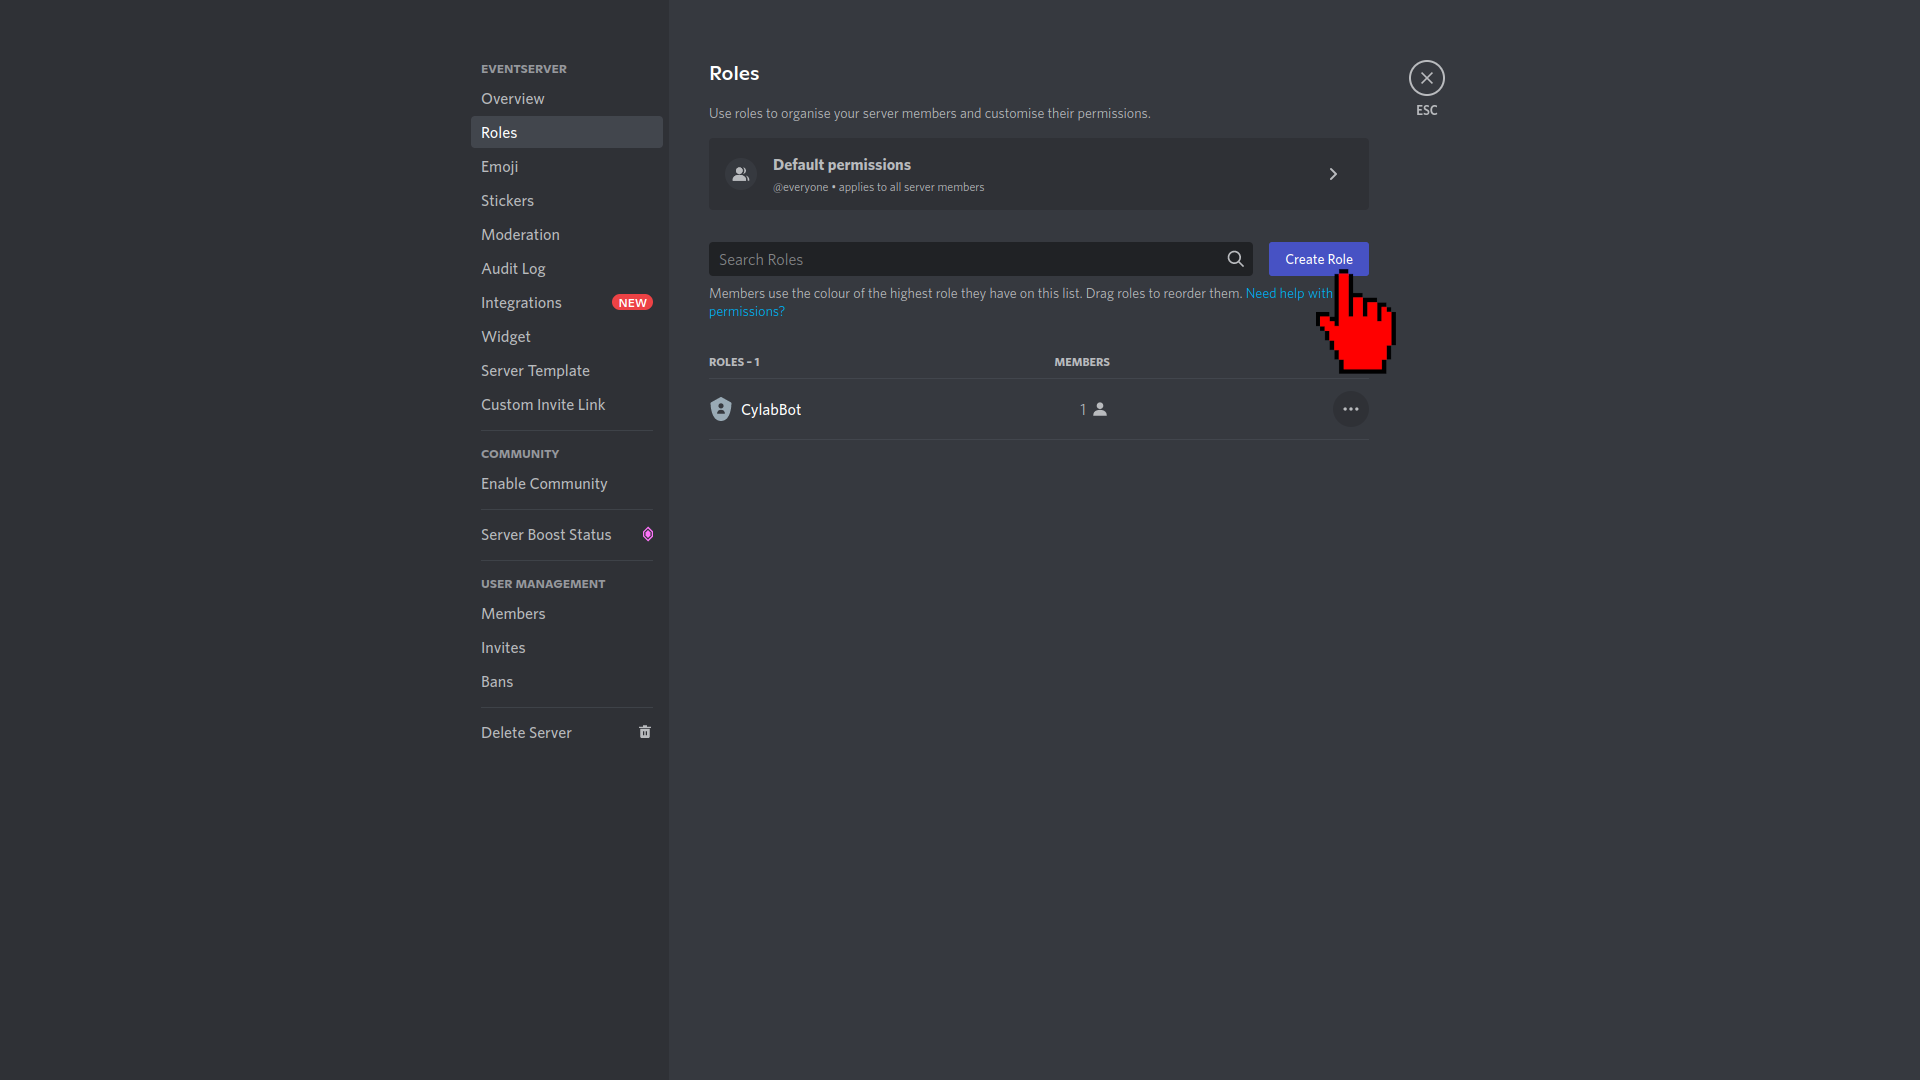
As you can see, there is already a role called CylabBot. We will not use it but instead add a new role. All the bots/users having this new role will have an access to the admins channel. Therefore, click on Create Role:
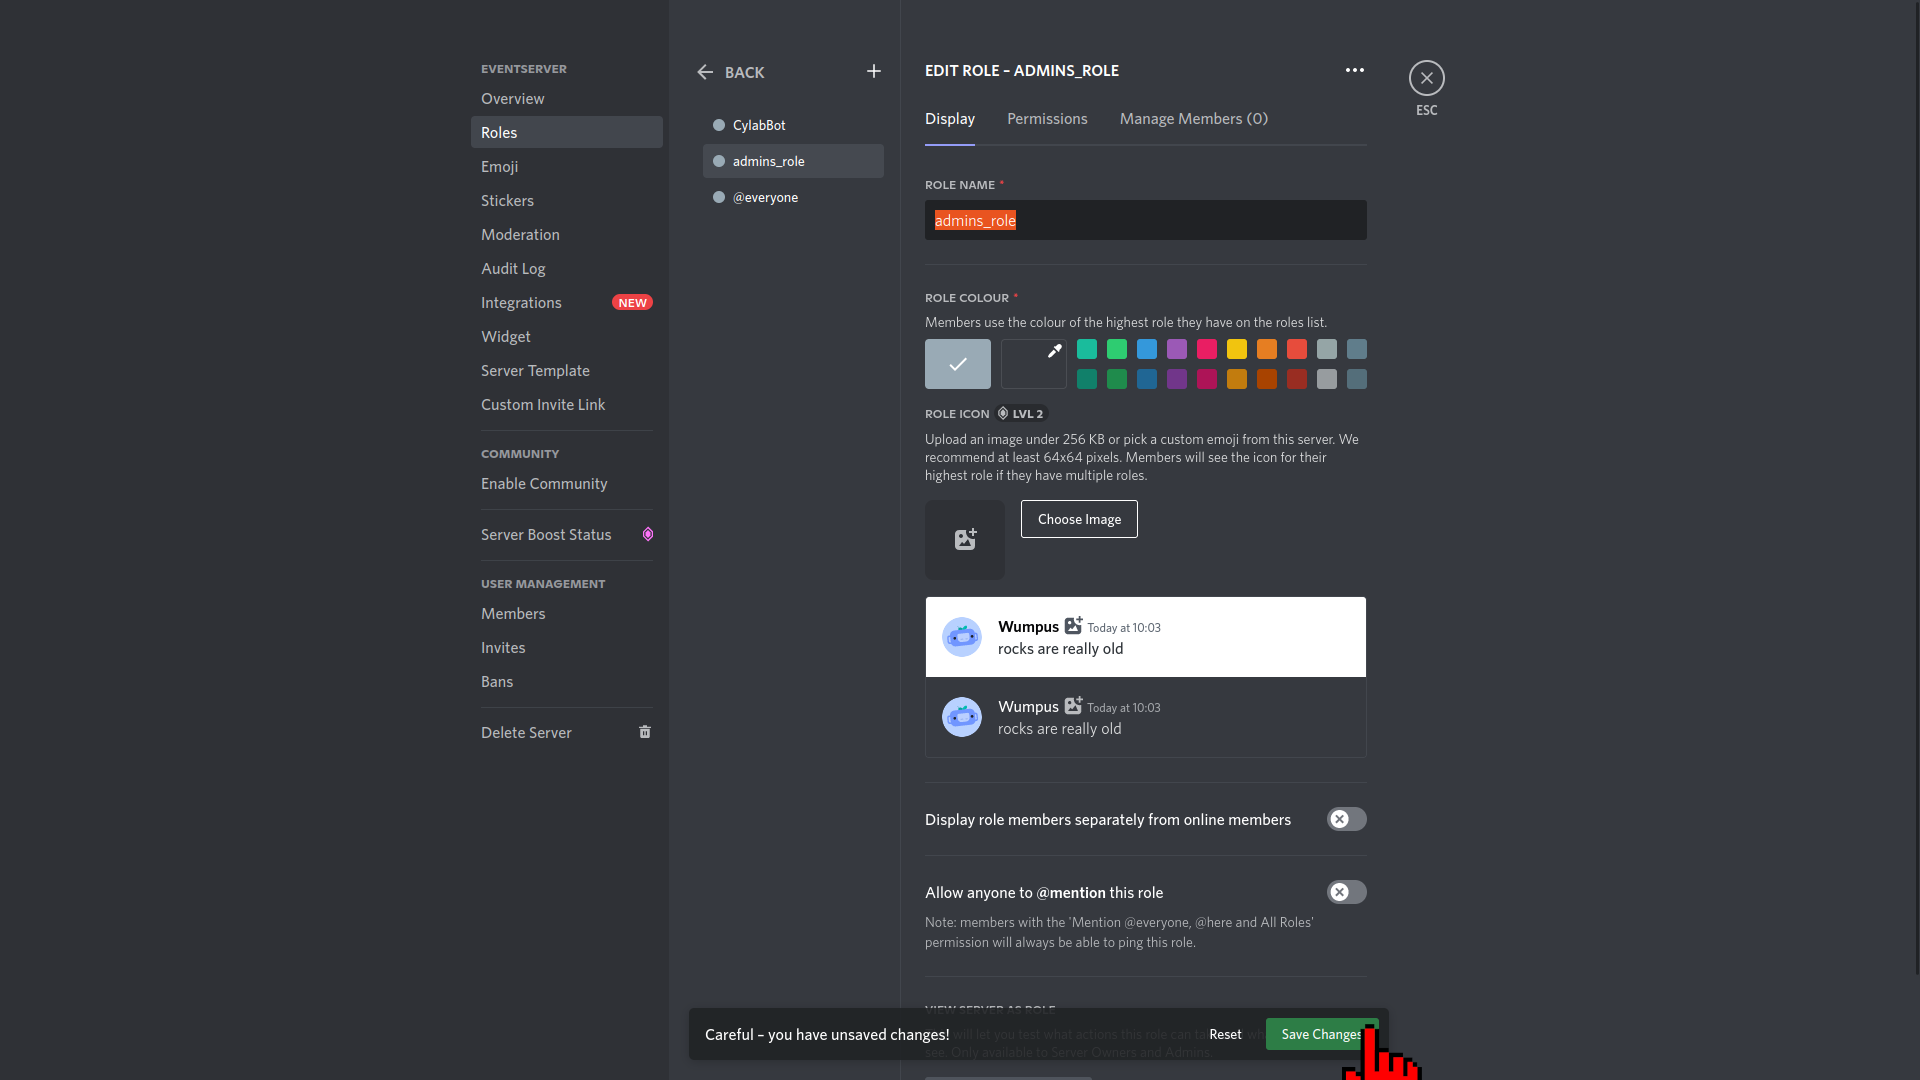
Choose a role name, admins_role in this case, then click on the bottom right button Save Changes:
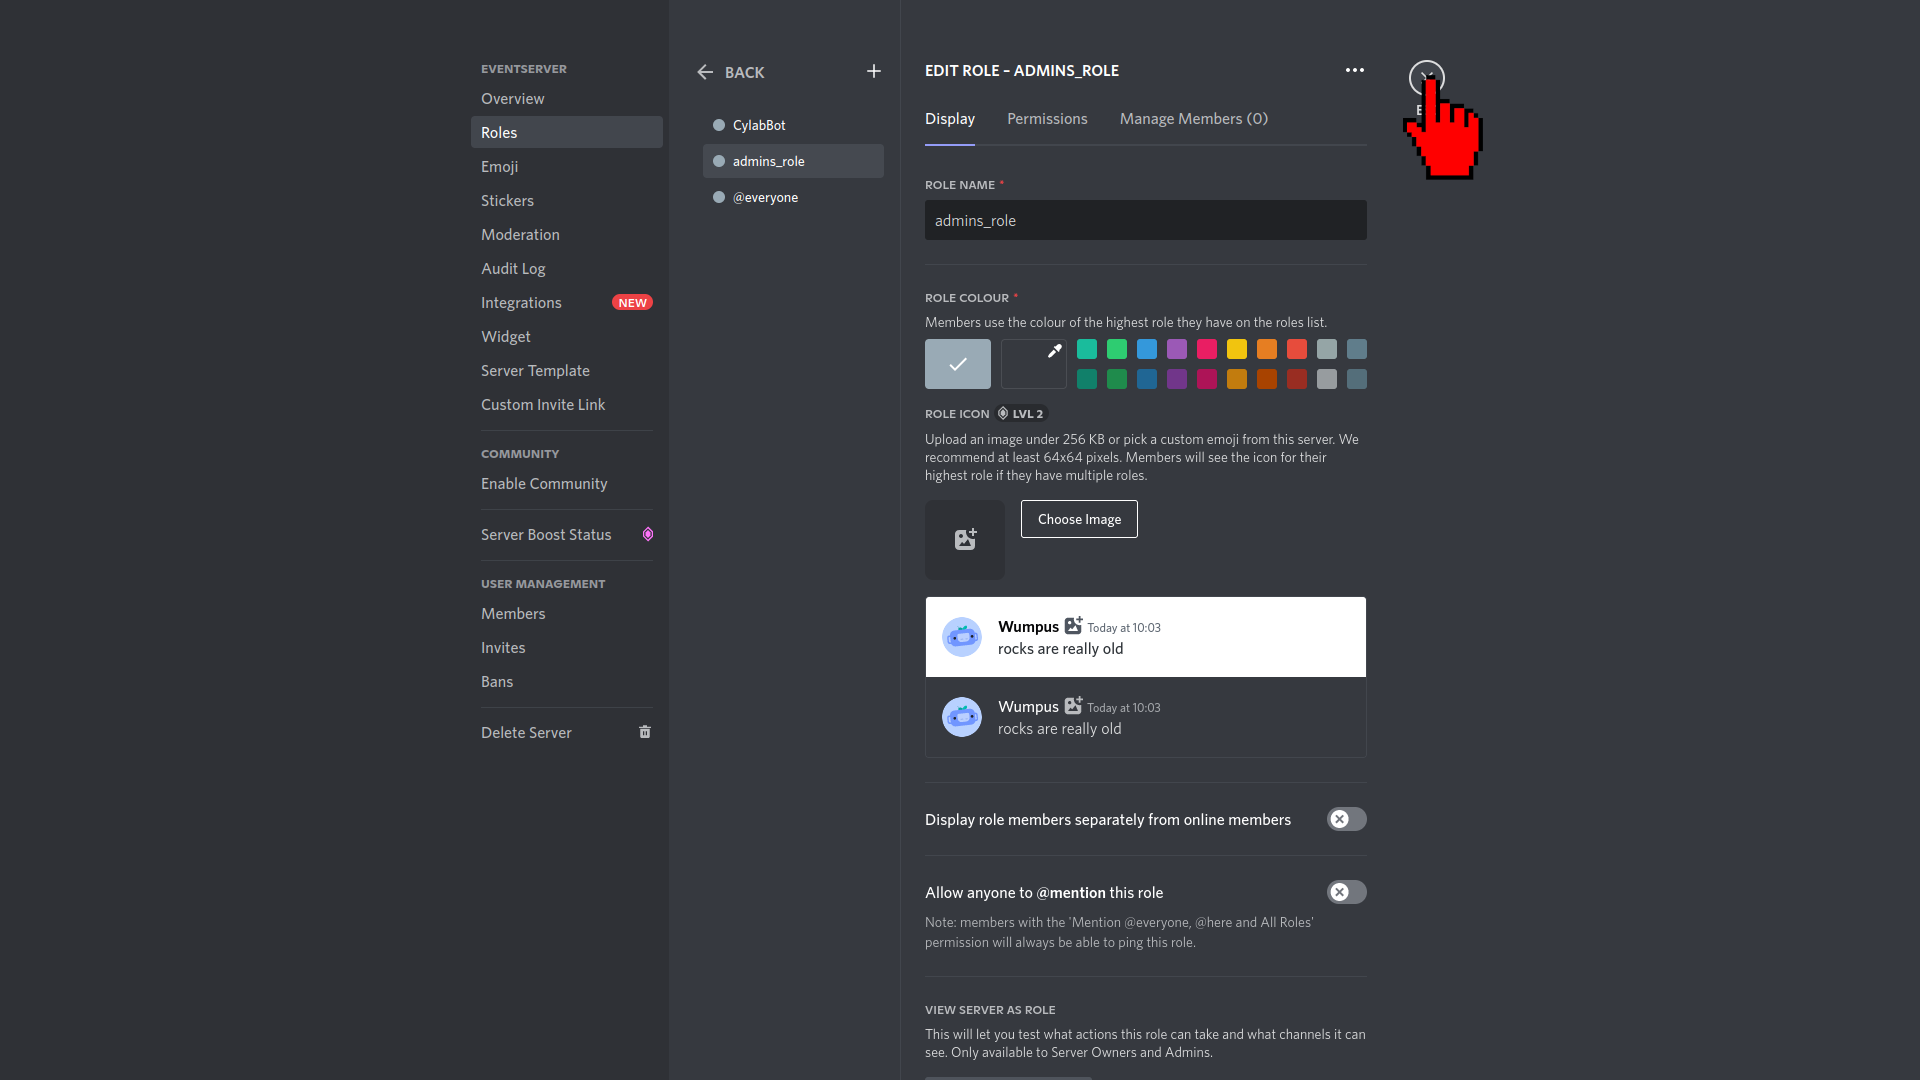
Click on the top right ESC button to go back to the main view:
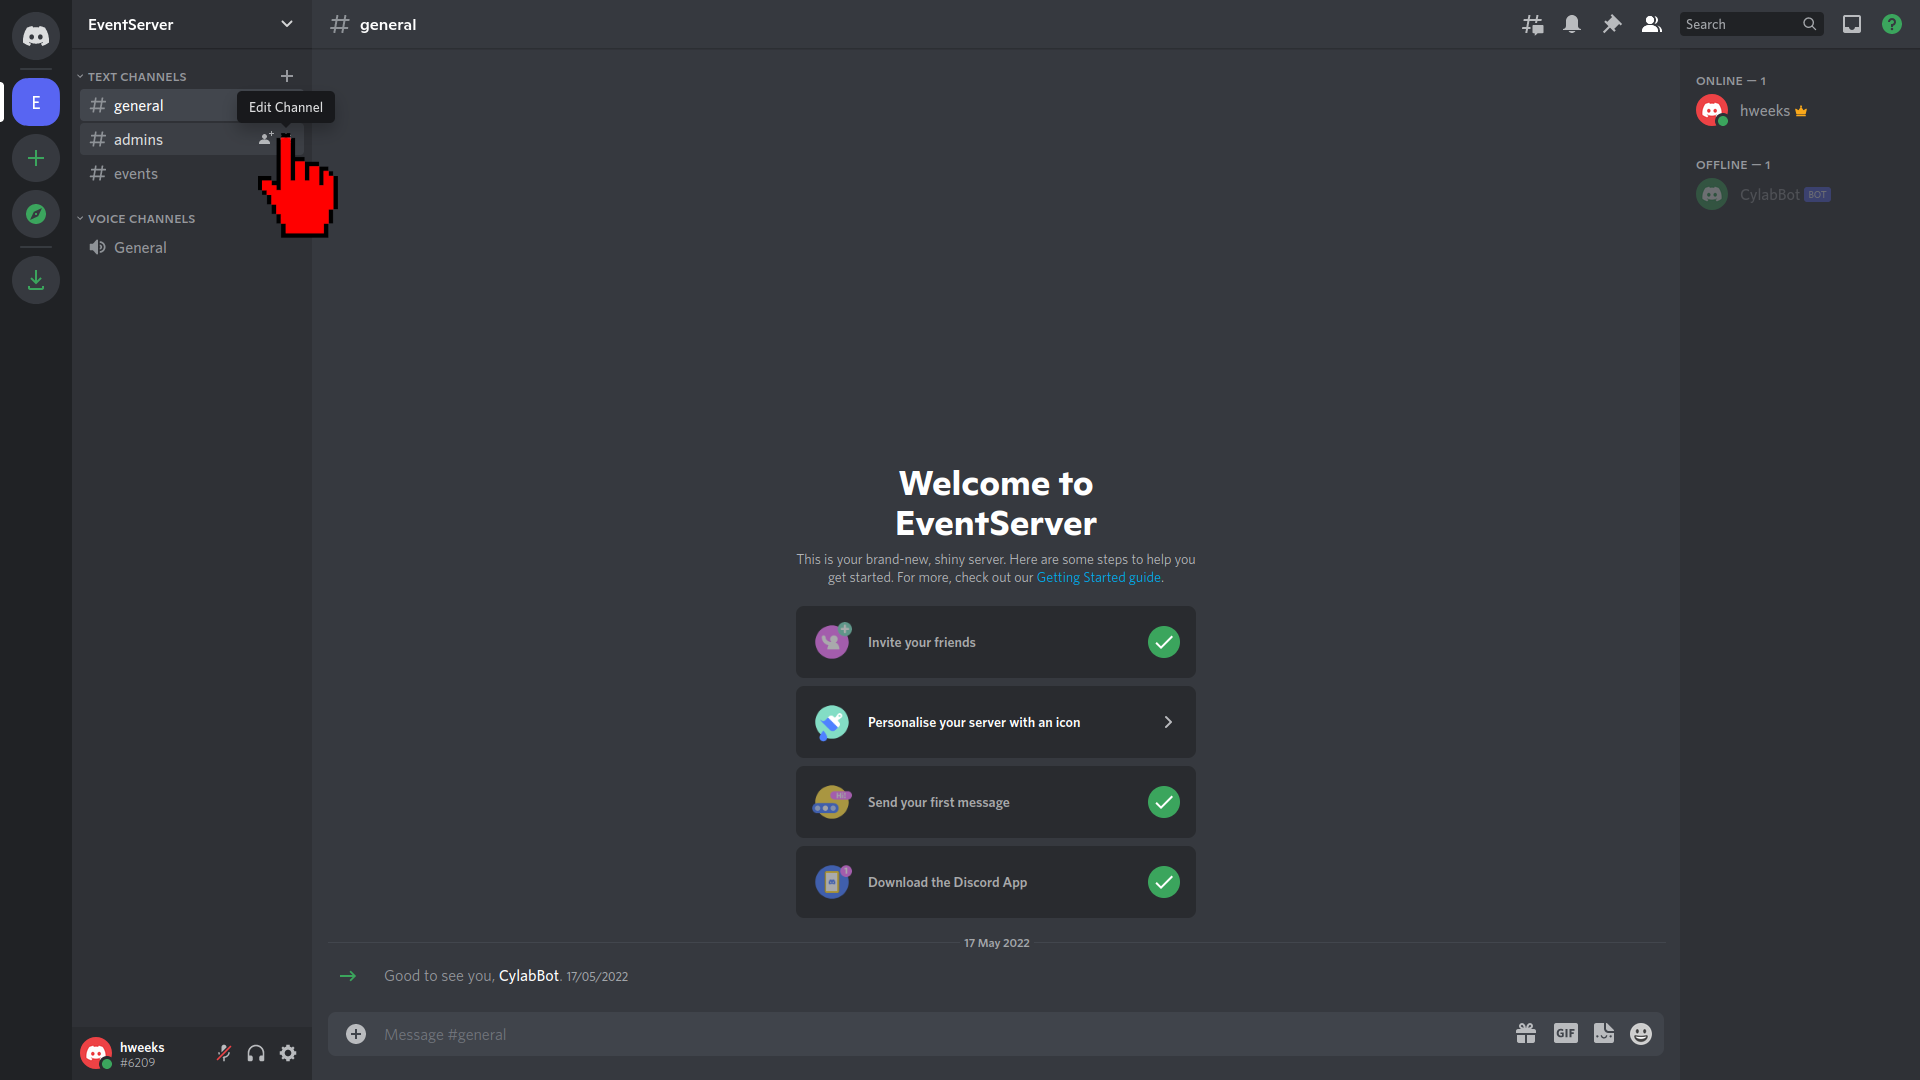
Now we’ll make the admins channel available for the bots/users with the admins_roles only. Click on the little gear to edit the admins channel:
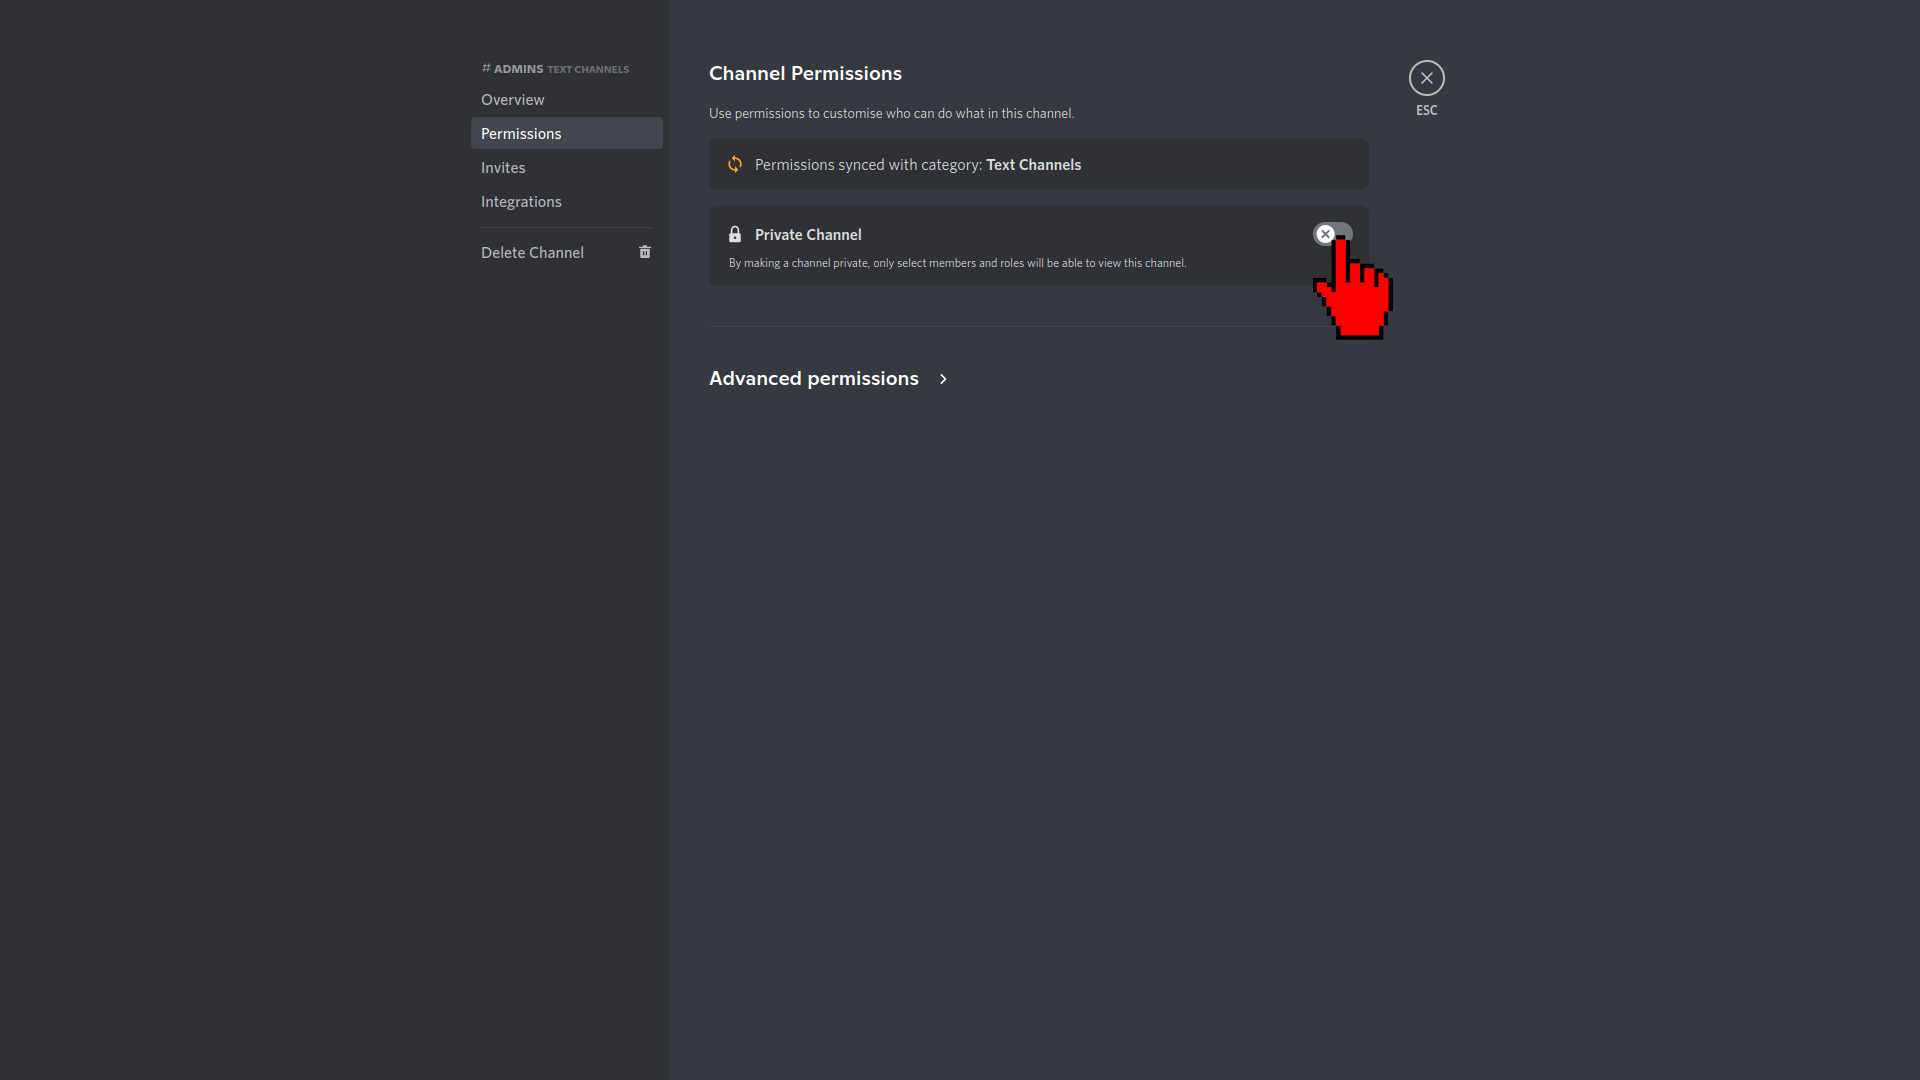
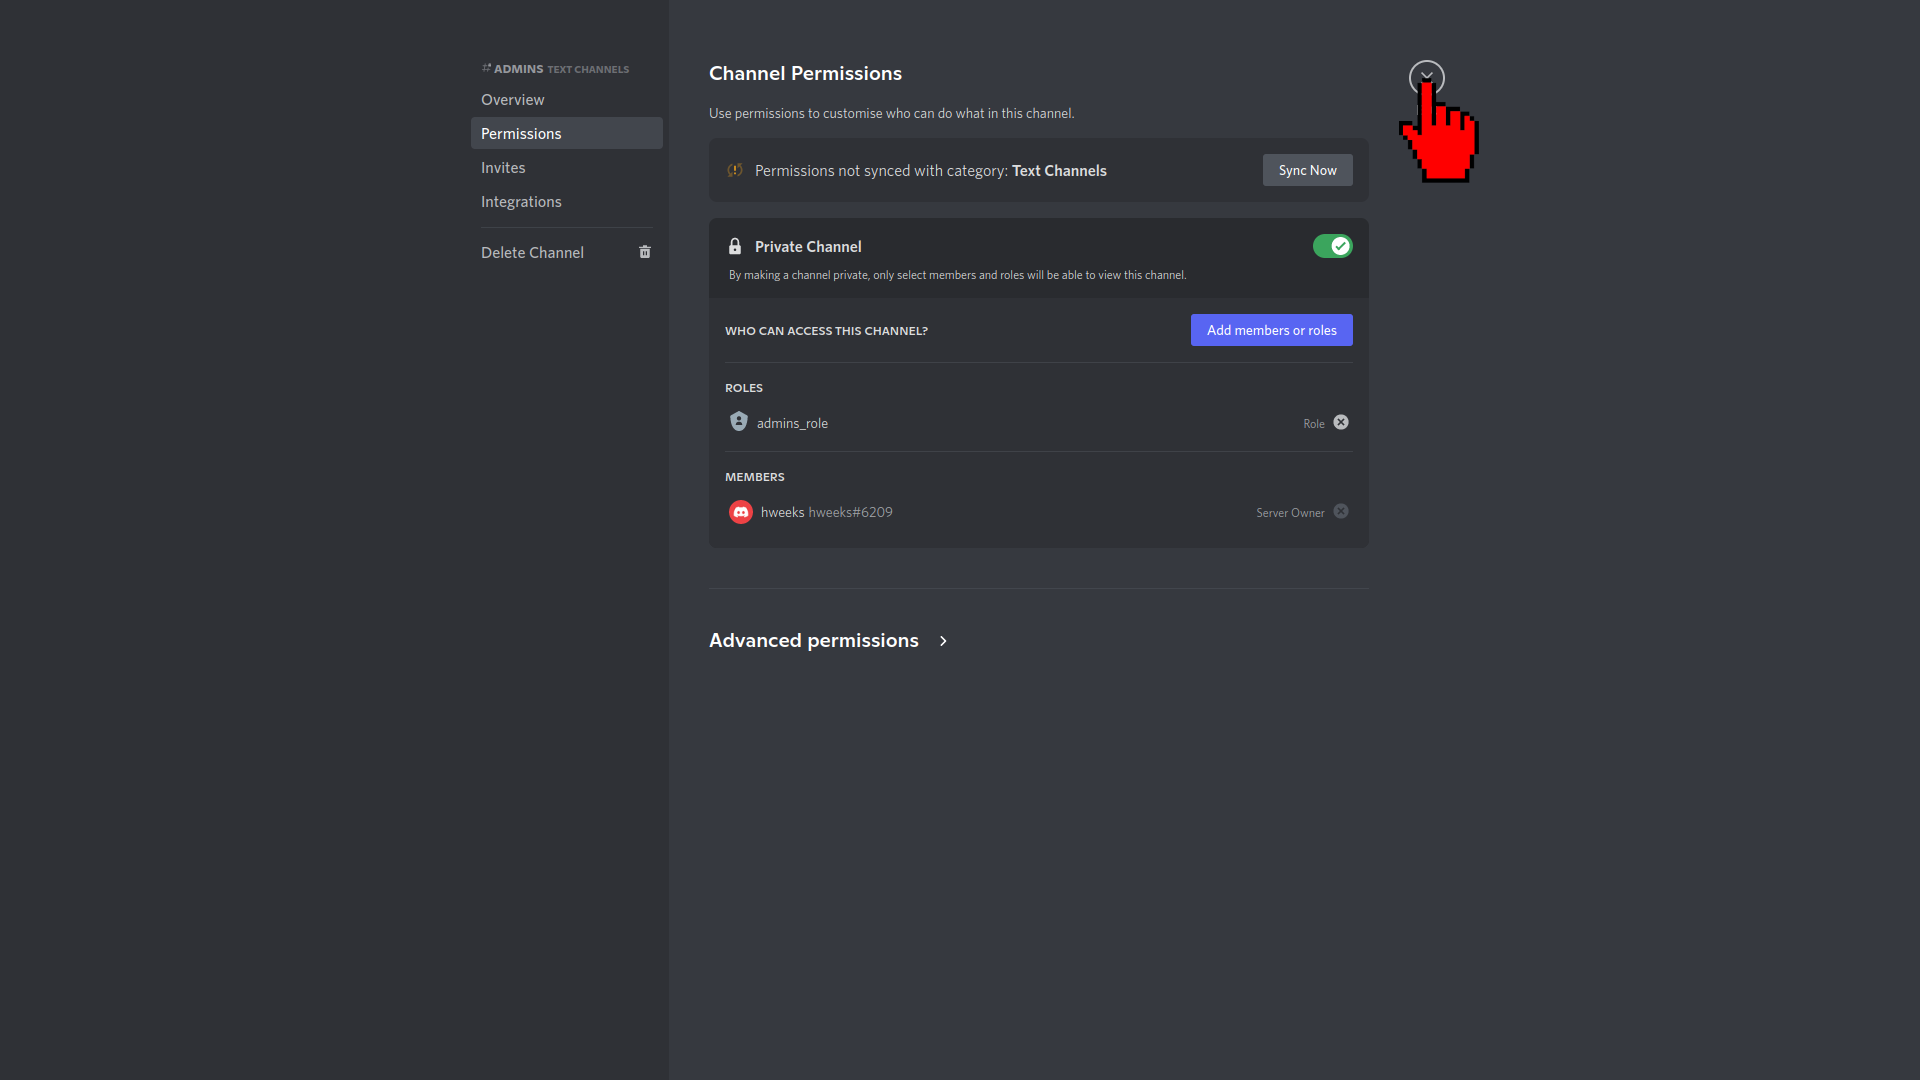
Then click on the Permissions tab:
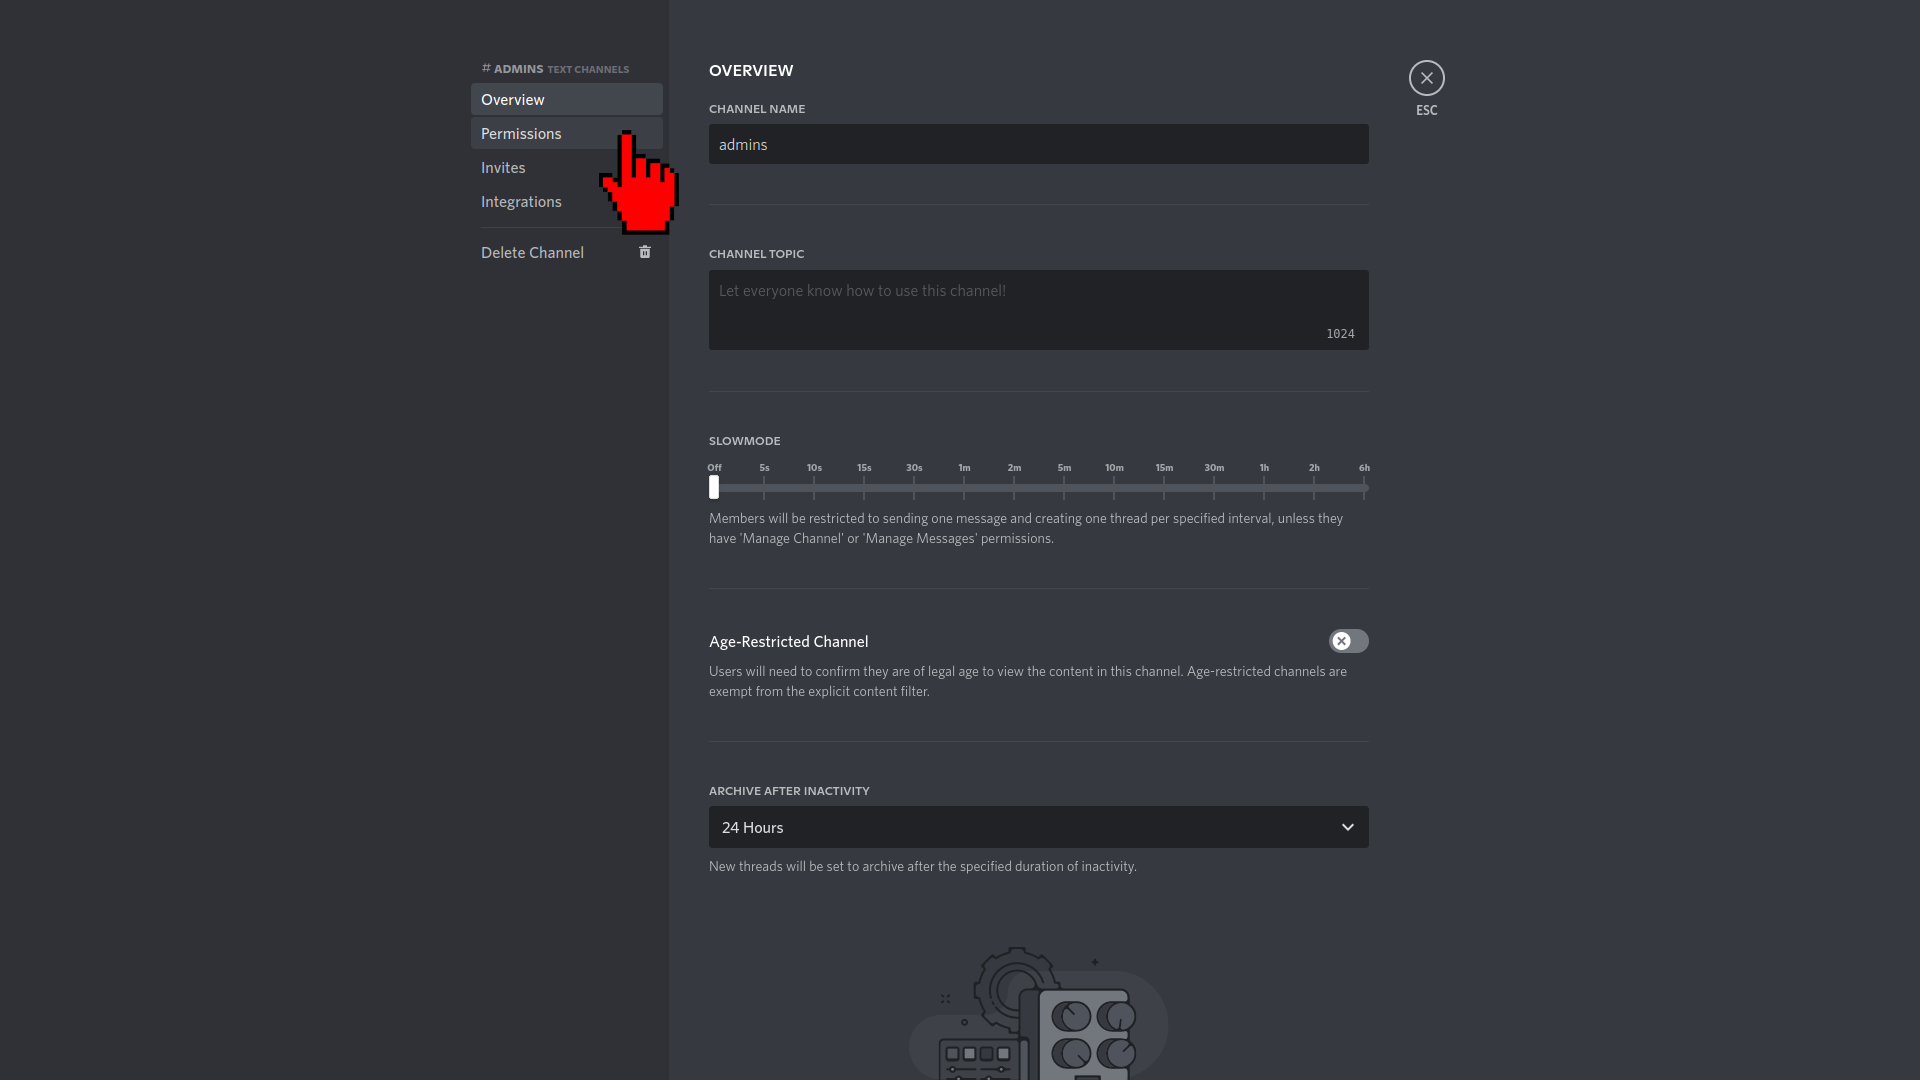
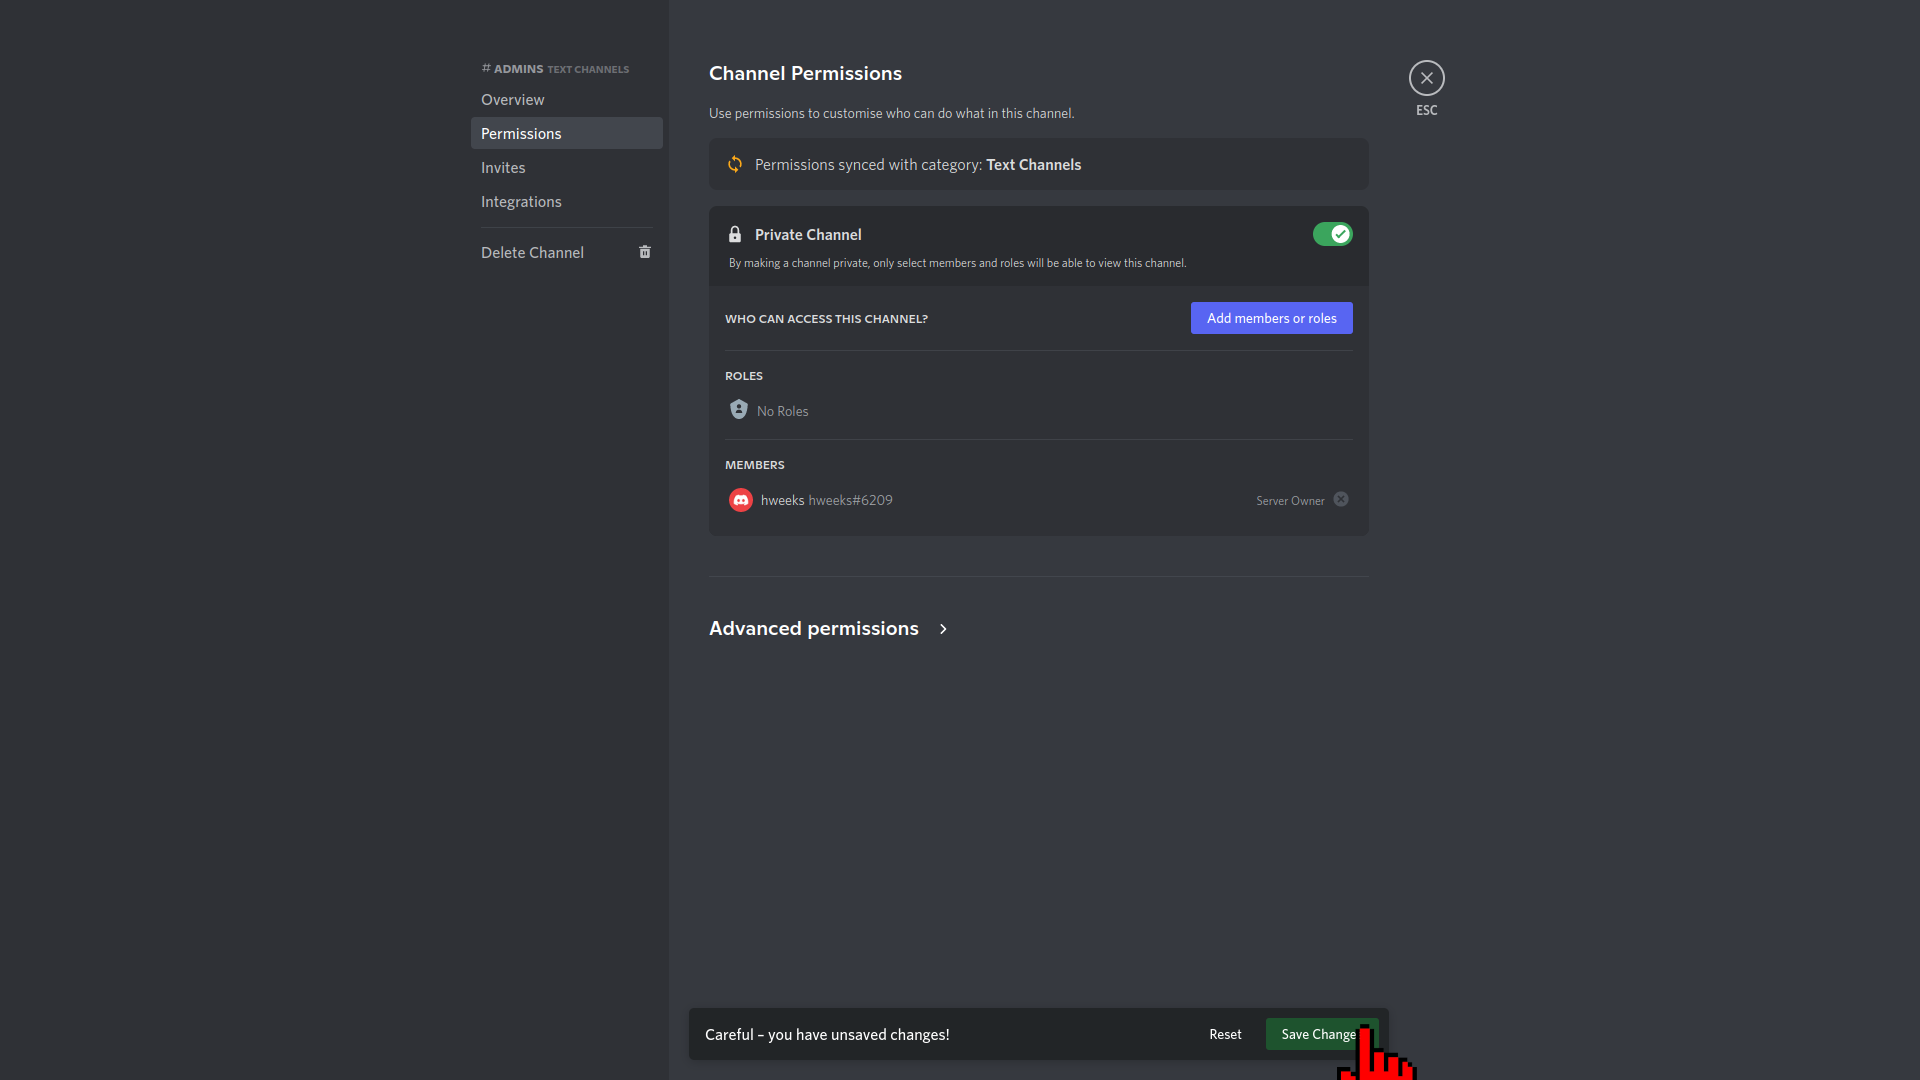
And set the channel as a Private Channel by turning the option on:
Once again, click on the bottom right button Save Changes:
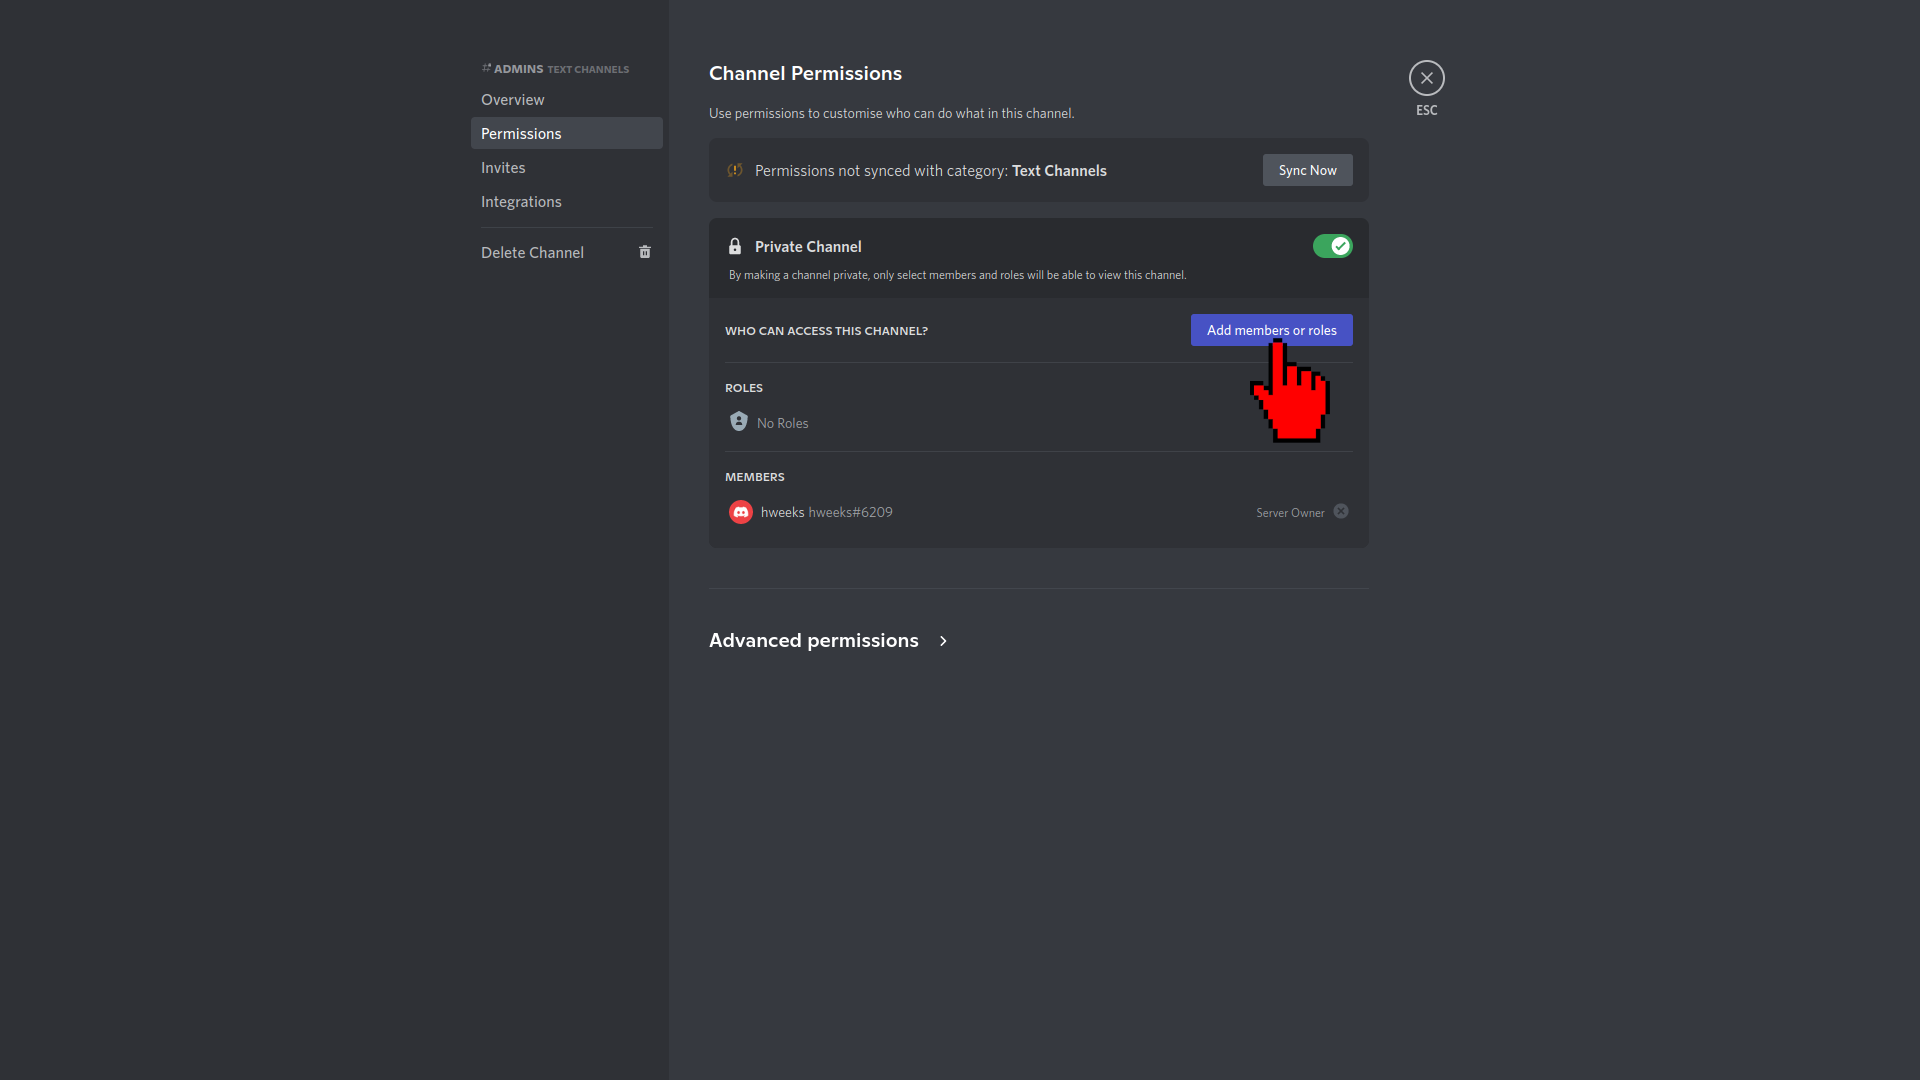
Click on Add member or roles to define which roles can access to the now private admins channel:
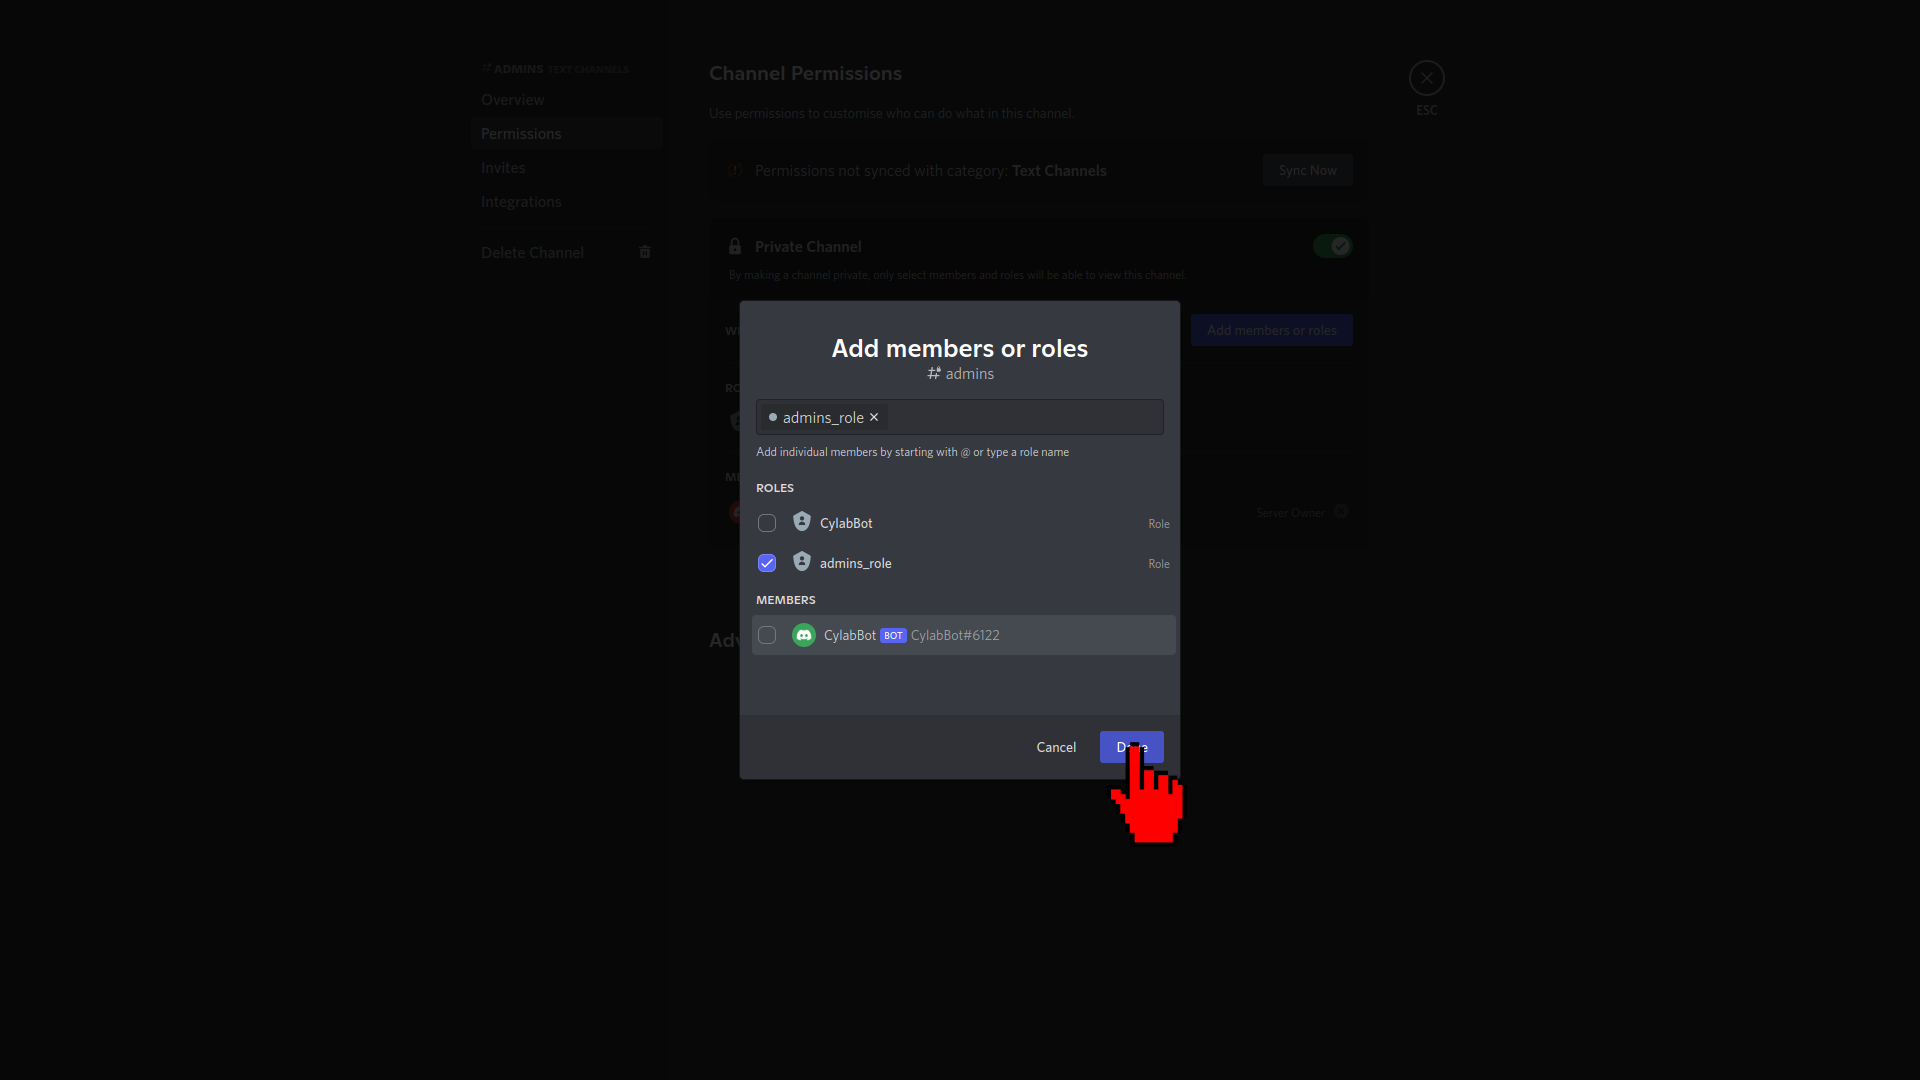
Click on the admins_role role to select it and click on Done to finish adding this new role:
Once again, click on the top right ESC button to go back to the main view:
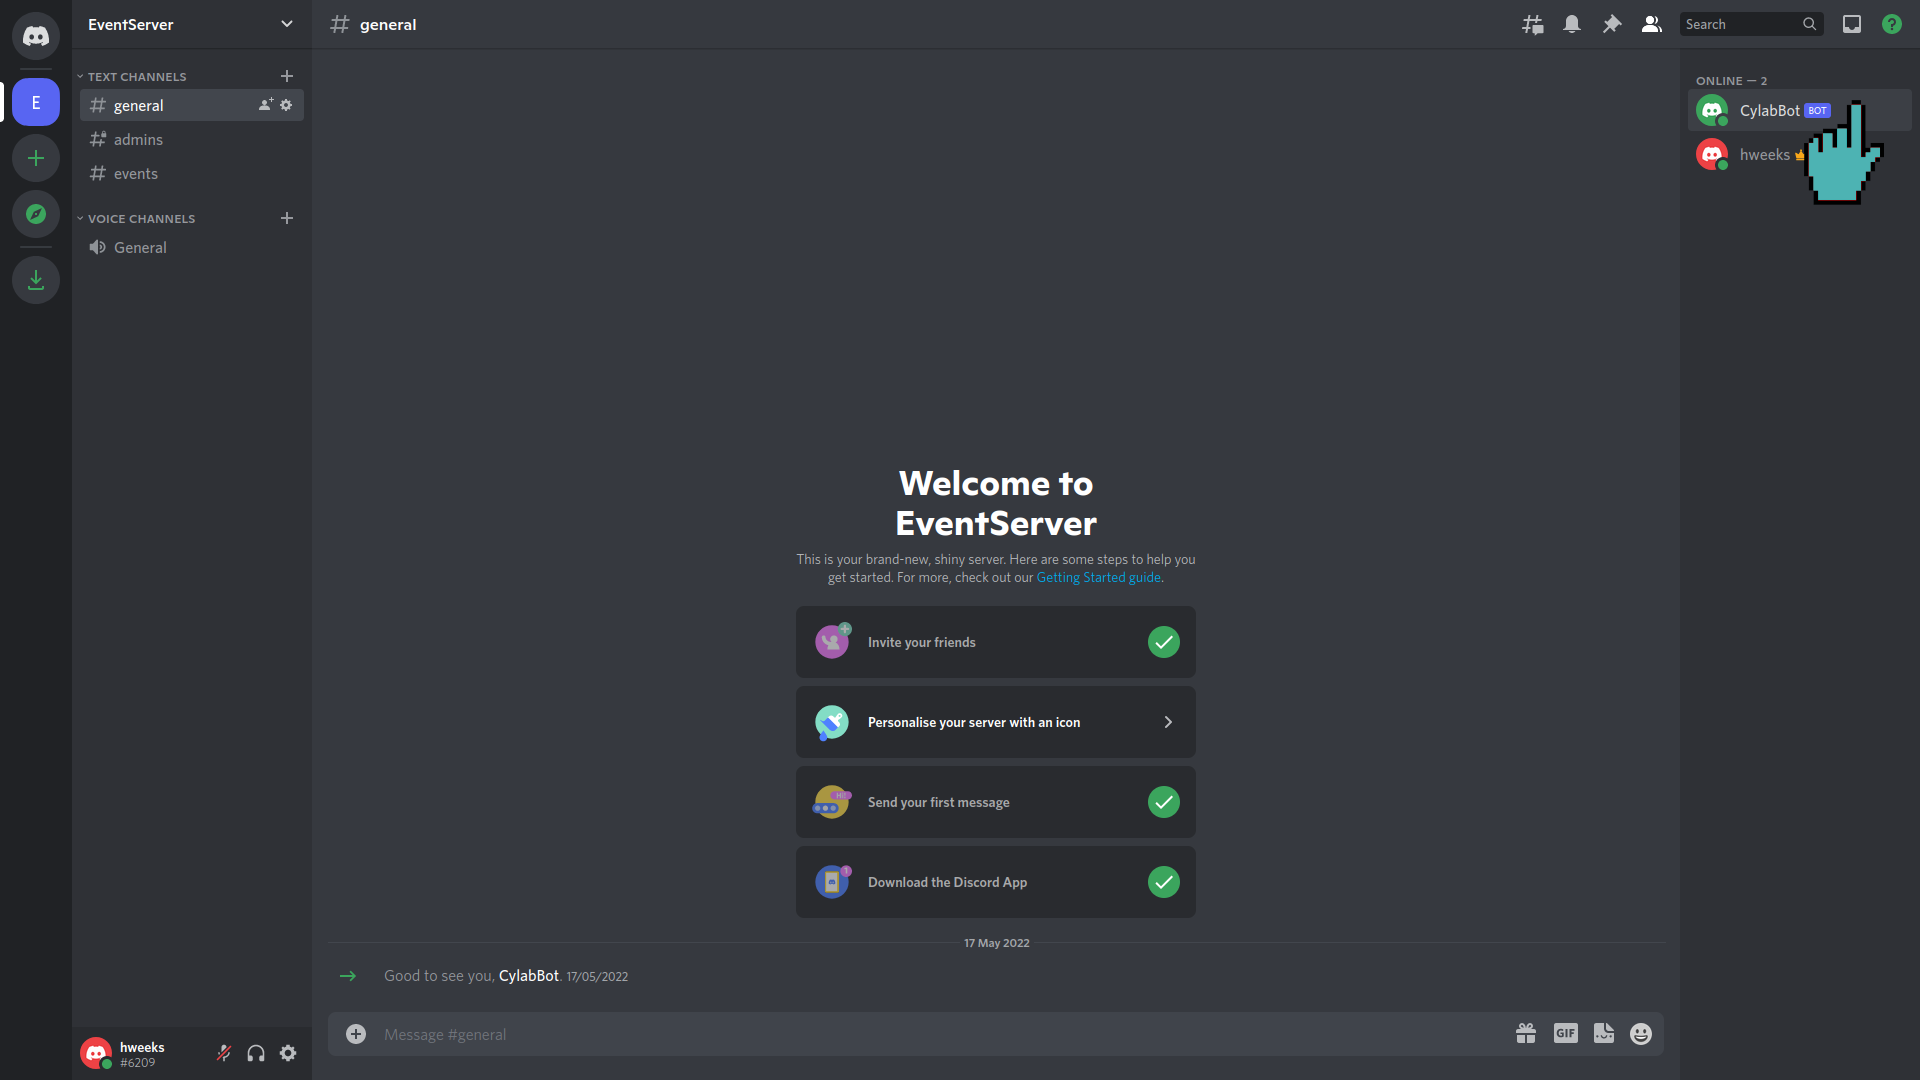
It’s nearly done! The last step is to add the admins_role to the CylabBot. Right-click on the bot name at the top right of the screen:
Then click on Roles:
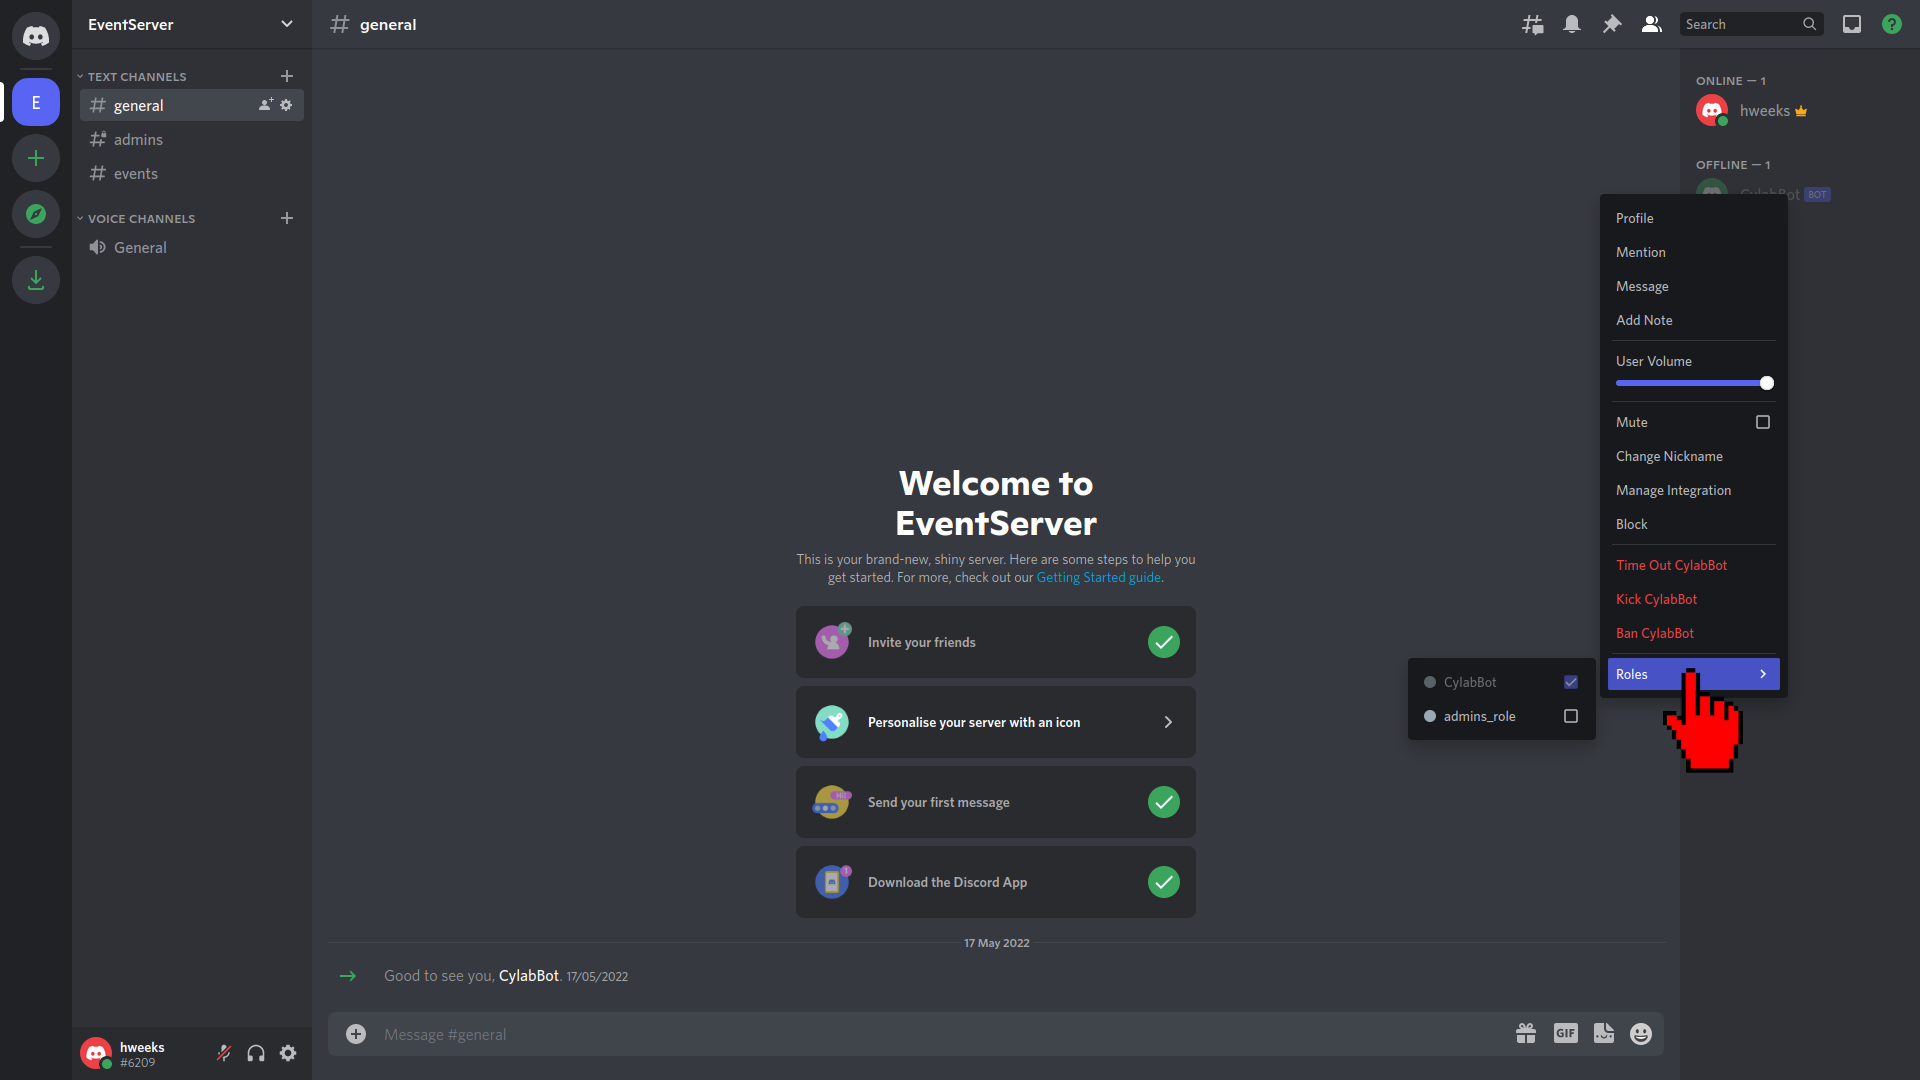
And select admins_role to add that role to the bot:
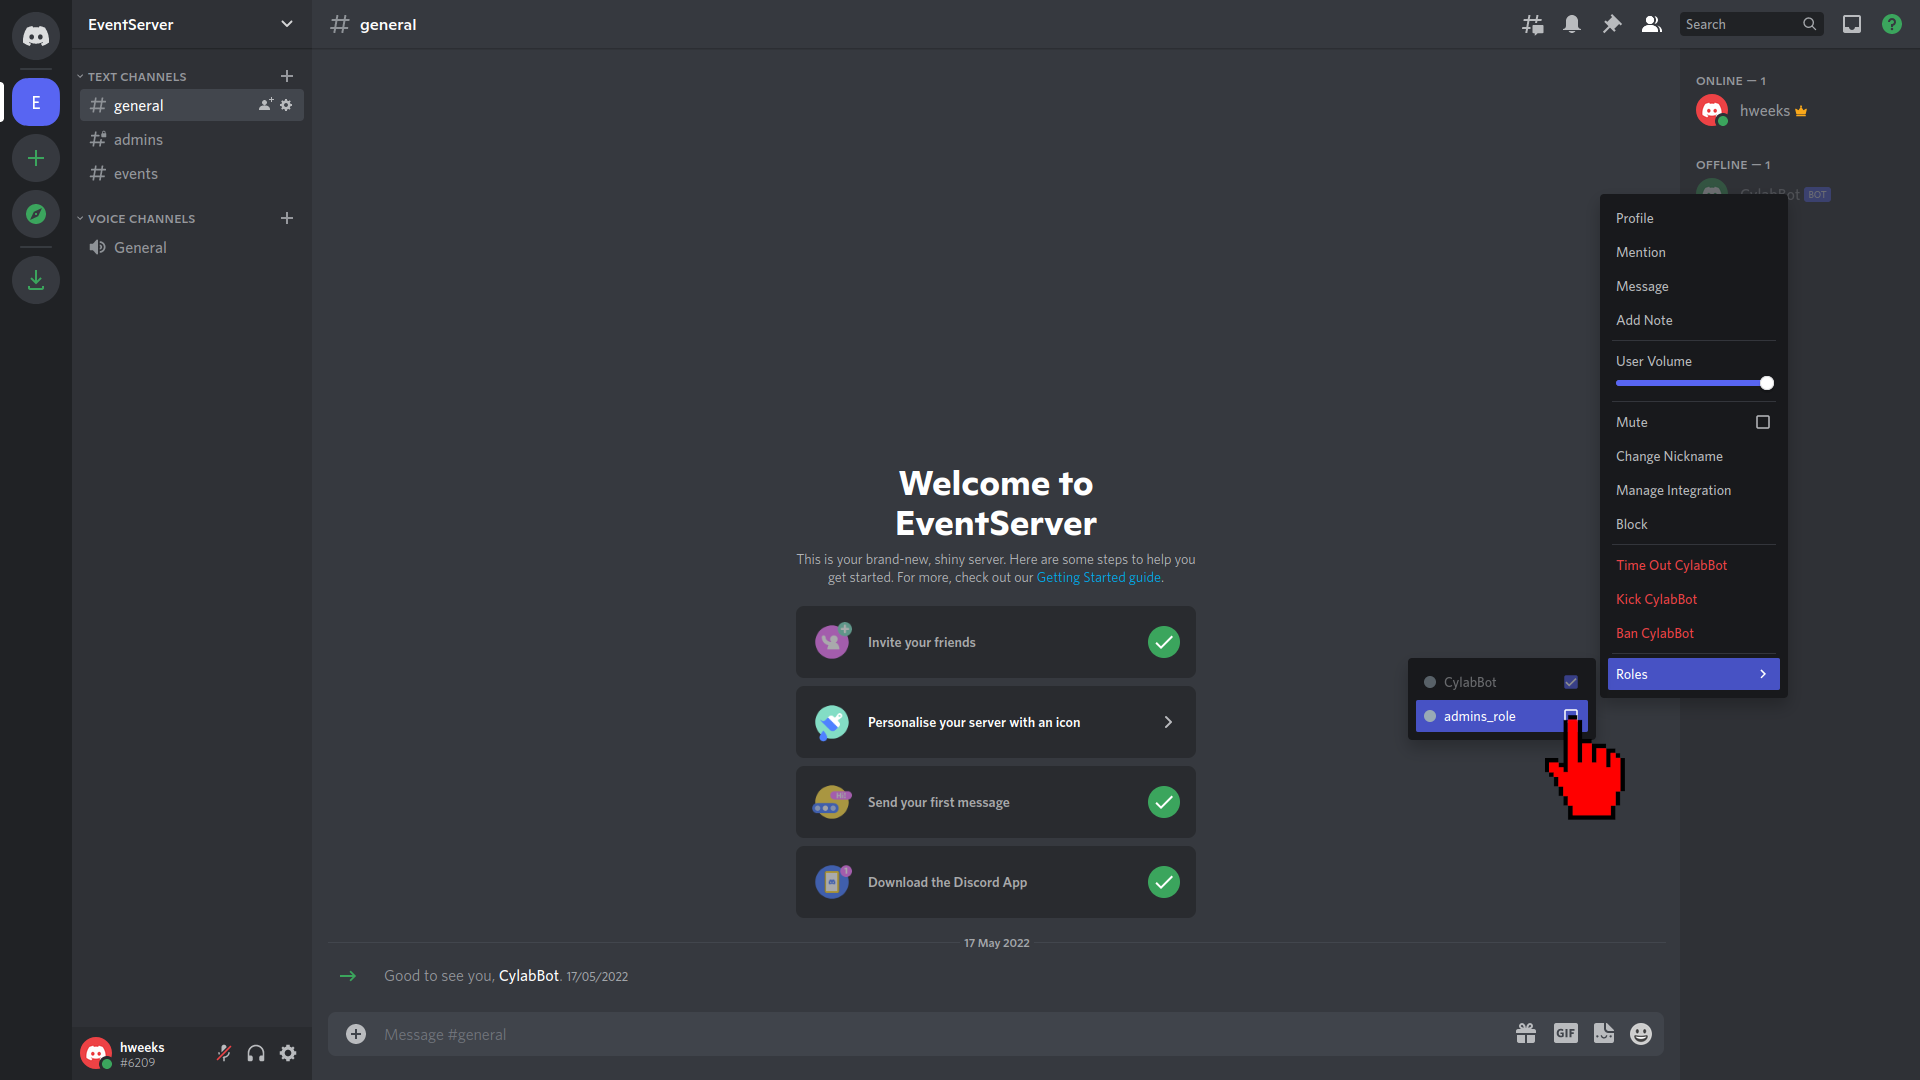
You now have a bot that can access the admins channel! It is necessary since even though the poll is sent to the events channel, the bot must be able to read the !poll commands coming from the admins channel.
As long as the bot.py script is running, the bot will now interact with the EventServer whenever it sees a new message. But what if you cannot ensure that your bot.py script runs forever? In the next blog post, we’ll deploy the bot to Heroku, which offers a cloud Platform as a Service. That service has a free option that will allow us to deploy the bot on the cloud.
This blog post is licensed under
CC BY-SA 4.0


