Create & Deploy a Discord Bot (Part 3/3 - Bot Deployment)
May 26, 2022 by Zacharia Mansouri | 5937 views
https://cylab.be/blog/218/create-deploy-a-discord-bot-part-33-bot-deployment
There are times when you need to manage a community. Mailing lists are still in use nowadays but there exists other modern ways like creating a Discord server to chat with a bot that can fulfill many tasks for you and your community!
For this blog post, it is assumed that you have a Linux machine with npm and git installed. If you use another OS, steps will be conceptually the same since we only use basic npm and git commands. Note that you must also possess a Heroku account. Also, be sure to go through the previous parts if you haven’t already:
What we’ll do in Part 3:
- Install Heroku
- Create a Heroku application
- Prepare the project for Heroku
- Deploy to Heroku
- Choose a dyno
Install Heroku
Heroku is installed as an npm module:
npm install -g heroku
Since -g implies that the module is installed globally, you may need access to root protected data, so sudo might be needed but always be careful with what you install with sudo.
Create a Heroku application
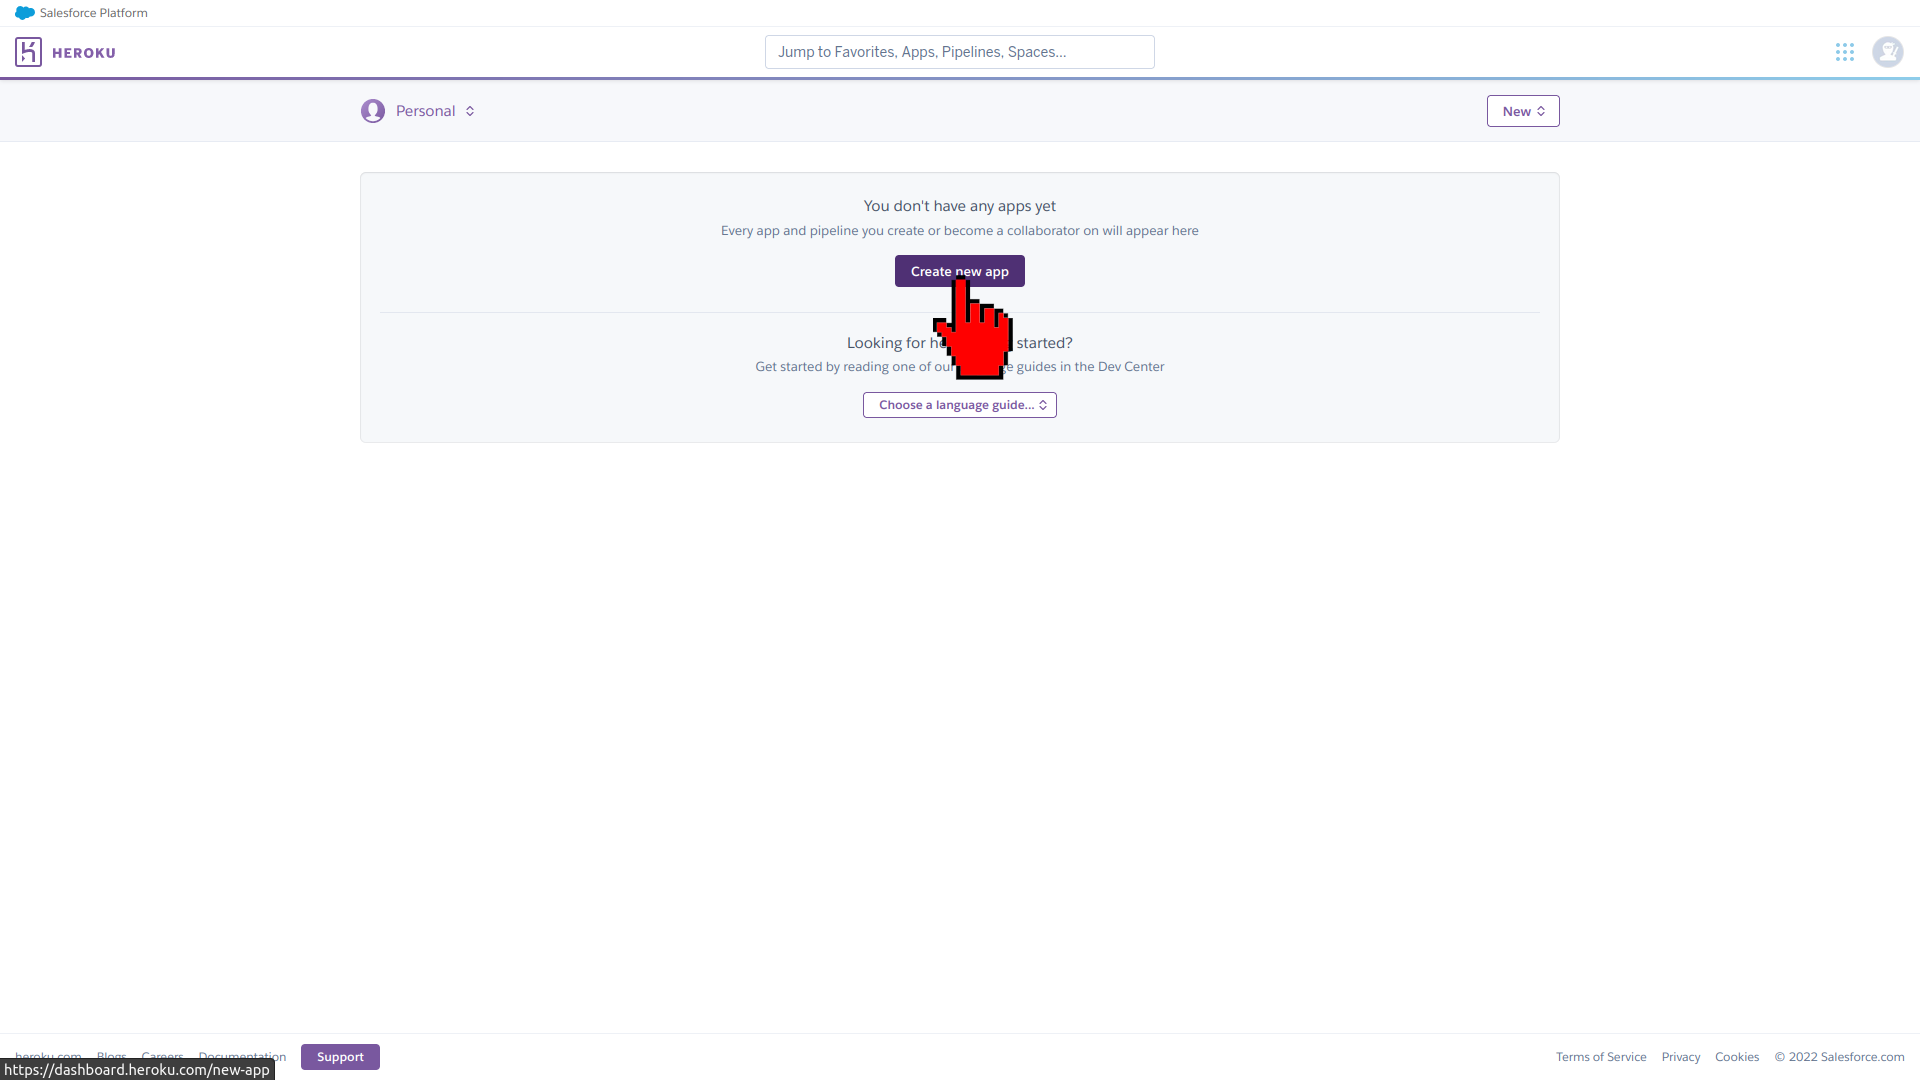
Login to your Heroku account and click on Create new app:
Give your app a name (the name must not be used by another existing Heroku app) and precise your region (to deploy the app on a server not too far from your location). Then click on Create app:

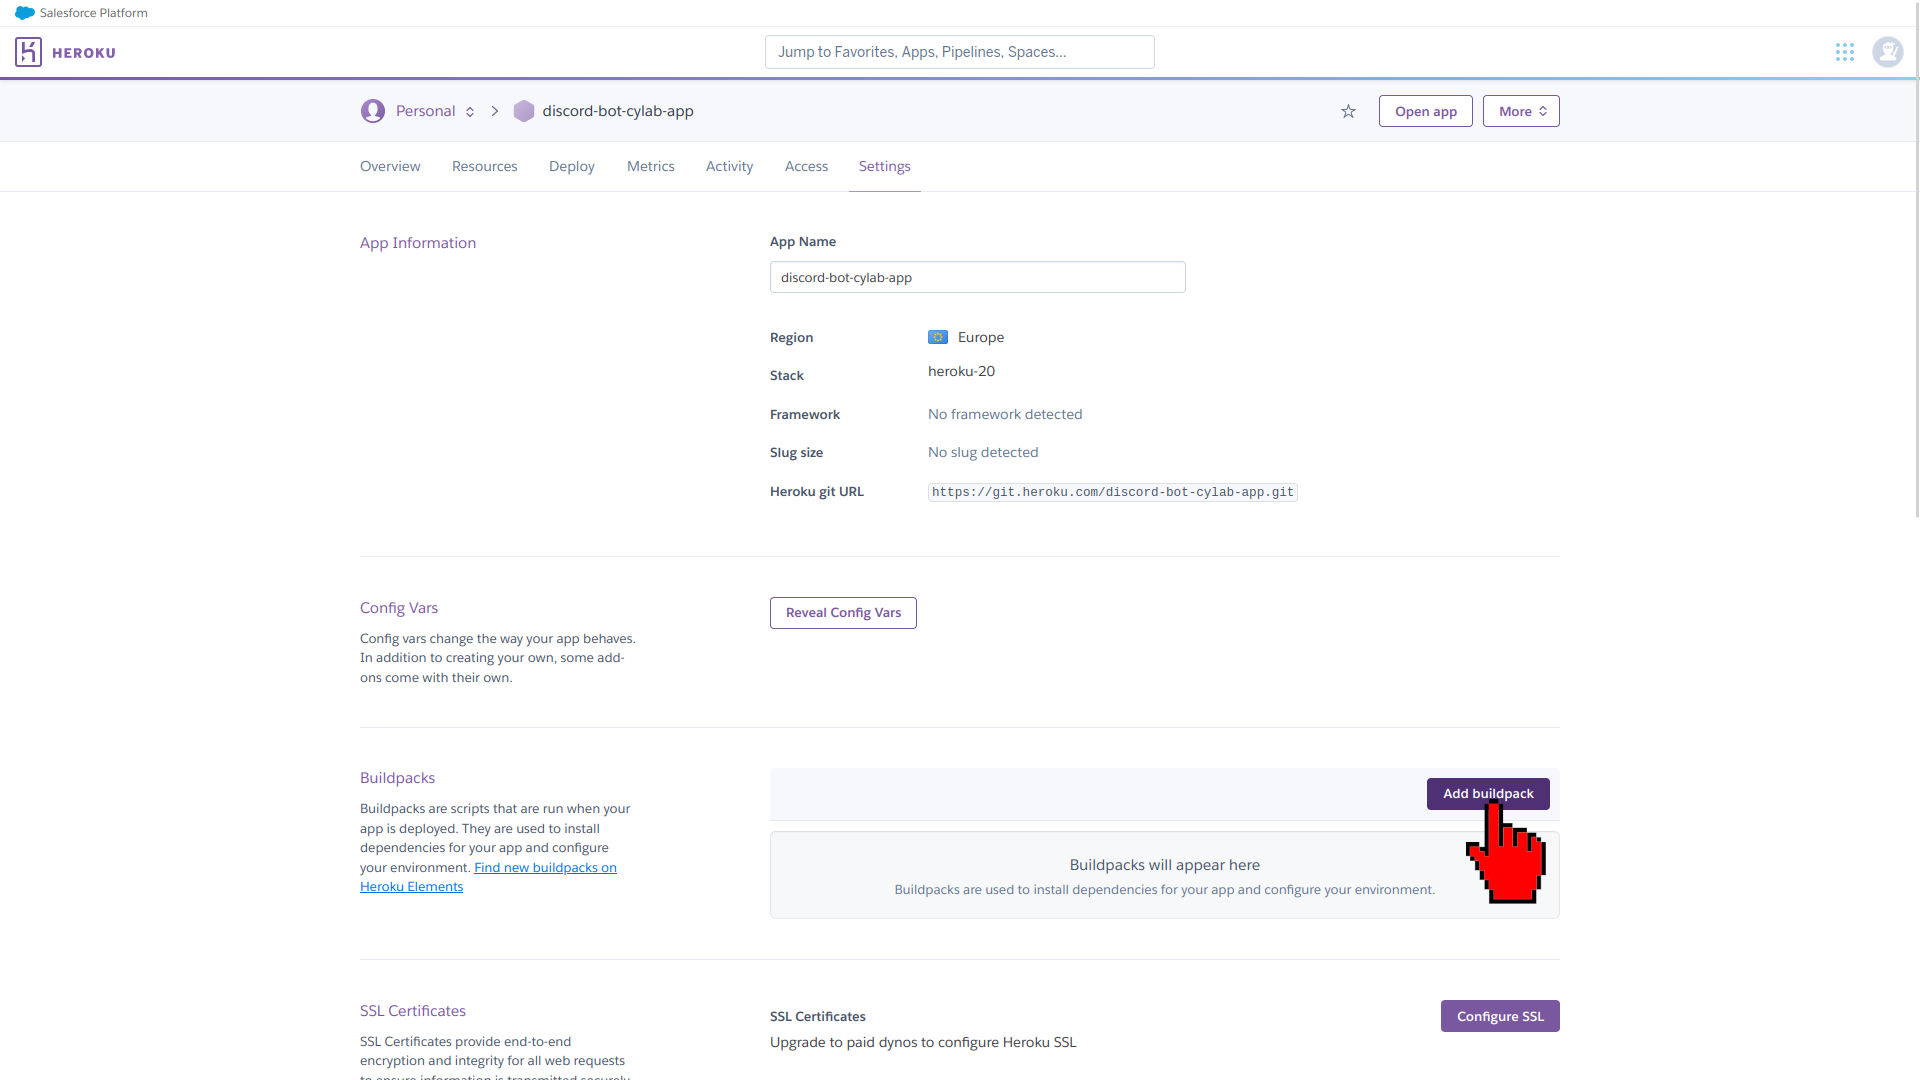
When the app is created, you are redirected to the Deploy tab of your Heroku application web page. Click on Settings:

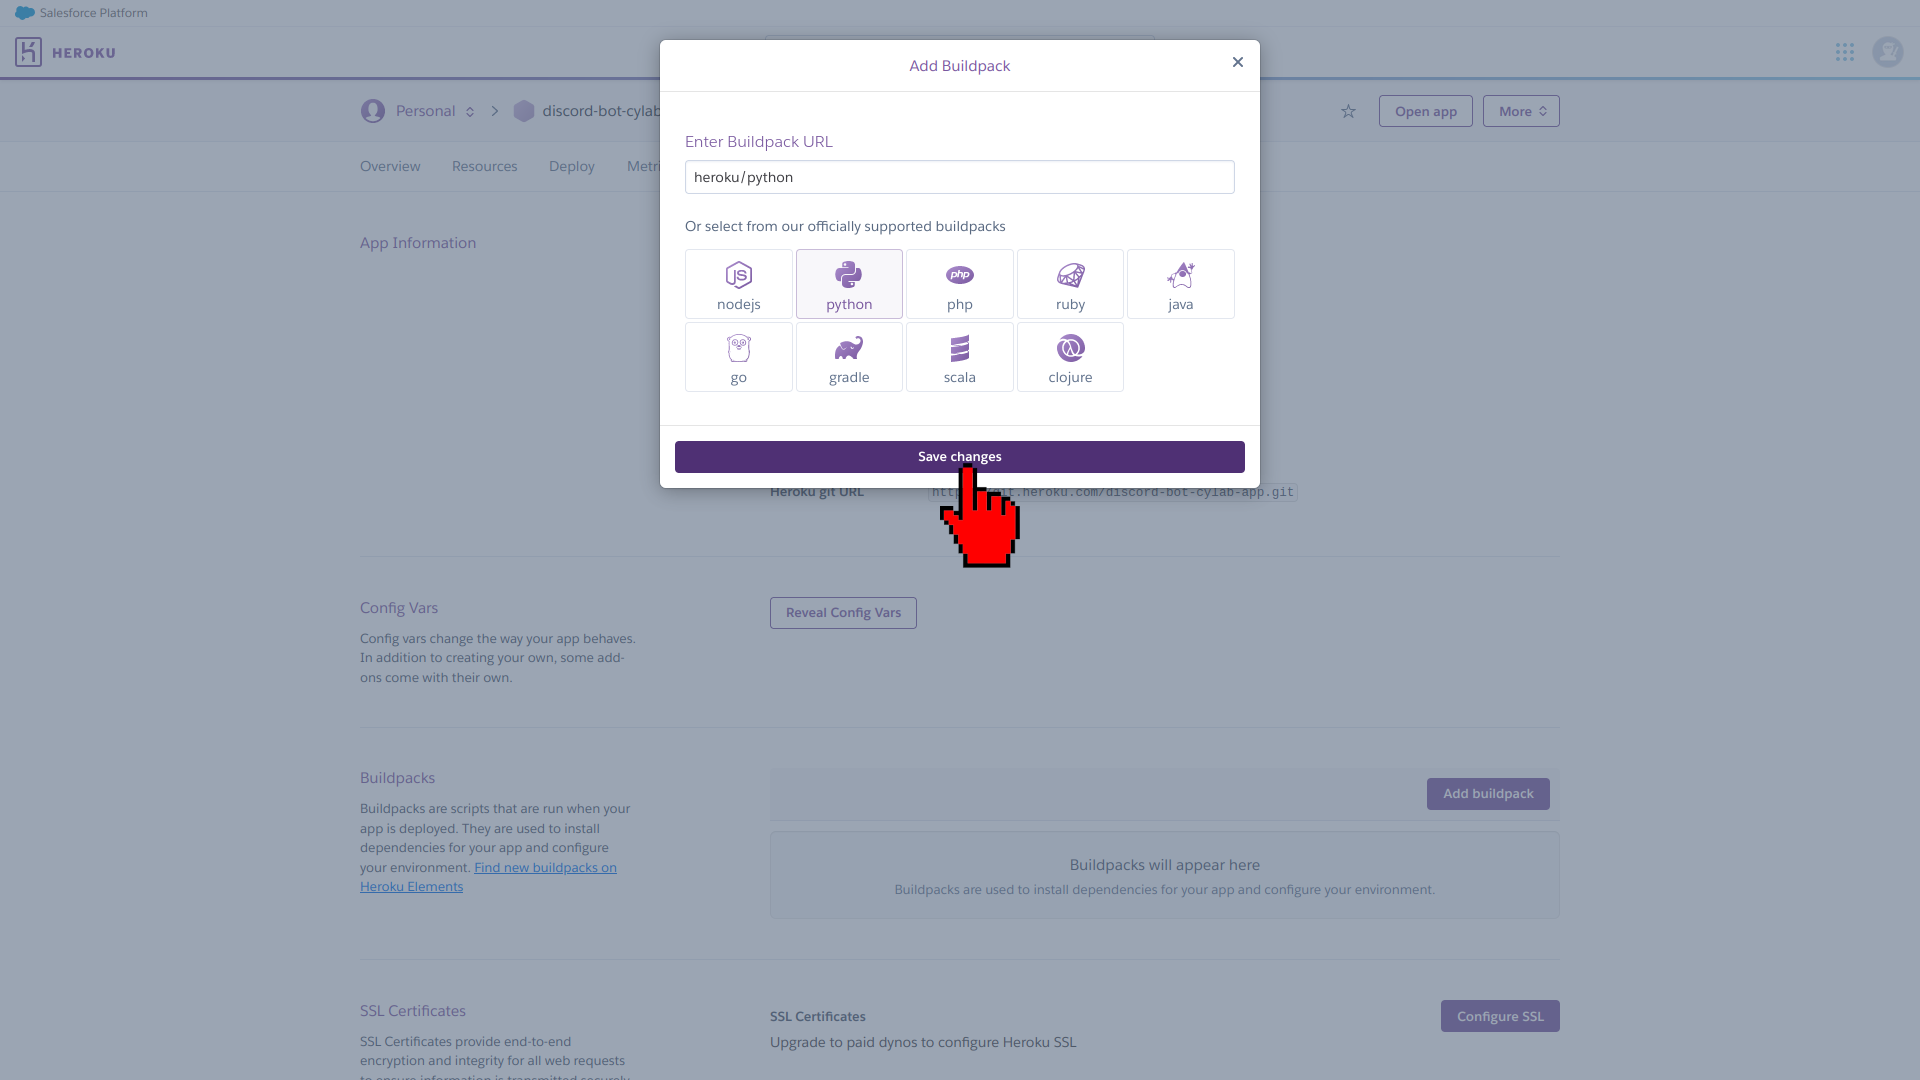
Click on Add buildpack. Buildpacks are necessary for Heroku in order to retrieve the dependencies used to deploy your application depending on the language(s) it uses:
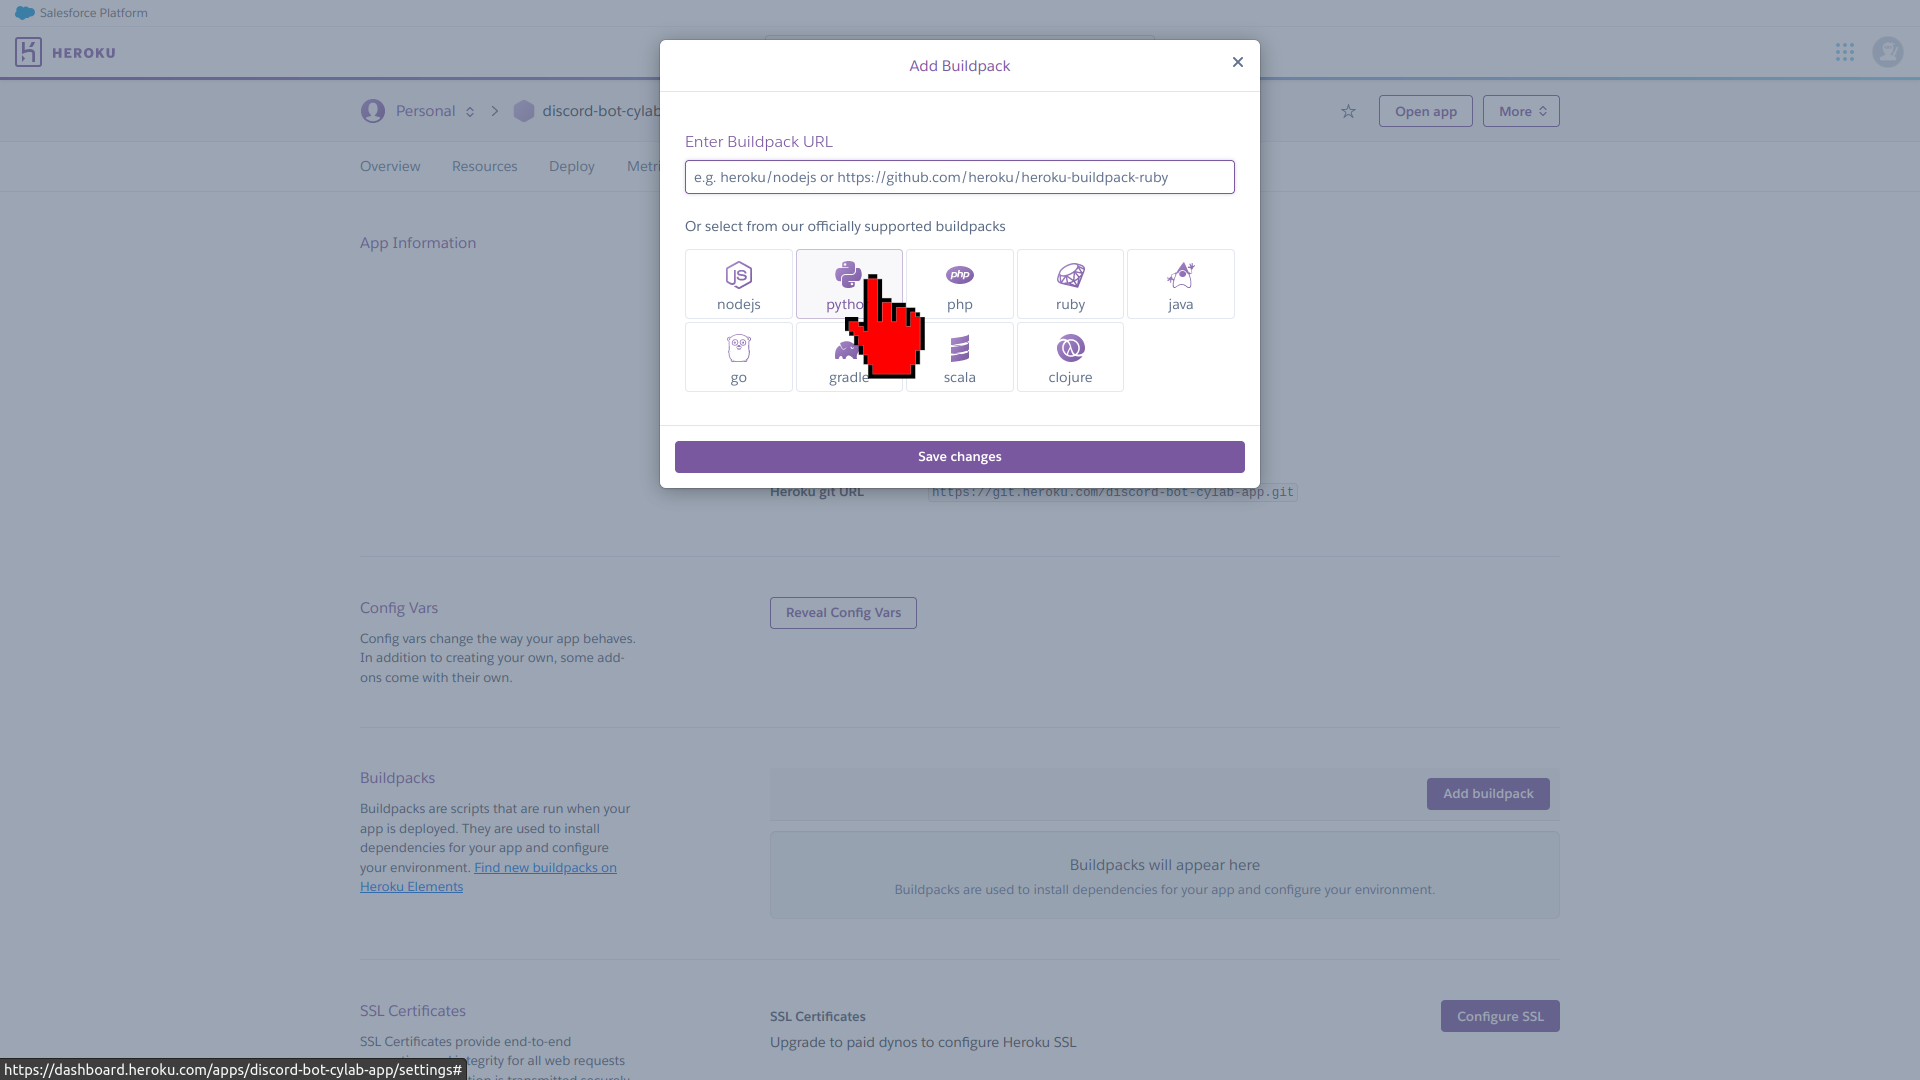
Click on python in the buildpacks window. Since our bot only uses Python, there is no need to select the other buildpacks:
Click on Save changes to finalize your buildpack selection:
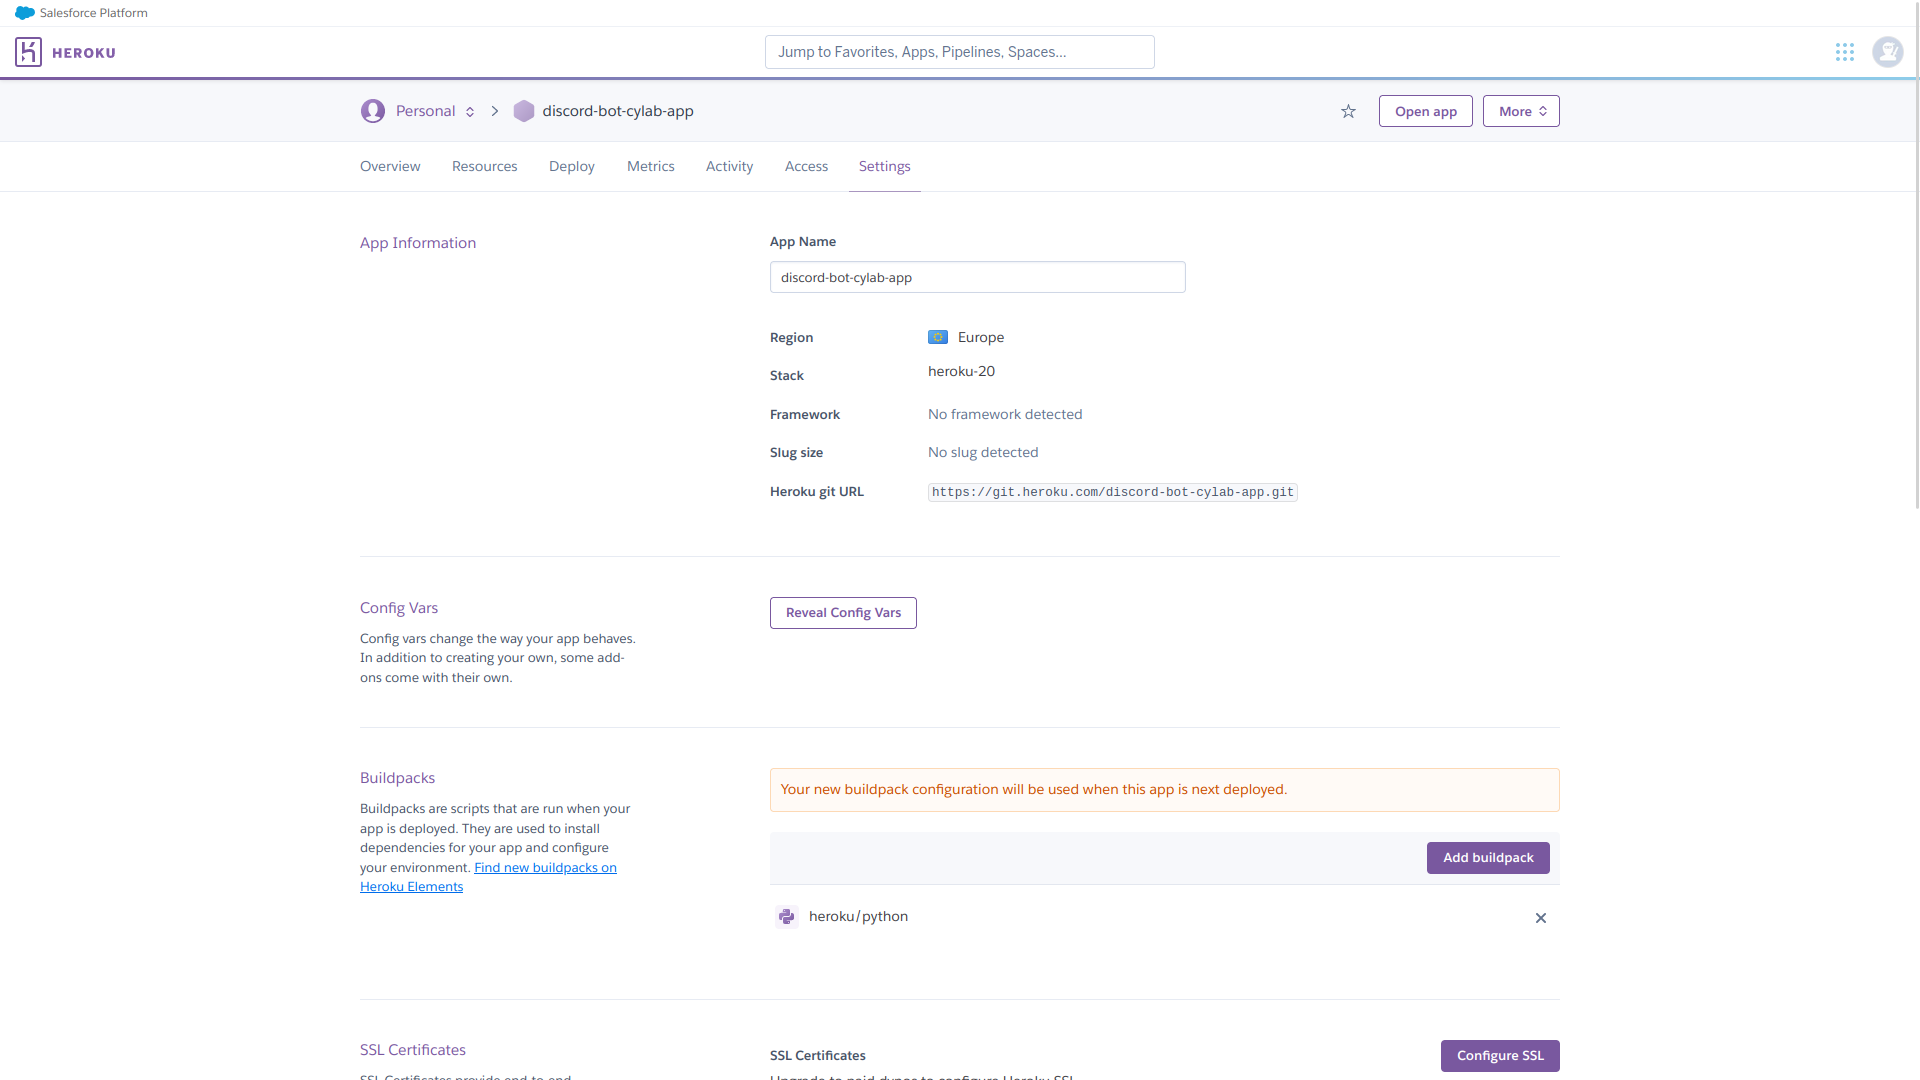
And there you are, your application has been setup from the Heroku side:
Prepare the project for Heroku
What we need to ensure that the bot script we wrote in the Part 2 is run by Heroku is to tell Heroku how to run it. For that purpose, the directory containing your script will need the following files:
- bot.py: the bot script
- runtime.txt: the Python version that will be used by Heroku to run the bot script
- requirements.txt: the list of Python modules, such as discord.py that needs to be installed before running the bot script
- Procfile: the command that Heroku will launch to run the bot script
In addition to that, these two files are also needed for practical reasons:
- .env: your environment variables
- .gitignore: the list of folders/files that will not be pushed to the Heroku repository
Content of bot.py:
import os
from discord.ext import commands
from discord import utils as discord_utils
from dotenv import load_dotenv


load_dotenv()
DISCORD_TOKEN  = os.getenv('DISCORD_TOKEN')
DISCORD_SERVER = os.getenv('DISCORD_SERVER')
bot = commands.Bot(command_prefix="!")

@bot.event
async def on_ready():
    if DISCORD_SERVER not in map(lambda x: x.name, bot.guilds):
        print(f"{DISCORD_SERVER} not found in the bot's guilds")
    else:
        print(f"{bot.user.name} bot successfully logged into the {DISCORD_SERVER} guild.")

@bot.command(name="hello")
async def hello(ctx):
    if ctx.author.id == bot.user.id: # the bot does not reply to itself
        return
    await ctx.send(f"Hello {ctx.author.mention}!")

@bot.command(name="del")
async def delete(ctx, number: int):
    messages = await ctx.channel.history(limit=number + 1).flatten()
    for each_message in messages:
        await each_message.delete()

@bot.command("poll")
async def show_poll(ctx, *args):
    # polls can only be sent from the 'admins' channel
    if ctx.channel.name != "admins":
        return
    # poll command:
    # !poll event_name event_date
    event_name = args[0]
    event_date = args[1]
    # retrieving the 'events' channel
    events_channel = discord_utils.get(ctx.guild.channels, name="events")
    # sending the poll
    message = await events_channel.send(f"@everyone
Will you come to the **{event_name}** event the **{event_date}**?")
    # adding reactions to the poll
    await message.add_reaction('U00002705')
    await message.add_reaction('U0000274C')

bot.run(DISCORD_TOKEN)
There are a few difference with the bot script from Part 2:
import os
from dotenv import load_dotenv
# ...discord.py imports...

load_dotenv()
DISCORD_TOKEN  = os.getenv('DISCORD_TOKEN')
DISCORD_SERVER = os.getenv('DISCORD_SERVER')
# ...rest of code...
As you can see, the Discord token and server name are loaded from the .env file using the modules os and dotenv. It is always a good practice to store your environment (global) variables into an environment file.
Content of .env:
DISCORD_TOKEN={YOUR-DISCORD-BOT-APPLICATION-TOKEN}
DISCORD_SERVER=EventServer
Your Discord bot application token is the one you stored when creating a discord bot application in Part 1.
Content of .gitignore:
__pycache__/
There is no need to push the cache to a repository.
Content of runtime.txt:
python-3.8.13
As for now, the versions before Python 3.8.13 have security issues according to the Heroku warnings when pushing the project.
Content of requirements.txt:
python-dotenv
discord.py
These are the two modules that needs to be installed before running the bot script.
Content of Procfile:
worker: python3 bot.py
A worker process from Heroku will launch that command after each successful build.
Deploy to Heroku
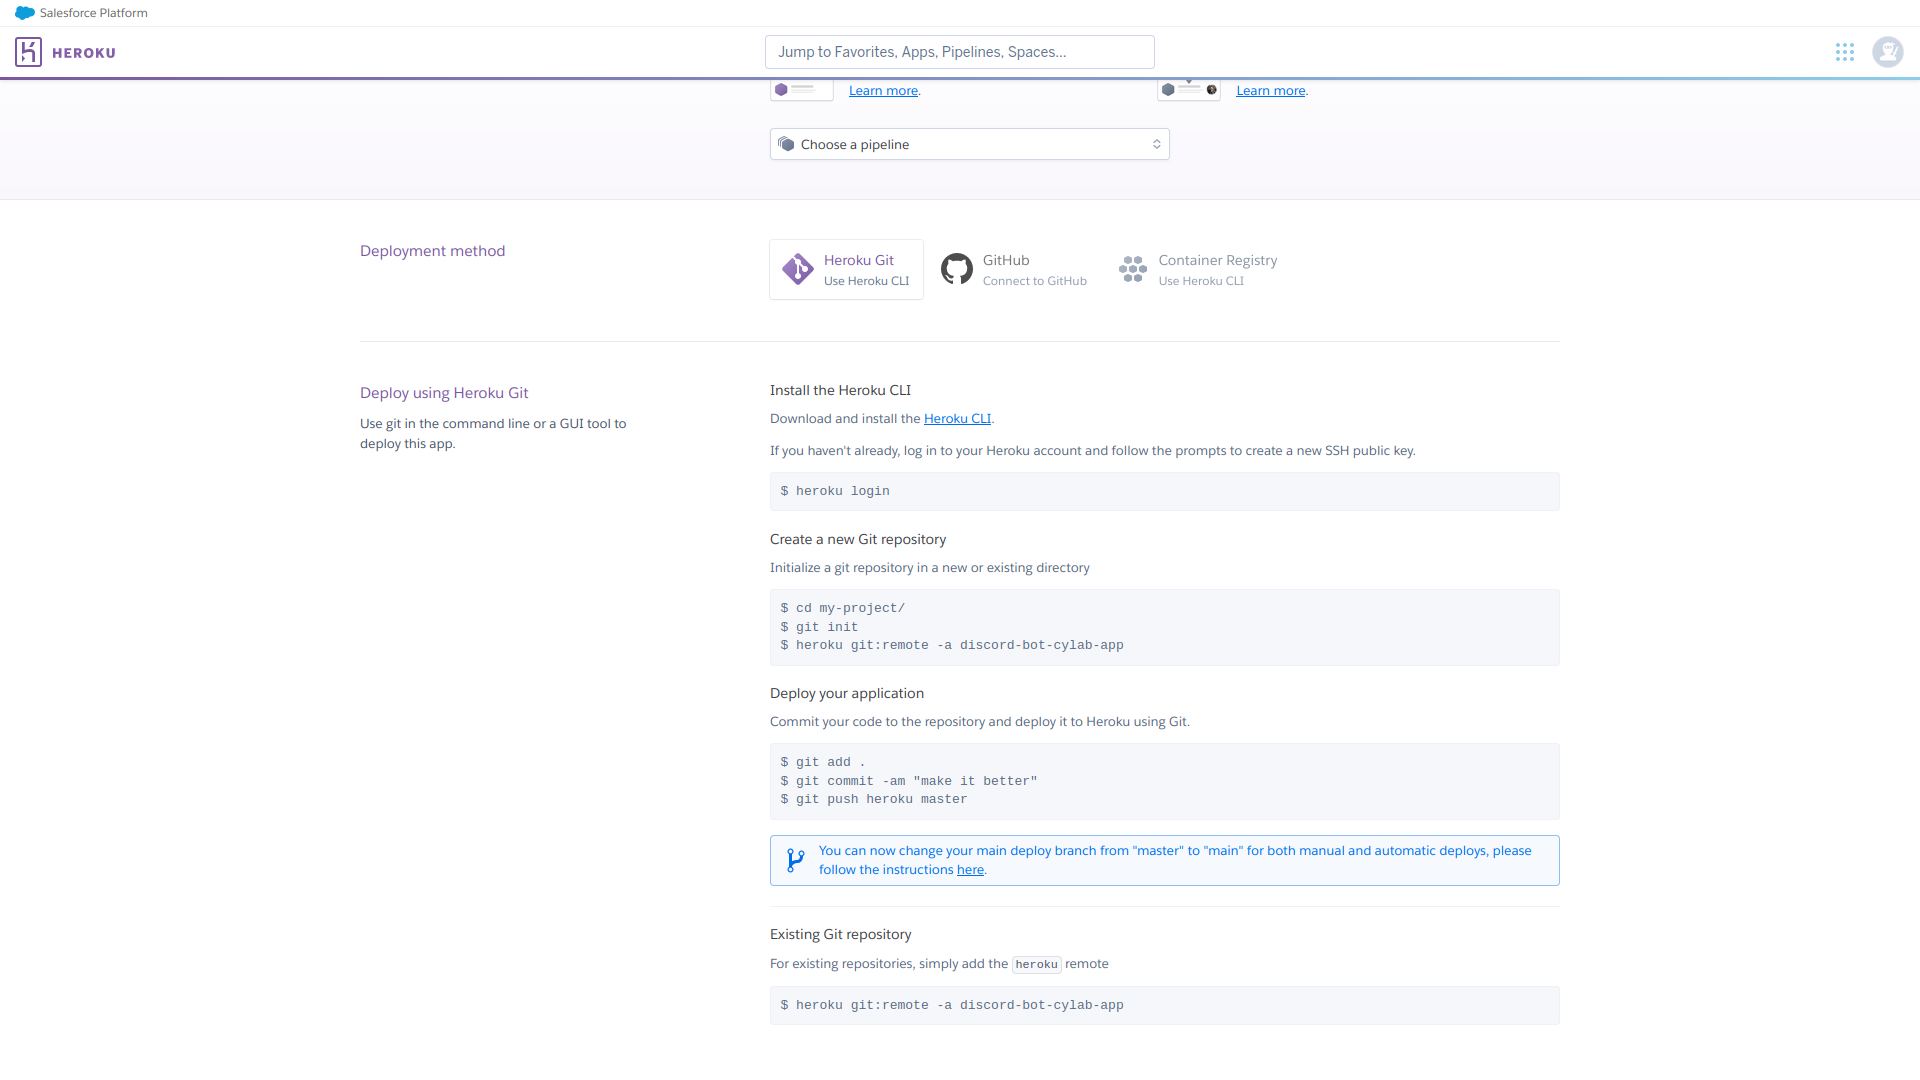
Since you installed Heroku at the beginning of this blog post, you just need to open a terminal and run the following command:
heroku login
You will be redirect you to a web page to login, then you can close it and come back to the terminal. Now you will have to navigate into the directory containing all your files created above, initialize a repository and push all the files to Heroku. Note that my Heroku project is called discord-bot-cylab-app. You need to replace this name by the one of your Heroku app name:
cd /into/the/folder/of/your/bot.py
git init # initialize a new git repository
heroku git:remote -a discord-bot-cylab-app # depending on how you named your project on heroku
git add . # add your project content to heroku
git commit -m "initial commit" # first commit
git push heroku master # push the commit to the master branch of your heroku repository
Note that these commands are also found in the Deploy tab of your Heroku app page:
That same page contains a blue frame where it’s told that you can change your main deploy branch from “master” to “main”:
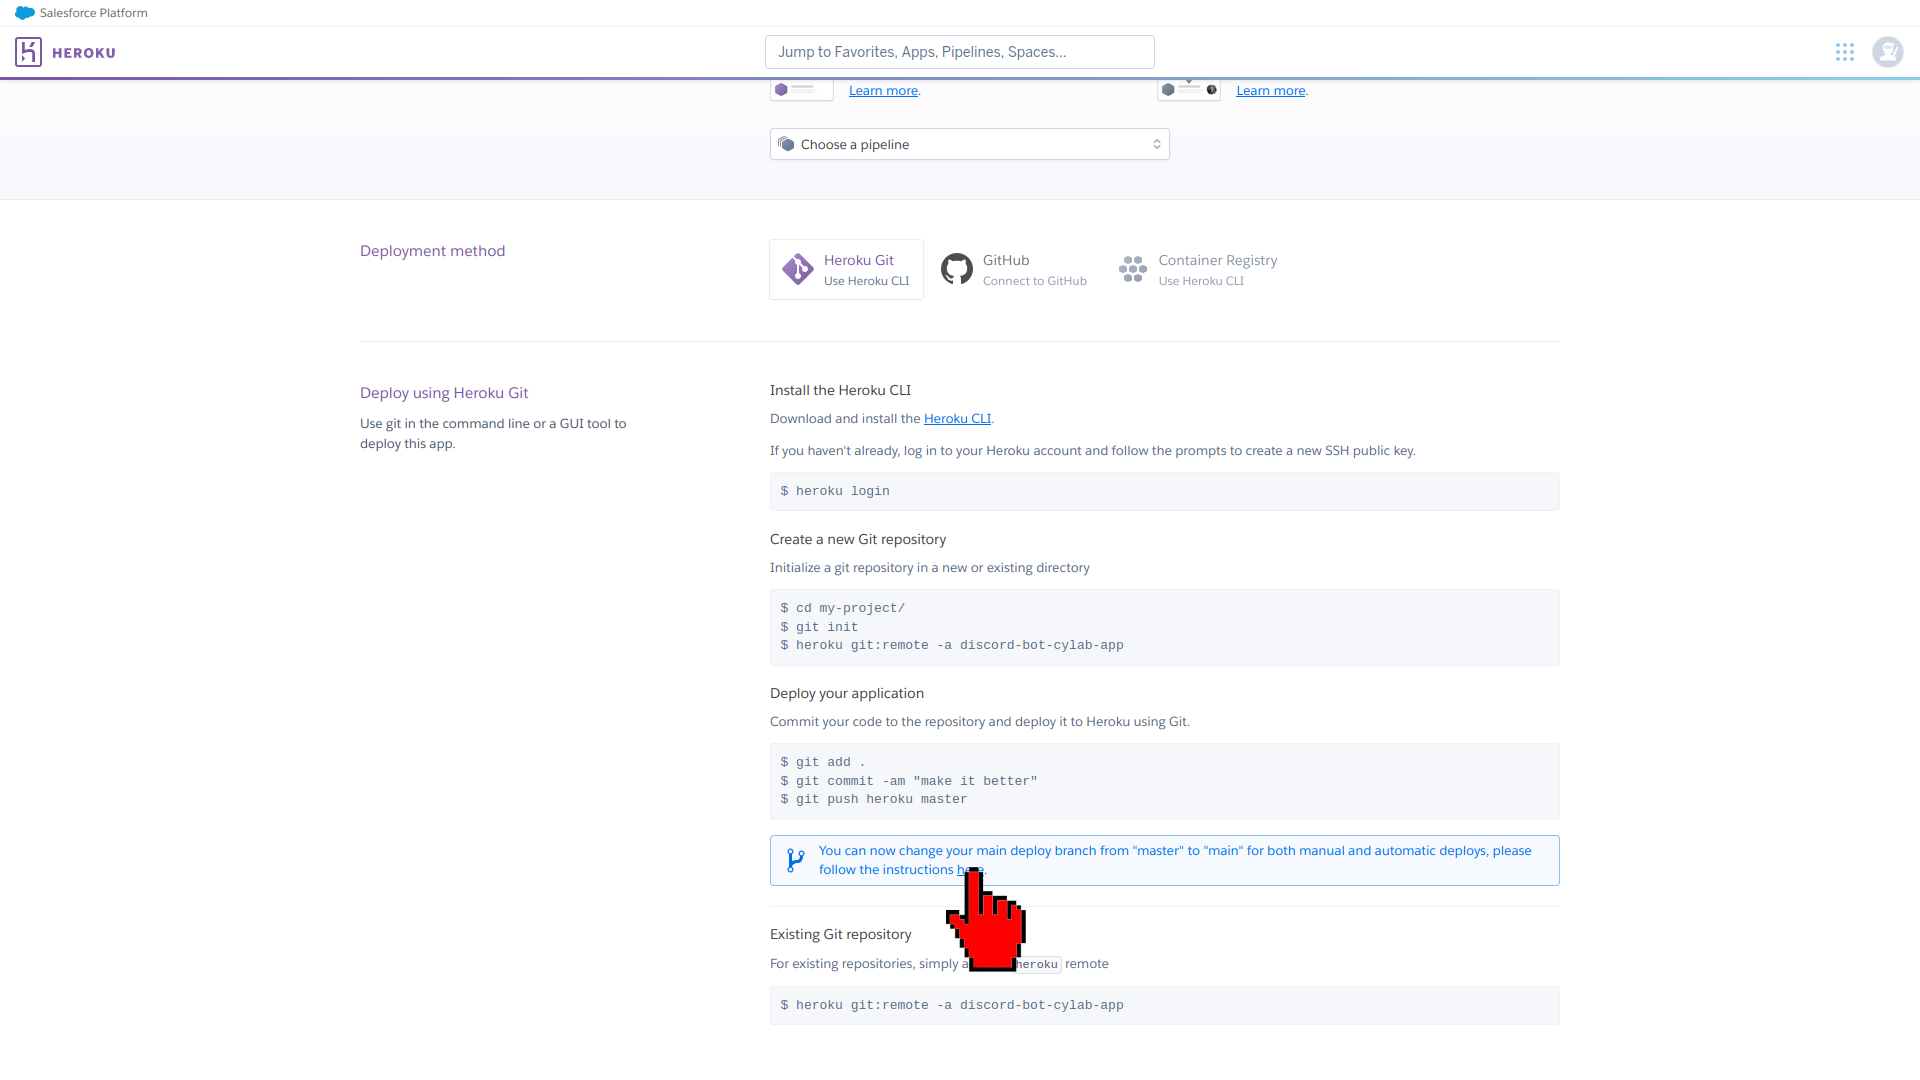
If you click on the link in this blue frame, you will see an explanation about an issue telling that a GIT repository uses the master branch and needs to be switched to main. Let’s switch to the main branch that is used for Heroku deployment, still from the terminal:
git checkout -b main
git branch -D master
git push heroku main
You can check the Heroku logs with:
heroku logs --tail
You project has now been deployed to Heroku! And there is only still one step left!
Choose a dyno
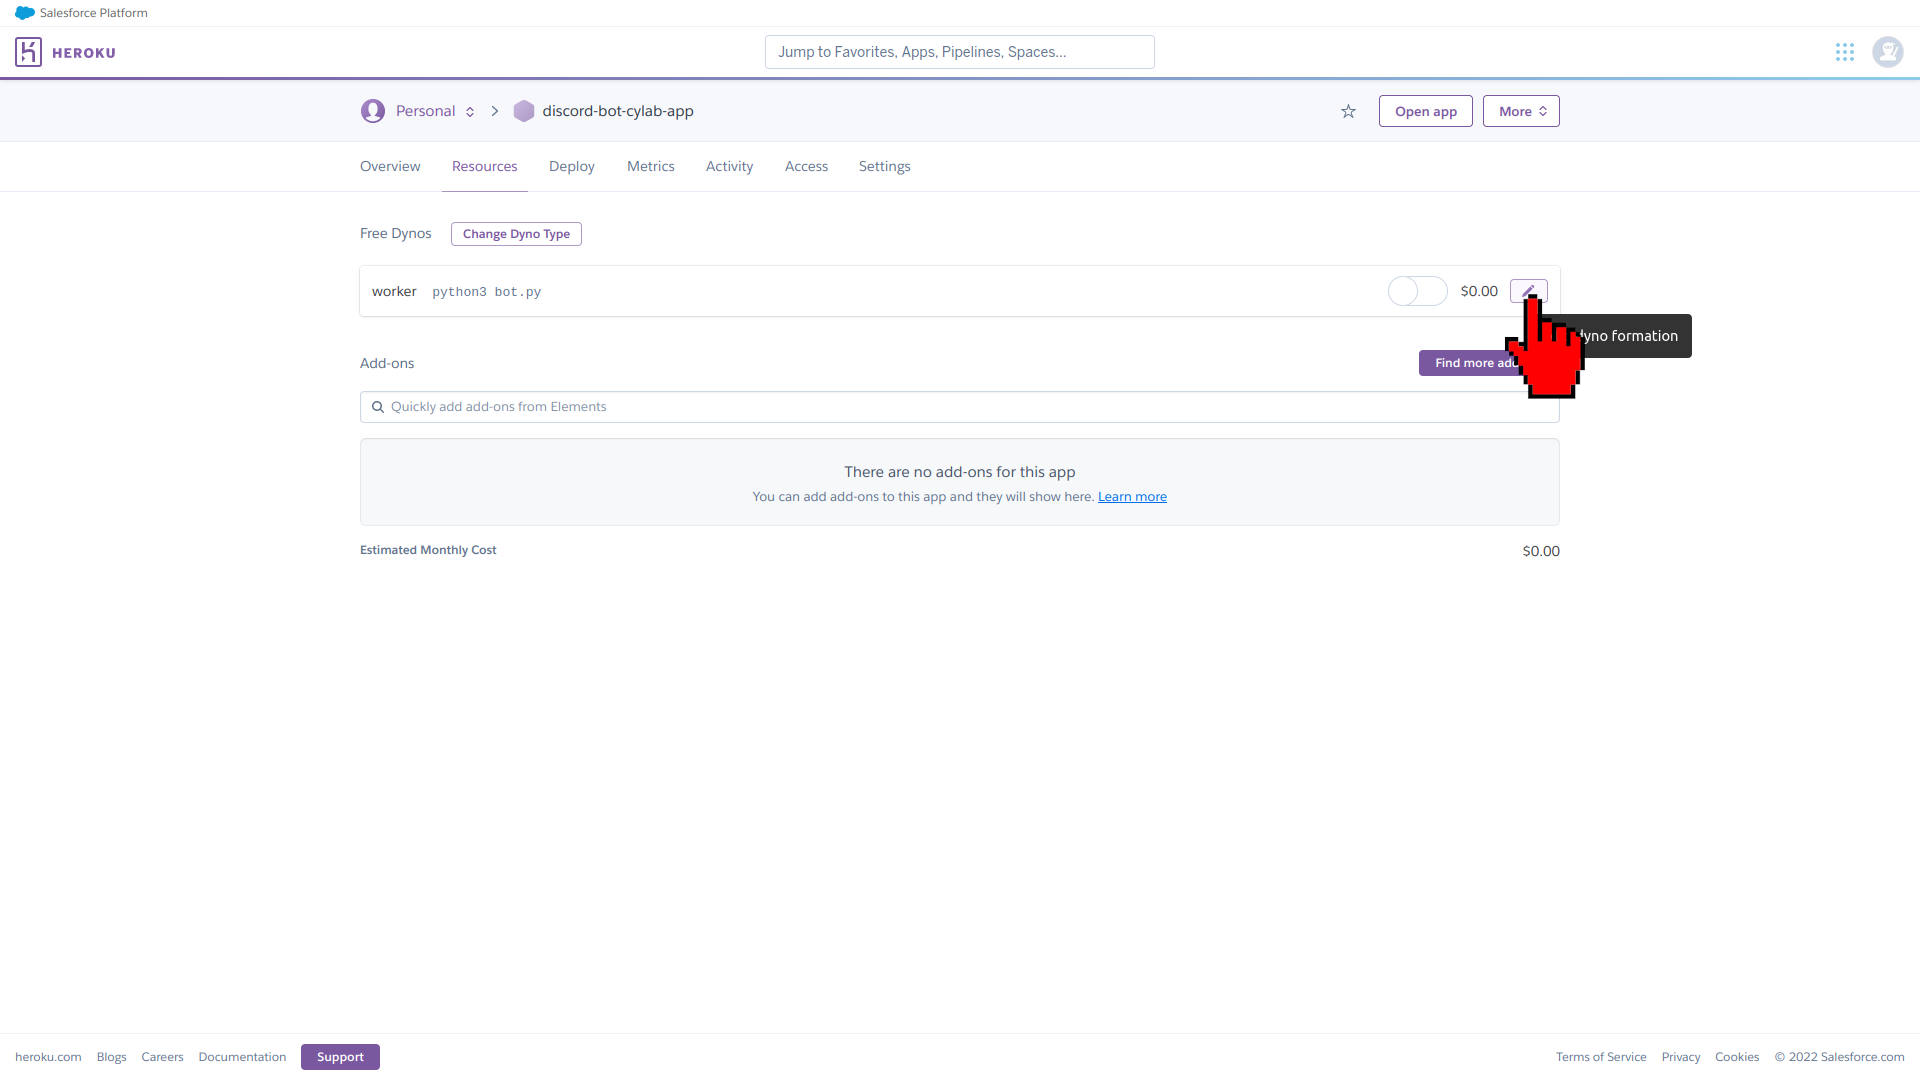
Dynos are application containers that are of multiple types each providing a certain amount of computer resources among other things. Since we do not need a lot of computer resources, we’ll choose a free dyno for our bot. Go back to your Heroku application web page and go into the Resources tab. Click on the little pencil to start activating your dyno:
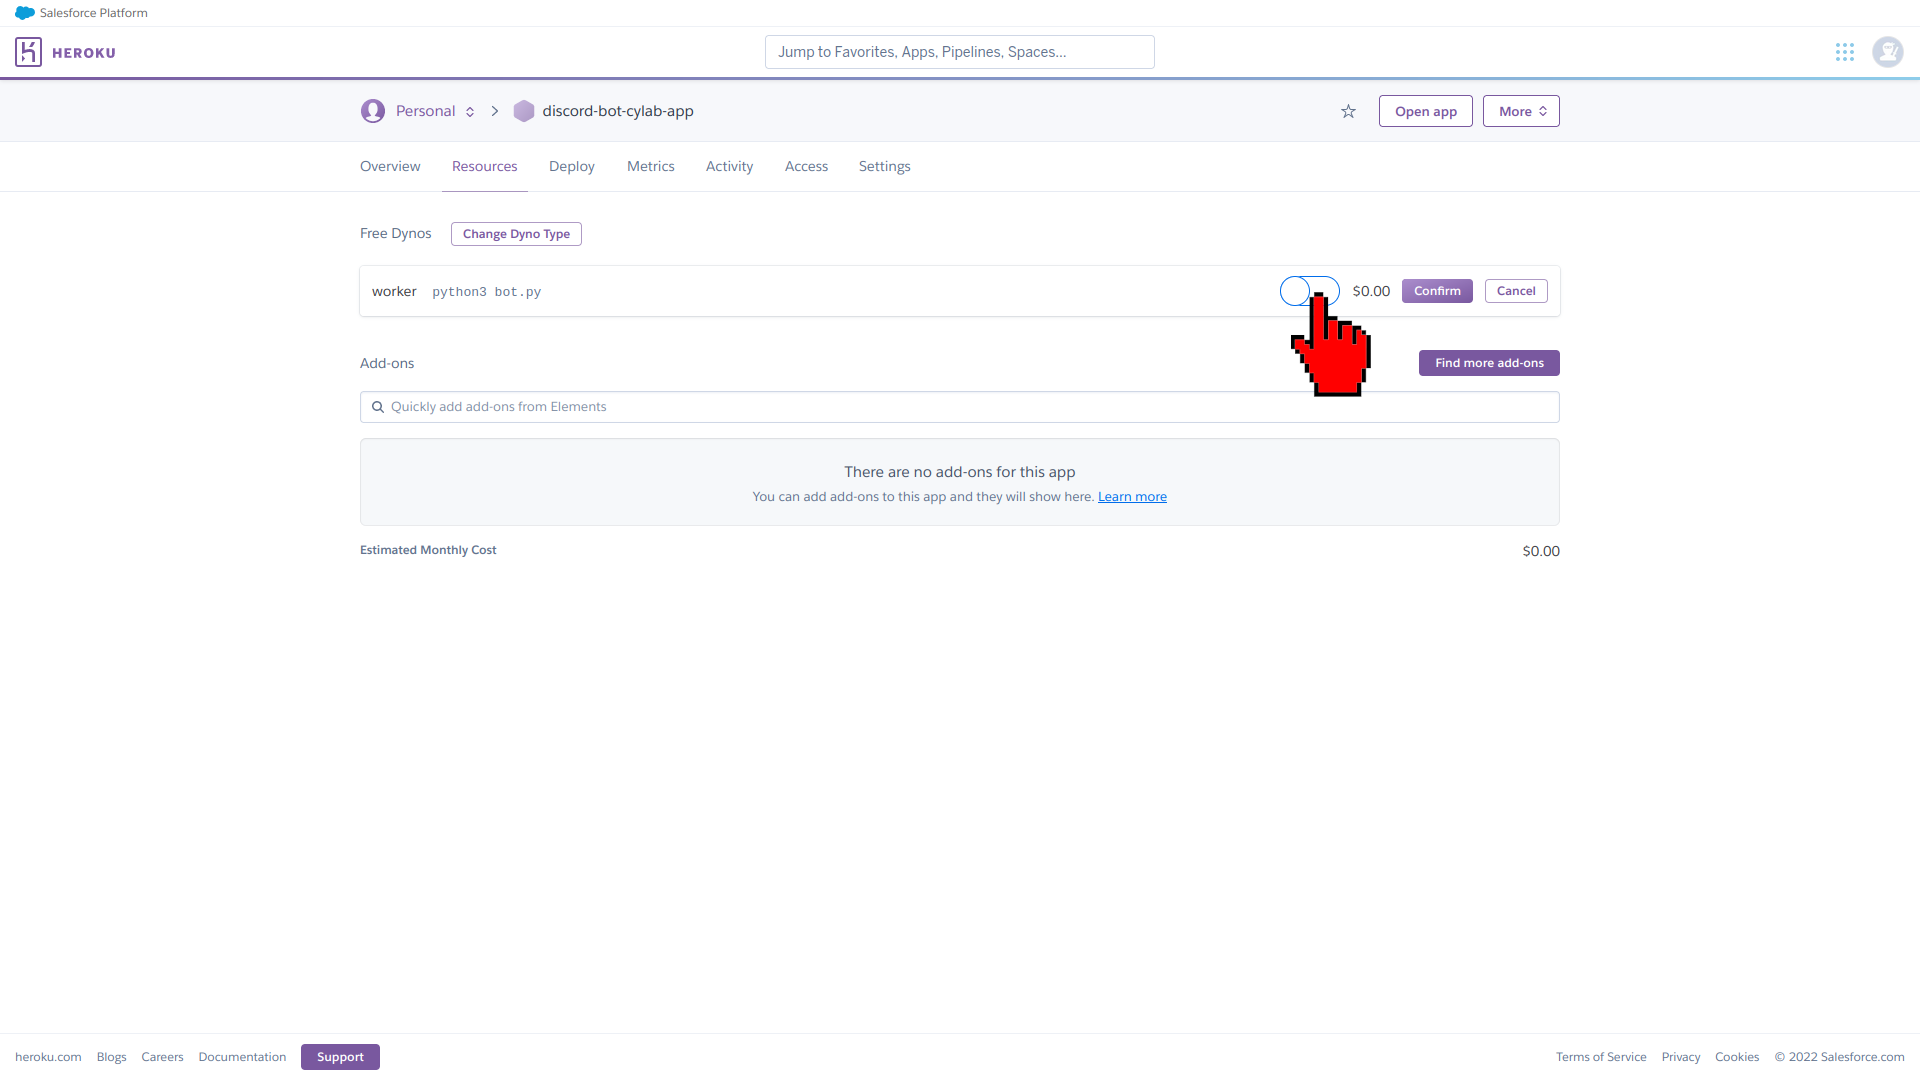
Then switch the dyno on:
Click on Confirm:
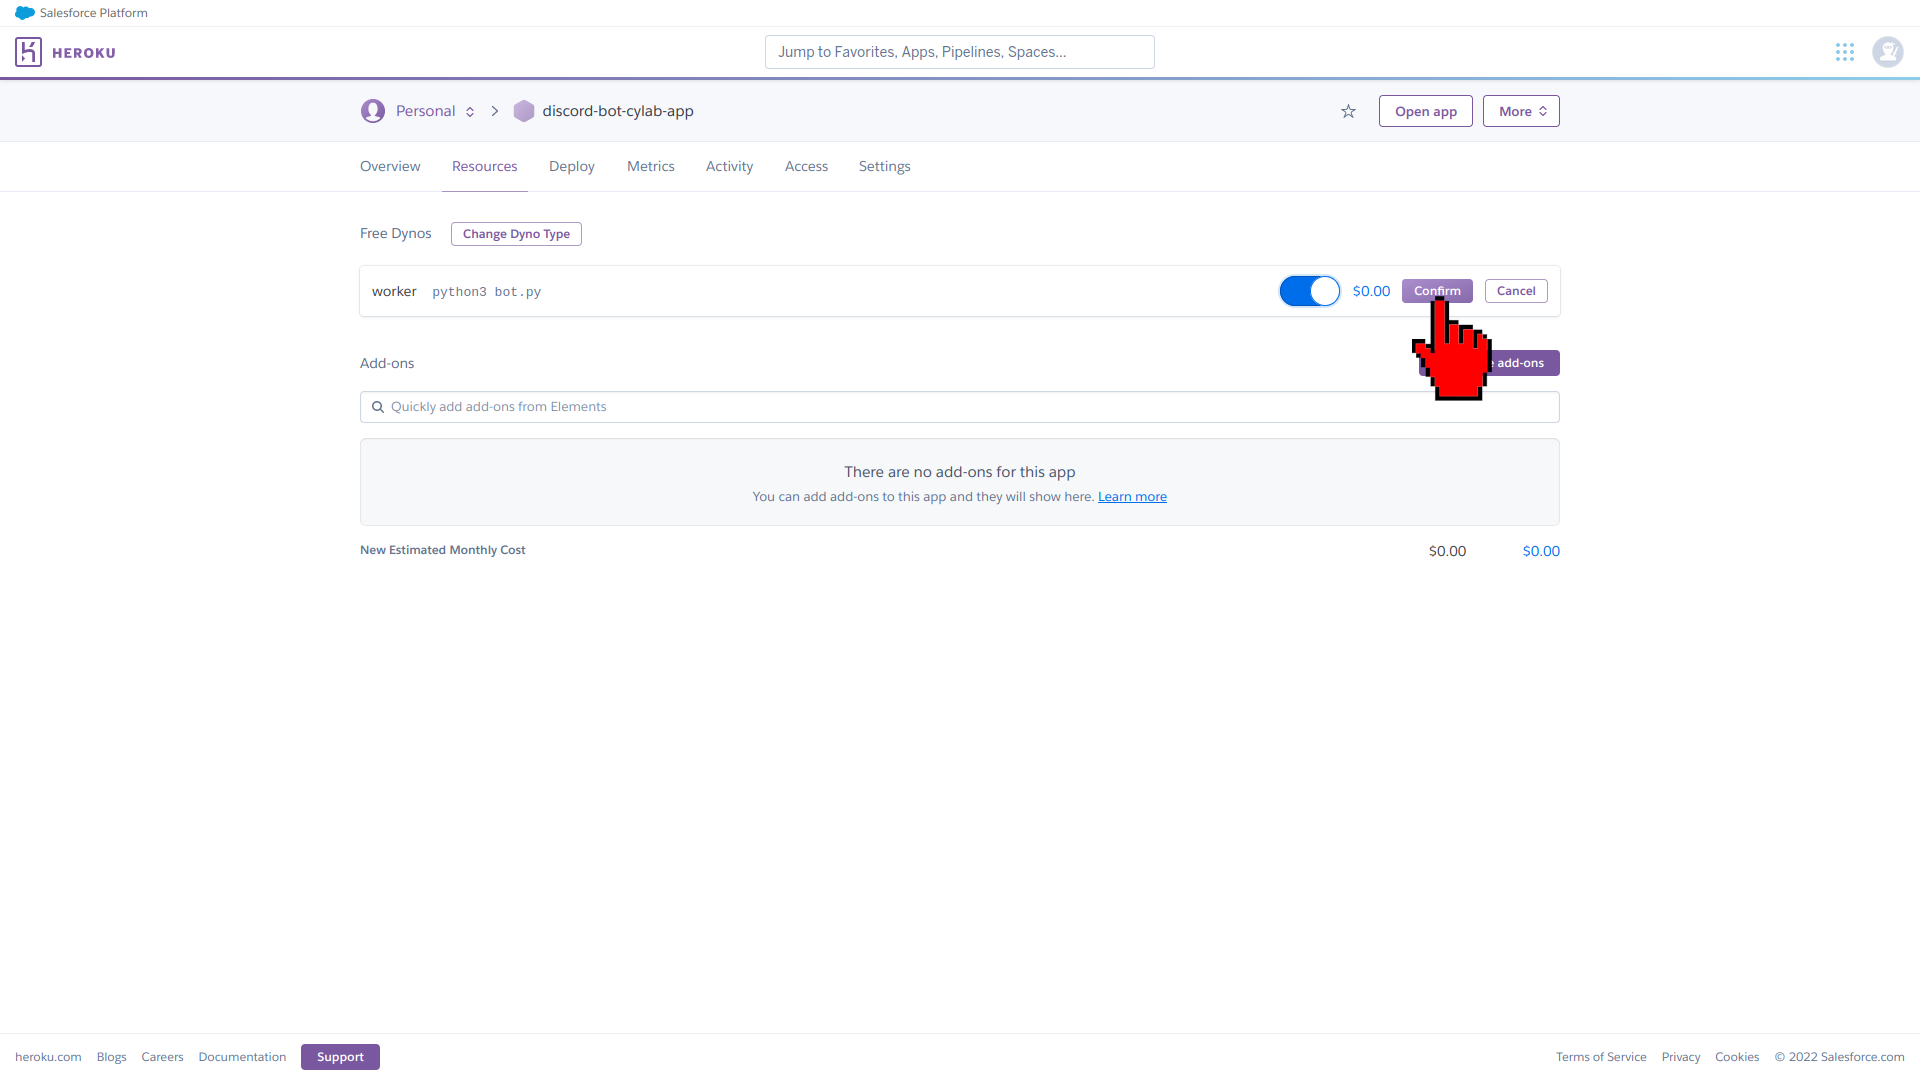
And here is your activated free dyno:

And you’re done! If you followed the Part 1 and Part 2, you now have a Discord server that can be managed with a Python bot that allows you to:
- say hello to yourself,
- delete a certain number of last messages,
- create polls from an admins channel to an events channel.
Finally, go to your Discord server, stop your bot if it runs locally and type a few commands to put your Heroku-deployed bot to the test!
This blog post is licensed under
CC BY-SA 4.0


