Implement a Java detector for the Multi-Agent Ranking framework
Dec 21, 2020 by Thibault Debatty | 3229 views
https://cylab.be/blog/113/implement-a-java-detector-for-the-multi-agent-ranking-framework
In previous blog posts we showed how to inject a stream of data in the Multi-Agent Ranking framework, and how to use the built-in detectors to produce a ranking. This time we show how to implement your own detection algorithms.
For this post we will use java, and maven to build and package the code.
Maven project
First, let’s create a maven project:
mvn archetype:generate -DarchetypeArtifactId=maven-archetype-quickstart \
  -DarchetypeVersion=1.4
When prompted, you can indicate the following (to tune according to your project)
- groupId :
com.example - artifactId:
detector
Dependencies
Our detector will need 2 dependencies:
- a detector must implement the DetectionAgentInterface, which is part of package be.cylab.mark.core
- our detector will use be.cylab.mark.client to connect to the MARk server to fetch and save data
Add the following to pom.xml:
  <dependencies>
    <dependency>
      <groupId>be.cylab.mark</groupId>
      <artifactId>client</artifactId>
      <version>2.2.2</version>
      <scope>provided</scope>
    </dependency>

    <dependency>
      <groupId>be.cylab.mark</groupId>
      <artifactId>core</artifactId>
      <version>2.2.2</version>
      <scope>provided</scope>
    </dependency>
  </dependencies>
Detector
To create a detector, you must implement be.cylab.mark.core.DetectionAgentInterface. Here is an example, that you should copy to src/main/java/com/example/Detector.java (if you chose the same groupId and artifactId):
package com.example;

import be.cylab.mark.core.DetectionAgentInterface;
import be.cylab.mark.core.DetectionAgentProfile;
import be.cylab.mark.core.Event;
import be.cylab.mark.core.Evidence;
import be.cylab.mark.core.RawData;
import be.cylab.mark.core.ServerInterface;
import java.util.Map;

public class Detector implements DetectionAgentInterface {

    @Override
    public void analyze(
            final Event event,
            final DetectionAgentProfile profile,
            final ServerInterface server) throws Throwable {

        // extract info about the subject and label that triggered this
        // detector
        String label = event.getLabel();
        Map<String, String> subject = event.getSubject();

        // extract the time reference for this event
        long till = event.getTimestamp();

        // fetch additional data from the server
        long from = timestamp - 1000 * 3600;
        RawData[] data = server.findRawData(label, subject, from, till);

        // compute a score
        double score = computeScore(data);

        // create an evidence report and push to the server
        Evidence ev = new Evidence();
        ev.setLabel(profile.getLabel());
        ev.setReport("Computed score " + score);
        ev.setScore(score);
        ev.setTime(till);
        ev.setSubject(subject);

        server.addEvidence(ev);
    }

    private double computeScore(final RawData[] data) {
        return 1.0 - 1.0 / (1.0 + data.length);
    }
}
We can now compile the code and build the jar:
mvn clean package
The produced jar wil be available in the target directory.
Testing
The easiest way to test your detector is to use docker-compose to run a MARk server. Here is an example of docker-compose.yml that you can use:
version: '2.0'
services:
  mark-web:
    image: cylab/mark-web:1.3.3
    container_name: mark-web
    environment:
    - MARK_HOST=mark-server
    - MARK_PORT=8080
    ports:
    - "8000:80"
    depends_on:
    - mark
  mark:
    image: cylab/mark:2.2.2
    container_name: mark-server
    volumes:
    - ./modules:/mark/modules
    environment:
    - MARK_MONGO_HOST=mark-mongo
    ports:
    - "8080:8080"
    depends_on:
    - mongo
  mongo:
    image: mongo:4.4
    container_name: mark-mongo
You should also add at least one data source, like in the PHP injector example, so we have something to test against…
You can start the server with
docker-compose up -d
After a few seconds, the server will be up and running. You will also notice that a new directory called modules was created next to the docker-compose.yml file. This directory is mapped to the modules directory of the MARk container. It contains the jar files and the configuration files of the detectors.
You should first change the permissions on the directory:
sudo chown -R `whoami` modules
You can check that the server is correctly running by browsing to http://127.0.0.1:8000. Here are the default credentials:
- E-mail :
mark-admin@cylab.be - Password:
change-me!
For now there is no detector configured.
To make your algorithm available for the MARk server, you have to copy the produced jar to the modules directory:
cp target/*.jar modules/
Then you have to create an activation configuration file, also in the modules directory. This file indicates which algorithm should run when data is received. You can call it example.detection.yml for example:
class_name:     com.example.Detector
label:          detection.example
trigger_label:  data
In this example:
com.example.Detectoris the full class name of the algorithm to execute.detection.exampleis the label for the evidences that will be produced by the algorithm . We used it in our java code:ev.setLabel(profile.getLabel());datais a regular expression that indicates for which kind of data this algorithm should be triggered.
We can now restart MARk, with the new detector:
docker-compose restart
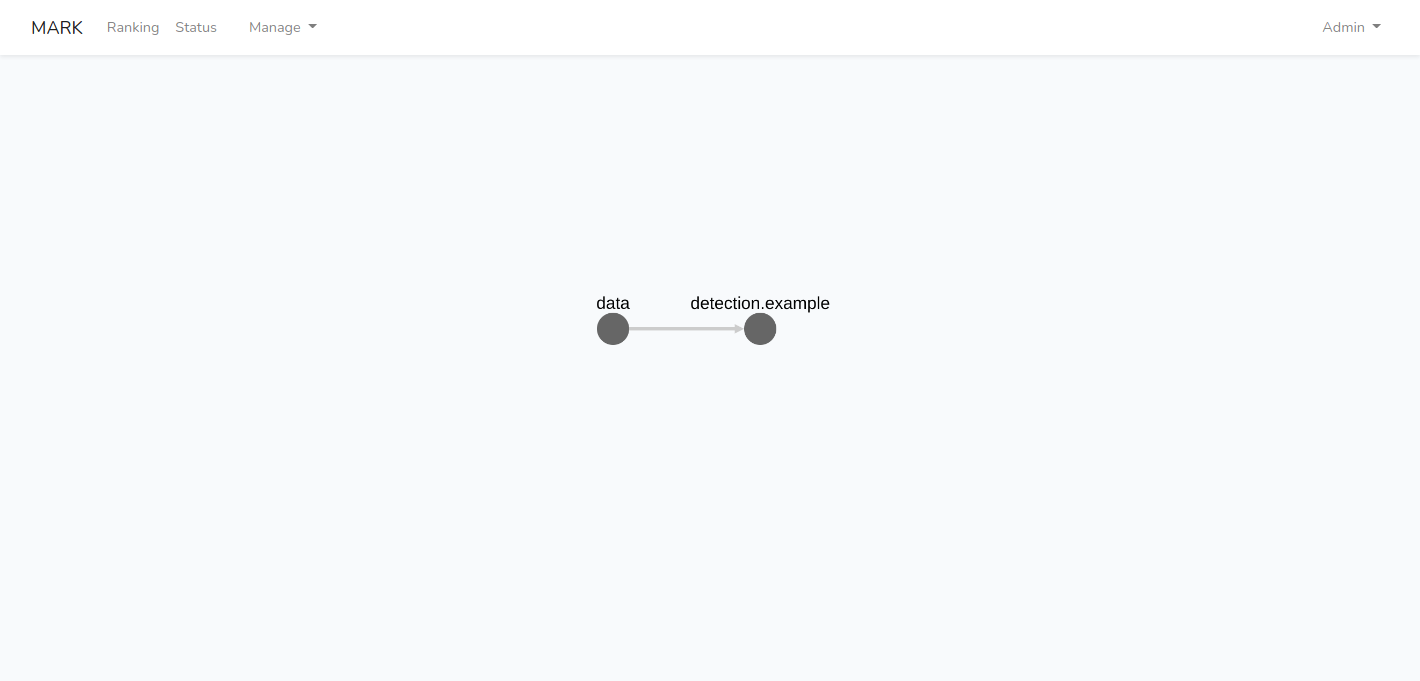
This time your detector should appear in the cascade.
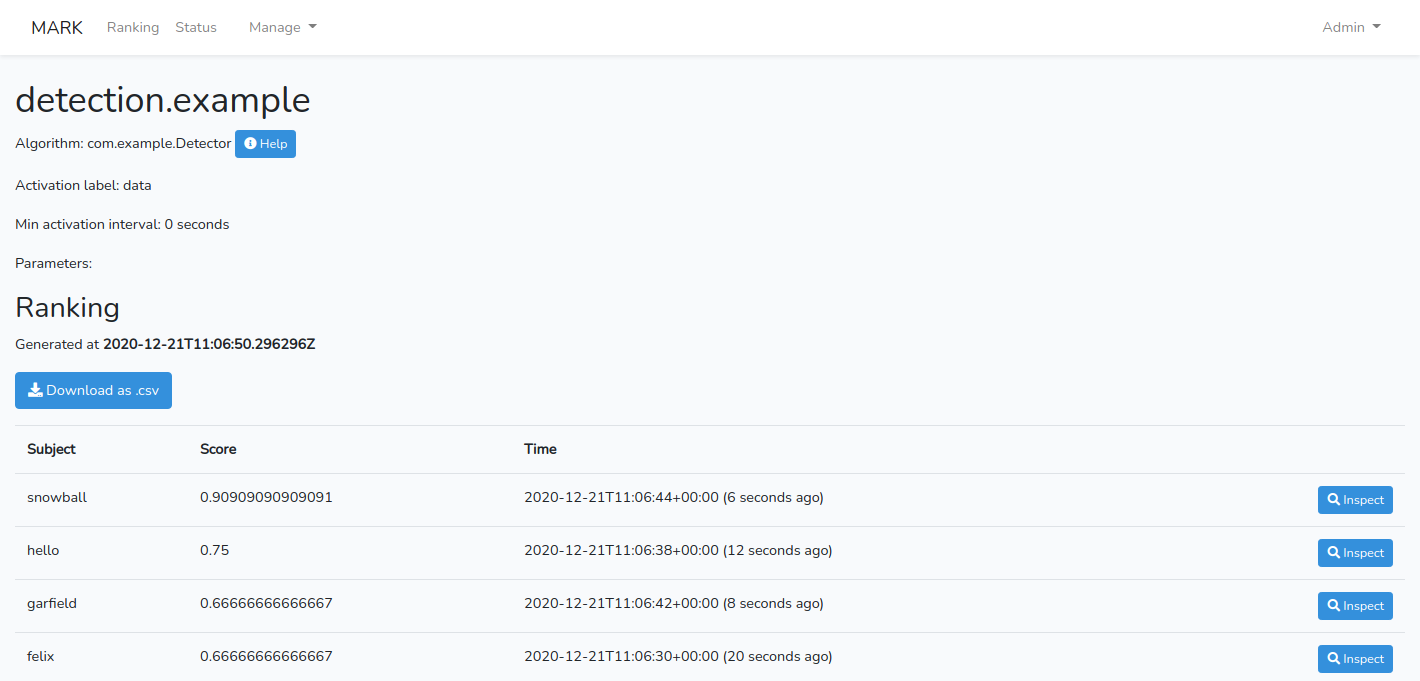
With the produced ranking.
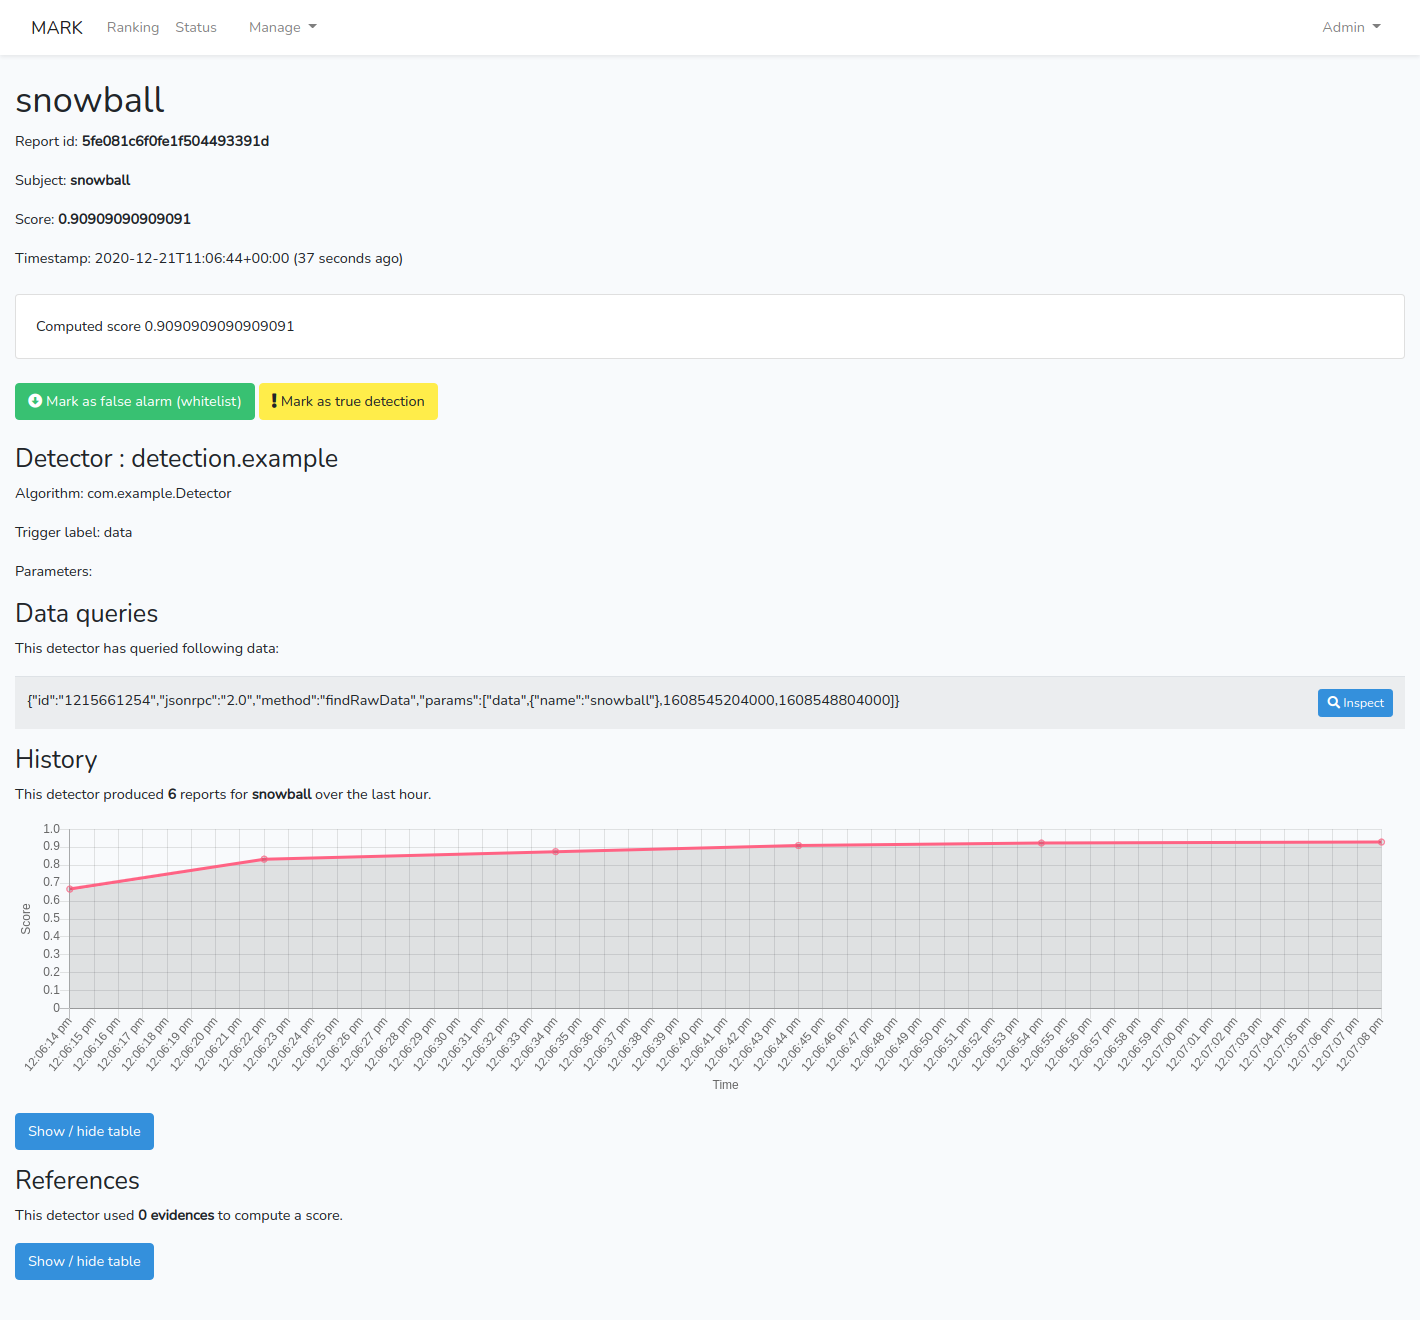
And the different reports.
Testing again…
Most probably, you will have to make some corrections to your code, recompile and restart the server to check your changes. Here is a one-liner:
mvn package && cp target/*.jar modules/ && docker-compose restart
The server will now use the new version of your algorithm to produce the scores and ranking.
This blog post is licensed under
CC BY-SA 4.0


